Do you have a question about the Edge-Core ECS2100-10T and is the answer not in the manual?
Instructions for mounting the switch in a standard rack using brackets and screws.
Specific instructions for mounting the ECS2100-10PE in a rack, possibly a different method or orientation.
Steps to connect the switch to an AC power source using the provided power cord.
Instructions for connecting DC power to the ECS2100-10PE model using an AC-DC adapter.
| Device Type | Managed Switch |
|---|---|
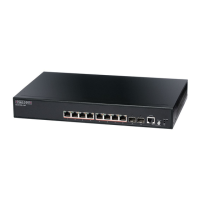
| Number of Ports | 10 |
| Port Type | Gigabit Ethernet |
| Layer | Layer 2 |
| Switching Capacity | 20 Gbps |
| Forwarding Rate | 14.88 Mpps |
| MAC Address Table Size | 8K |
| Power over Ethernet (PoE) | No |
| Operating Temperature | 0°C to 45°C (32°F to 113°F) |
| Storage Temperature | -40 to 70 °C |
| Humidity | 10% to 90% (non-condensing) |
| Ports | 8 x 10/100/1000BASE-T, 2 x 100/1000BASE-X SFP |
| Jumbo Frame Support | 9KB |