Chapter 3
| Switch Chassis
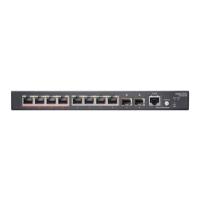
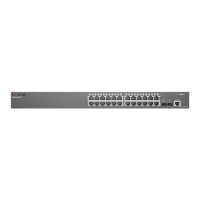
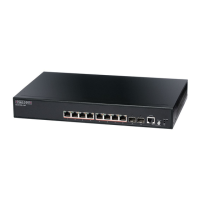
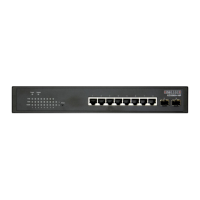
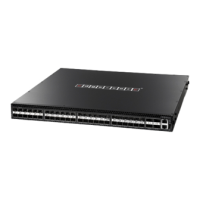
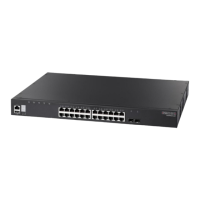
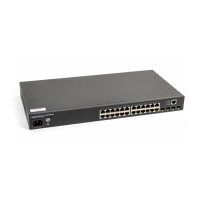
How to Install the Switch in a Rack
– 24 –
Rack Cooling When mounting the switch in an enclosed rack or cabinet, be sure to check the
following guidelines to prevent overheating:
◆ Make sure that enough cool air can flow into the enclosure for the equipment it
contains.
◆ Check that the rack or cabinet allows the hot air to exit the enclosure (normally
from the top) without circulating back into equipment.
◆ If the enclosure has sides or doors with ventilation holes, make sure they are
not blocked by cables or other obstructions.
◆ Route cables within the rack or cabinet to maximize the airflow.
◆ When possible, do not completely fill the rack or cabinet with equipment, allow
some unused space within the enclosure for better airflow.
How to Install the Switch in a Rack
When rack mounting the switch, pay particular attention to the following factors:
◆
Rack Types:
You can use any standard EIA 19-inch equipment rack with either
two or four posts. The bracket hole pattern should be spaced 1U (1.75 in. or
4.45 cm) apart.
◆
Rack Stability:
Whenever possible, secure the rack to the building ceiling or
floor, particularly if you are located in a region where earthquakes are common.
◆
Rack Planning:
When installing equipment in a rack, first plan how units can
be best arranged. Try to always mount the heaviest equipment at the bottom
of the rack.
◆
Temperature:
Since the temperature within a rack assembly may be higher
than the ambient room temperature, check that the rack-environment
temperature is within the specified operating temperature range. See “Switch
Cooling Requirements” on page 23.
◆
Mechanical Loading:
Do not place any equipment on top of a rack-mounted
unit.
◆
Circuit Overloading:
Be sure that the supply circuit to the rack assembly is
not overloaded.
◆
Grounding:
Rack-mounted equipment should be properly grounded.
 Loading...