Quick Start Guide
– 2 –
1. Unpack the Switch Unpack the switch and check the package contents.
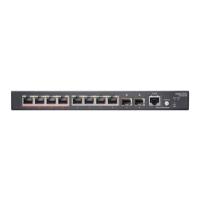
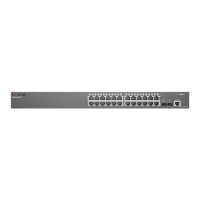
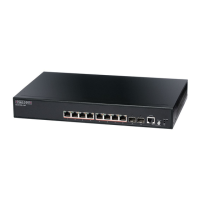
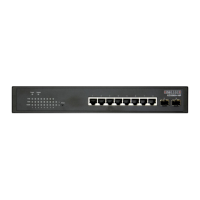
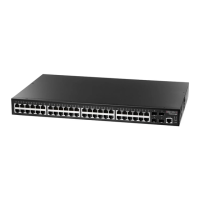
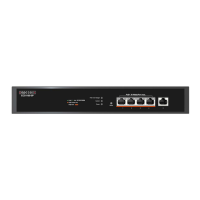
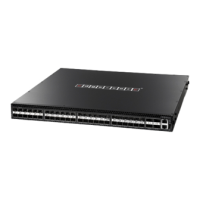
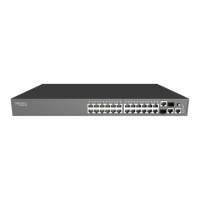
◆ ECS2100-10T, ECS2100-10P, ECS2100-10PE, ECS2100-28T, ECS2100-28P or
ECS2100-28PP Web-Smart Pro Gigabit Ethernet Switch
◆ Rack Mounting Kit containing two standard brackets and eight screws
◆ 4 adhesive foot pads
◆ Power cord— either US, Continental Europe or UK
◆ Quick Start Guide
◆ Regulatory and Safety Information
Optional Item
◆ Console cable—RJ-45 to DB-9
Note:
For other documentations include Installation Guide, Web Management
Guide, and CLI Reference Guide can be obtained from www.edge-core.com ->
support -> download -> user manual.
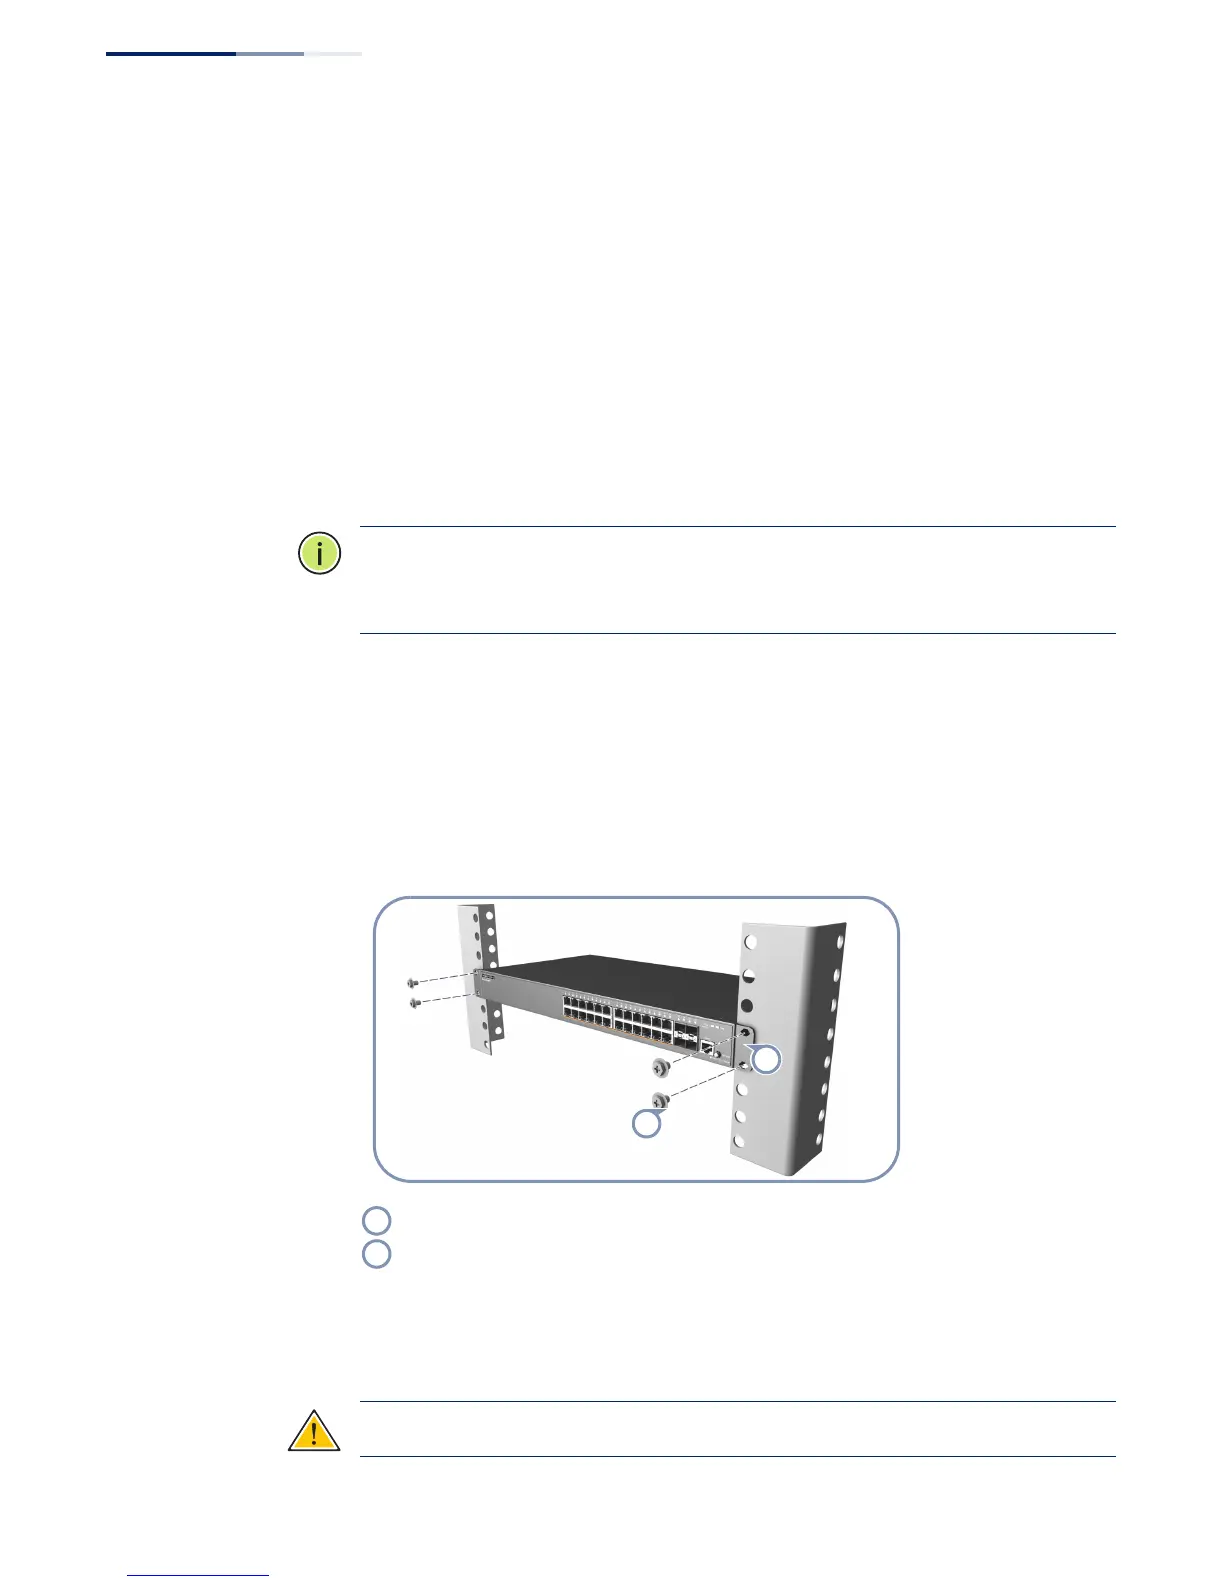
2. Install the Switch Rack Mounting
The switch can be mounted in a standard 19-inch rack or on a desktop or shelf.
Following your rack plan, mark the holes in the rack where the switch will be
installed. Lift the switch into the rack and hold it in a position aligned with the
marked holes. Secure the switch in the rack, using four rack-mounting screws (not
provided).
Wall Mounting (ECS2100-10PE only)
The ECS2100-10PE can be mounted on a wall.
Caution:
For safe operation, install the switch with RJ-45 ports facing up.
Attach the brackets to the switch.
Use the screws supplied with the rack to secure the switch in the rack.
 Loading...