Version of July 30th, 2021 7
►Description
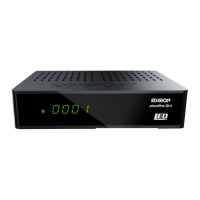
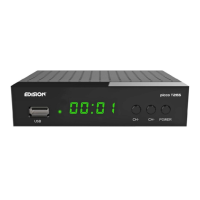
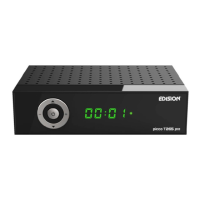
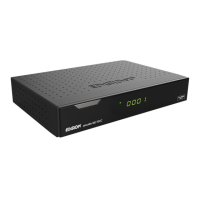
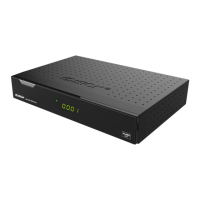
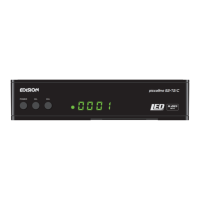
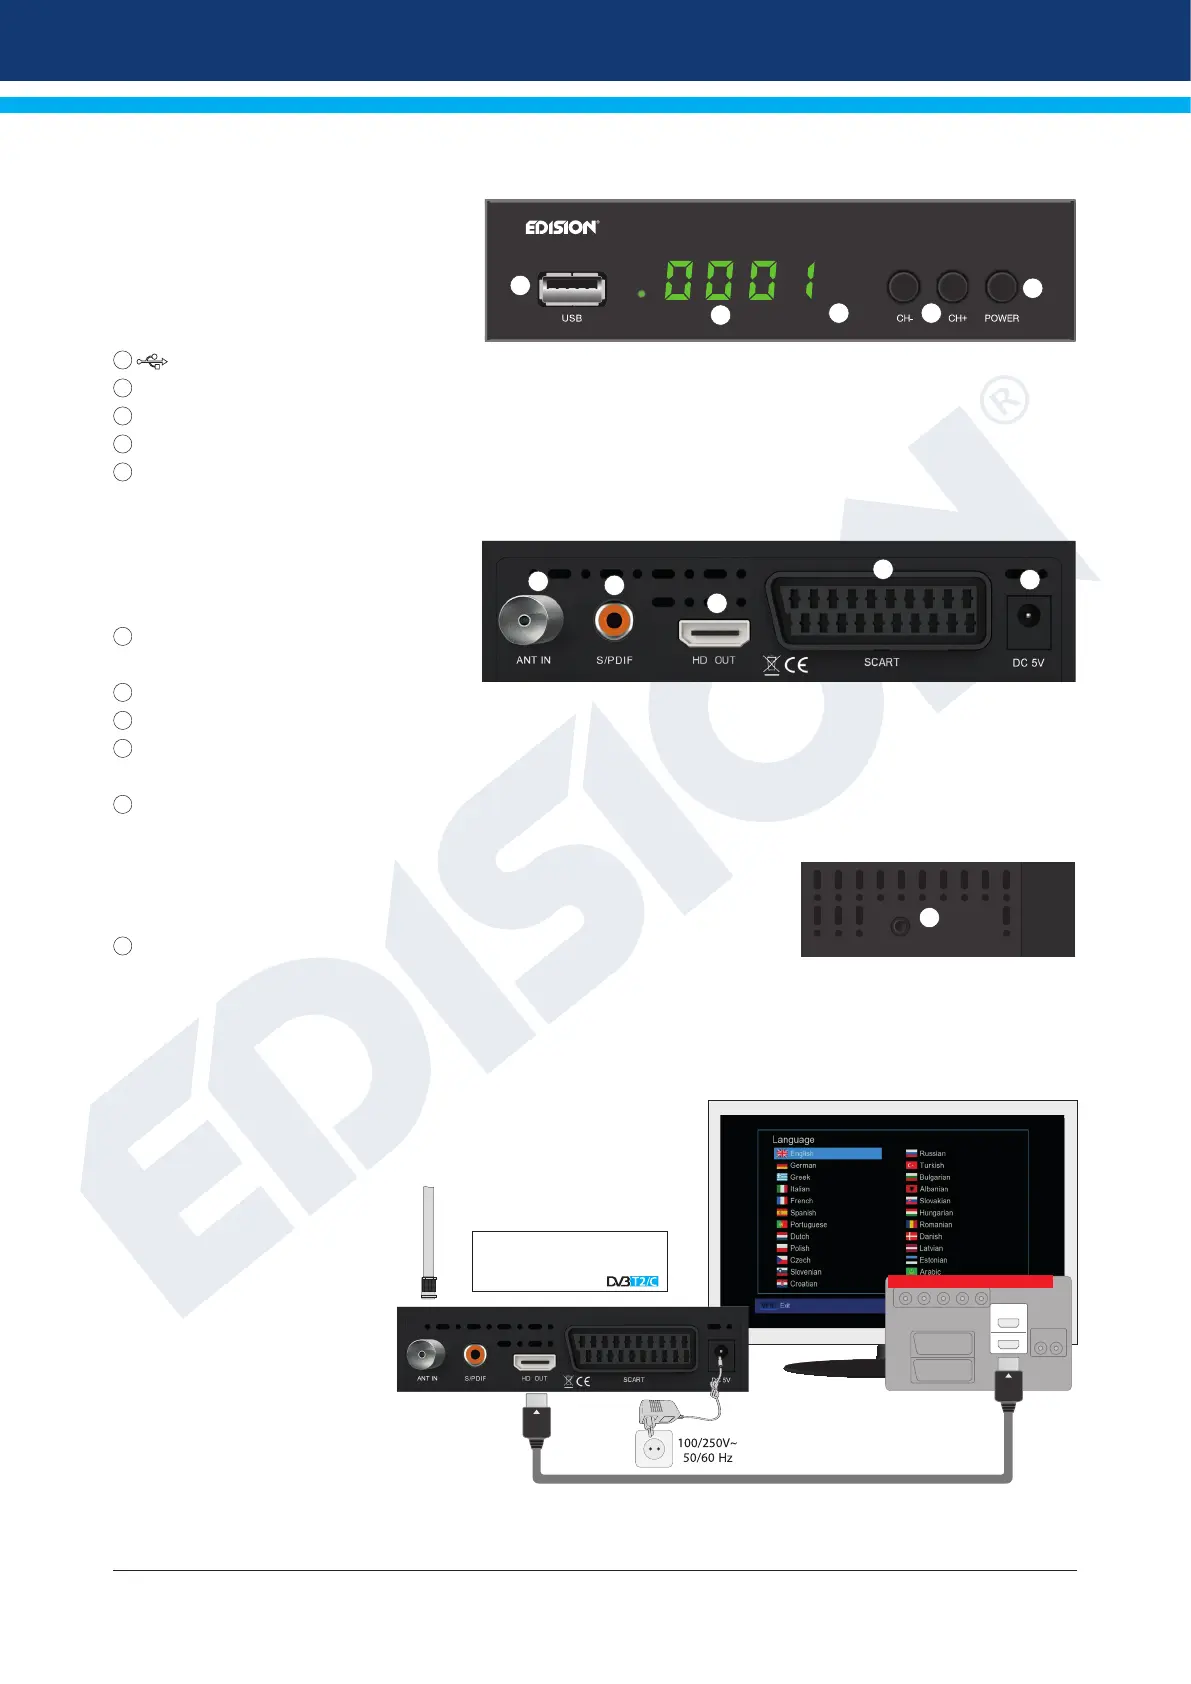
Front Panel
1
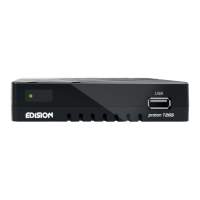
/ USB: Connection for USB storage devices
2
Display LED, displays current information
3
Infrared sensor for the reception of remote control commands
4
CH- / CH+ buttons: for moving in the program lists
5
POWER button: Activates/Deactivates the device
Back Panel
6
ANT IN: Input for connecting to terrestrial
or cable signal from the antenna
7
S/PDIF: Audio interface for amplier/audio console
8
HD OUT: Connection to an HDTV quality TV
9
SCART: For connecting to a TV set,
using SCART cable [not for HD TV]
10
Connection for an adapter (DC 5V)
Subpages
11
IR IN: Infrared connection port
Connecting and switching on
Note: For trouble-free signal reception your antenna
and cable installation should be calibrat-
ed and inspected by a qualied profes-
sional with a digital TV-level-measuring
instrument.
•
Connect the receiver using HDMI cable
via the HD OUT output port to your
TV’s HDMI input port
•
Then connect the coaxial cable from
the terrestrial antenna to the ANT IN
input of the receiver.
•
Insert the batteries into the remote
control. Notes on the remote control
can be found on the back of these
instructions.
•
Connect the receiver to the power
supply.
•
The receiver starts with the BOOT process and is operational within a short time
picco T265
+
1
2
3 4
5
6
7
8
9
10
1
HDMI in
2
HD m i
kabel
HDMI
kabel
IR
11
Power socket
HD OUT:
Output receiver
HDMI cable
TV set connection panel
Use an HDMI input!
ANT IN:
coaxial-wire
input from terrestrial /
cable signal
coaxial-wire Antenna
After the rst start,
choose your language