D1 Leveling the Printing Bed(Continued)
Leveling the Printing Bed and Filament Loading
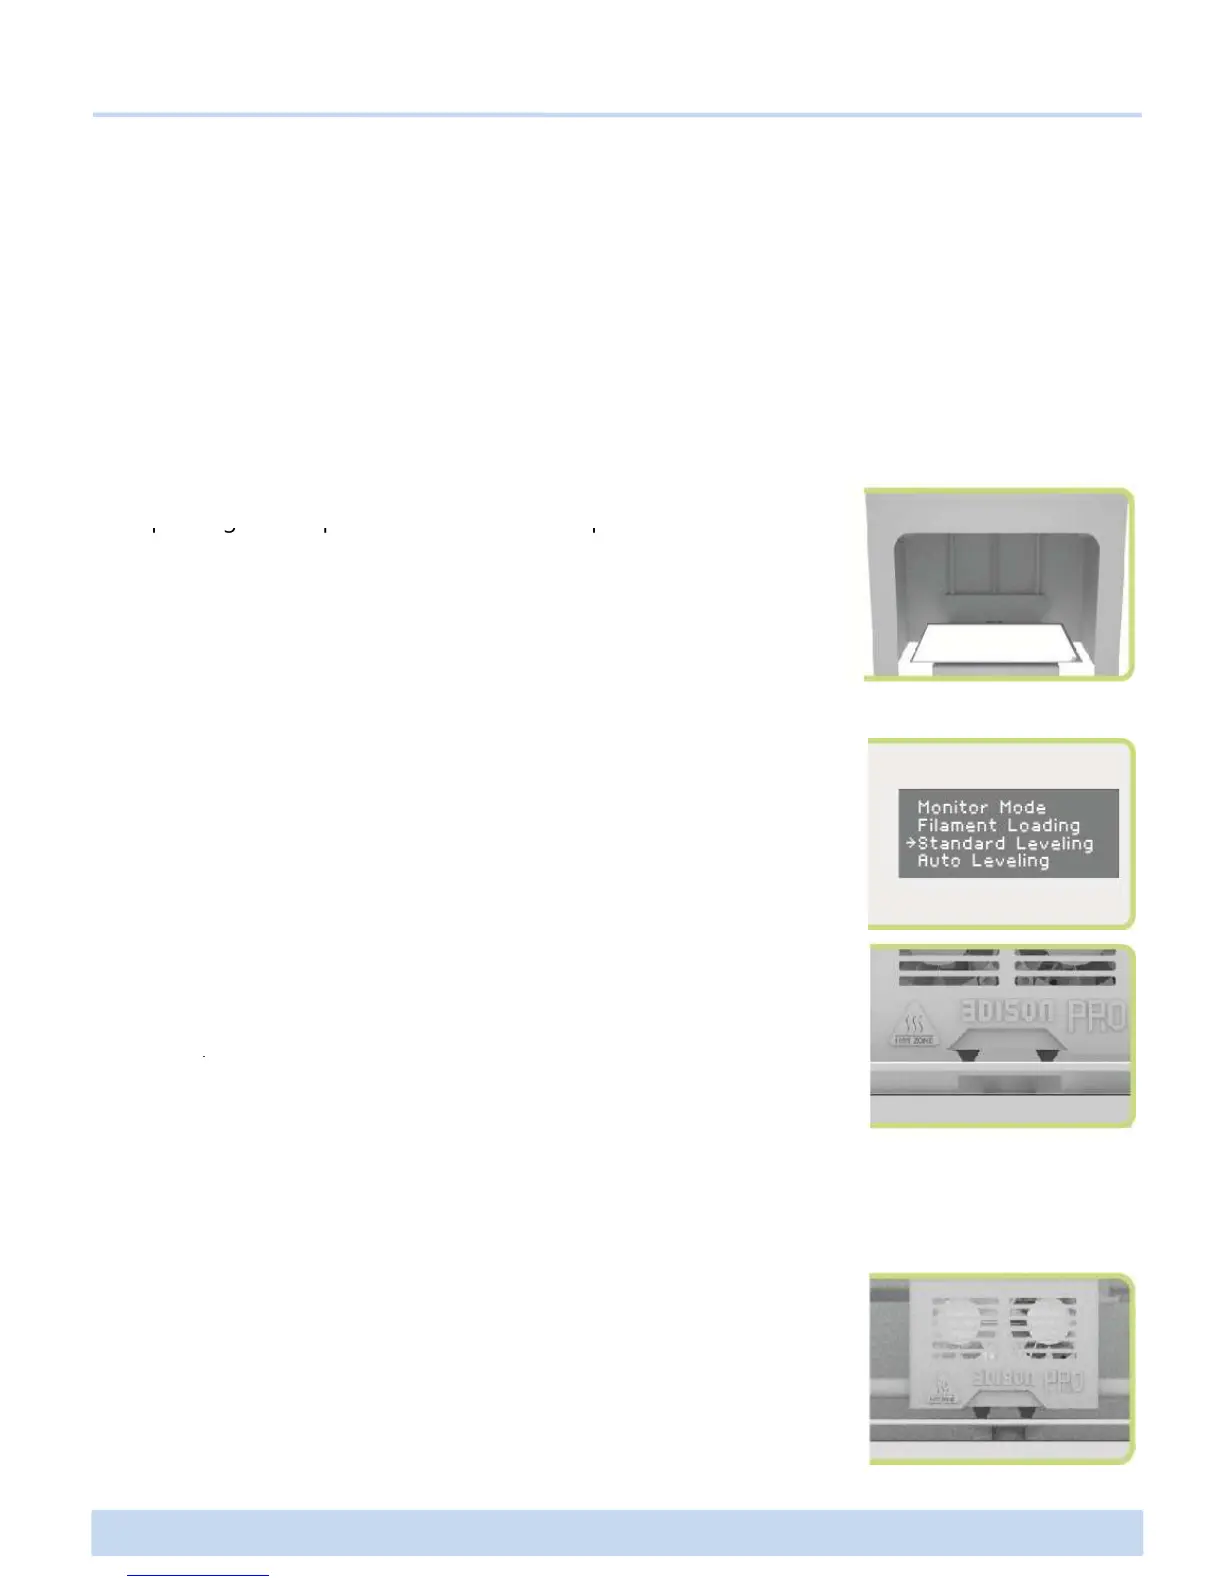
• When using Standard Leveling (manually adjusting)
1. Press the power button to start to adjust the horizontality of
the printing bed. Open the front door and put a sheet of A4
Leveling before 3D printing is so crucial that it can influence the quality of the print-out.
If the printing bed is too far from the extruder’s nozzles, or if one part of the bed is farth
er away from the nozzles than another part, your 3D prints might not stick to the bed.
Meanwhile, if the printing bed is too close to the extruder’s nozzles, the bed can block
the filament from extruding from the nozzles. This can also scratch the printing bed and
tear the PET tape on it.
the printing bed. Open the front door and put a sheet of A4
paper onto the printing bed before manual leveling.
2. Select Utilities > Standard Leveling on the display menu.
3. Level the printing bed by adjusting the round knobs each time
when the extruder reaches to the front, rear, left, right and center
in sequence. (Press the OK button so that the extruder move to
another point.)
NOTE :
The thickness of A4 size paper is about 0.1mm and this paper is used in
leveling the bed to keep 0.1mm space between the nozzle and the printing
bed.
∃DISON PRO User Manual V.1 13
another point.)
4. Upon completion of adjusting the round knobs each time when
the nozzle reaches to the printing bed in sequence, pull forward
the A4 size paper and if the A4 size paper touches the nozzle and
slides with feeling of a little bit scratching, leveling has been
completed. Press OK button to finish the leveling.
NOTE :
• At this time, it is important that you should turn the round knobs as same
degree as possible at the same time using both hands.
• If knobs are turned to the left, the gap between the nozzle and the printing bed will increase.
If knobs are turned to the right, the gap between the nozzle and the printing bed will decrease.
NOTE :
In CreatorK, uncheck the mark in the Auto-leveling item when generating Gcode.