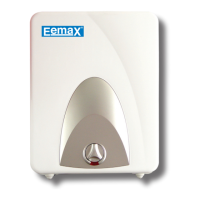
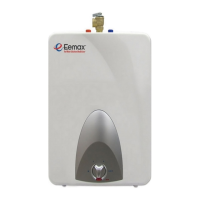
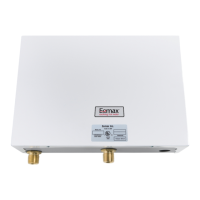
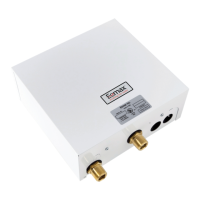
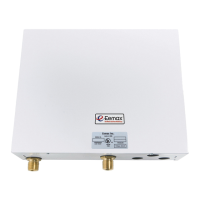
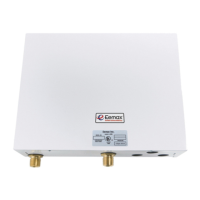
This document describes the Eemax Electric Mini Tank Water Heaters, specifically models EMT2.5 and EMT4. These are point-of-use water heaters designed for under-counter installation in residential, commercial, or industrial environments, primarily for hand wash and kitchen sinks. They offer an alternative to traditional central hot water heaters, aiming to conserve water and reduce energy waste due to their compact size and lightweight design, which facilitates easy installation.
Function Description
The Eemax Mini Tank water heaters provide on-demand hot water at the point of use. They are equipped with a pressure vessel (water tank) made of welded, glass-lined steel, which includes an anode rod for corrosion protection. The heating process is controlled by an adjustable thermostat, and a high-limit temperature switch acts as a safety feature to prevent overheating. A temperature/pressure (T/P) relief valve is also supplied with the unit to manage internal pressure and temperature. The unit heats water electrically, and an indicator light illuminates when the water is being heated.
Important Technical Specifications
Both models operate on a 110-120 Vac voltage supply and consume 1440 Watts of power, drawing 12 Amps. They are designed to operate at a maximum water pressure of 150 psi. If the incoming water pressure exceeds 150 psi, a pressure reducing valve must be installed.
-
EMT2.5 Model:
- Capacity: 2.5 gallons
- Weight (empty): 20 lbs.
- Dimensions (A x B x C): 14 1/2" x 11 3/4" x 10 3/8"
-
EMT4 Model:
- Capacity: 4.0 gallons
- Weight (empty): 24 lbs.
- Dimensions (A x B x C): 19 1/4" x 11 3/4" x 10 3/8"
The thermostat is factory pre-set between 41°C (105°F) and 45°C (113°F). The high-limit safety shut-off switch activates if water temperatures exceed 190°F, automatically cutting power to the heating element.
Usage Features
The water heaters are designed for vertical installation, either wall-mounted or sitting on the floor, typically under a sink. For wall mounting, a supplied bracket is used, and appropriate screws for the wall material and the filled weight of the heater are required. It's crucial to ensure the unit is installed in a level position.
Plumbing connections involve connecting the cold water inlet pipe to the nipple marked with a blue ring and the hot water outlet pipe to the nipple marked with a red ring. Dielectric connections are recommended if copper or bronze pipes are used to prevent corrosion. A shut-off valve should be installed on the cold water side for servicing. Heat should not be applied directly to the inlet or outlet connections during soldering; instead, solder a piece of tubing to a threaded UNION fitting before attaching it to the tank.
The supplied T/P relief valve must be installed in the threaded opening at the top of the water heater. A discharge pipe from the T/P valve must terminate at a sink or drain, be unobstructed, full-sized, and exit within 6 inches above or any distance below the structural floor, without contacting live electrical parts. The T/P valve is certified to meet ANSI 121.22-1979 requirements. In closed water supply systems, thermal expansion can cause the T/P valve to discharge. To prevent this, installing a diaphragm-type domestic hot water expansion tank (minimum 1.5 U.S. gallons per 50 gallons of stored water) or a 125 PSI pressure relief valve in the cold water supply line is recommended.
Before connecting the power cord, the tank and system must be completely filled with water, and all air removed. This is achieved by opening hot water faucets until a continuous flow of water is observed. Failure to remove air can damage the heating element.
The water heater connects to a grounded 110-120 V/AC receptacle using its fitted power cord. No extension cords should be used. The unit is equipped with an overheat limiting device with a manual reset (high-limit temperature switch) that interrupts power in case of thermostat failure.
The thermostat knob allows users to adjust the water temperature. Turning it clockwise increases temperature, and counter-clockwise decreases it. The red indicator lamp shows when the unit is actively heating. For extended periods of non-use, the thermostat can be set to the "snowflake" position for freeze protection, maintaining internal water temperature above freezing. Alternatively, the unit can be unplugged and drained.
Maintenance Features
Maintenance should only be performed by qualified service personnel. Before any servicing or draining, the power switch must be turned off, and the power cord unplugged.
- Draining and Removing the Water Heater: Unplug the unit, open a hot water faucet until water is no longer hot, turn off the cold water supply, close the hot water faucet, disconnect the water heater from plumbing, siphon out remaining water if possible, detach from the wall, and tilt to drain any remaining water.
- Removing the Heating Element: Turn off power, unplug, drain the heater, remove the cover, disconnect all wires from the element, unscrew retaining nuts, and remove the element.
- Descaling the Heating Element: Scale deposits can reduce heating efficiency or cause burnout. The element can be descaled chemically (soak in white vinegar or descaling solution, then rinse) or manually (let dry, then brush residue with a non-metallic brush, avoiding surface damage). After descaling, reinstall the element and gasket, and refill the tank before restoring power.
- Replacing the Heating Element: Unplug, drain, remove the old element, install a new one with a gasket, ensuring correct positioning, tighten retaining nuts, and reconnect wires.
- Changing the Thermostat: Turn off power, unplug, drain, remove the heater, remove six screws from the bottom panel, remove the thermostat knob and two retaining screws (may need to pry the knob off), remove the front panel, disconnect push-pull wire connectors, remove the thermostat probe, then install the new thermostat, attach wires, and tighten screws.
- Resetting the High Limit Switch: If the water heater shuts down due to excessive temperatures (above 190°F), the high-limit safety switch needs to be reset. First, allow the heater to cool down. Then, turn off the power, unplug, drain, remove the bottom panel, locate the small red reset button in the center of the junction box, depress it, and then replace the panel and return the heater to service. Frequent resets indicate a need for professional service.
Troubleshooting
The manual provides guidance for common issues:
- Water not getting hot: Check power supply, reset button, and for plumbing crossovers. If these are fine, the heating element may need replacement.
- Indicator light not on: Check for a faulty bulb if water is hot, or check the reset button if water is not hot.
- Brown or odorous water: Indicates a "spent" anode rod, which should be checked or replaced.
- Water too hot: Adjust the thermostat counter-clockwise. If temperature doesn't drop within 60 minutes, replace the thermostat.
- Water not hot enough: Adjust the thermostat clockwise.
- Water leaking: Turn off power, unplug, check water fittings and T&P fitting, and inspect the heating element gasket.
Warranty
Eemax offers a Limited SIX (6) YEARS WARRANTY for models EMT2.5 and EMT4. The inner tank is warranted against leaks due to defects in material or workmanship for six years from the original installation date. Other component parts are warranted for two years. If the original installation date cannot be verified, the warranty period begins from the manufacturing date.
Exclusions include damages from improper installation, failure to follow instructions, excessive water pressure, misuse, abuse, alteration, neglect, accident, dry firing (operating without continuous water supply), exposure to natural disasters, or installation by non-qualified personnel. The manufacturer is not liable for incidental, consequential, special, or contingent damages, or for water damage arising from defects. Owners are responsible for labor and other expenses incurred in removal, repair, or service.
Owners should retain the manual and ensure the water heater is installed in a location where potential leaks will not cause damage. To secure service or make a warranty claim, contact the dealer or Eemax directly, providing proof of purchase, model number, manufacturing date, installation date, dealer's name, watts, and voltage. Returned units or parts must be tagged with a Returned Goods Authorization # from Eemax and shipped prepaid.