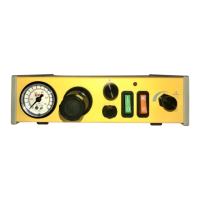
Changing Deposit Size, Drawing Stripes
The dot size is determined by the tip diameter, the air pressure
output setting and the pulse time. For large dots, use a large tip,
higher pressure and more time. Normally, you want to use as short
a time pulse as possible. To increase the dot size, slightly increase
the air pressure output, or increase the tip size, or both.
Use the convenient Dot Test sheet included.
Dot Test with Green Tapered Tip
First, follow the settings illustrated on the left, and you will get dots
about the sizes shown. Try other times and pressures to see how
easy it is to get just the dot size you want.
Dot Test with Blue Tapered Tip
These tests show the effect of using a smaller diameter tip.
Replace the green tip with the blue (22 gage) tapered tip. Now, turn
on the timer bypass switch and press the foot pedal to fill the tip.
Then, turn off the timer bypass switch (yellow light out) and press the
foot pedal.
Making Stripes
Keep the settings at Test G (shown to the left) and turn on the timer
bypass switch (yellow light on). With the tip in contact with the test
sheet, press and hold down the foot pedal while drawing a line for
beading or striping.
Blue Tip Settings
Test Pressure Time Dot Size
F 30 psi #6
G 20 psi #6
H 20 psi #3
I 15 psi #3
J 10 psi #3
Green Tip Settings
Test Pressure Time Dot Size
A 30 psi #7
B 20 psi #7
C 20 psi #3
D 15 psi #3
E 10 psi #3