GB
- 31 -
•
To lock the turntable (19), press the locking
lever (20) down.
•
Release the locking grip (26) and tilt the
machine head (4) to the left until it coincides
with the required angular setting on the scale
pointer (24) on the scale (25). Then secure
the locking grip (26) again.
•
Cut as described in section 6.1.
6.5 Limiting the cutting depth (Fig. 15)
•
The cutting depth limiter can be activated with
the help of the screw (34).
•
To do so, slacken the screw (34) using a cros-
stip screwdriver, so that the stop plate can be
moved. Then move the stop plate (33) as far
as possible towards the saw blade and retigh-
ten the screw (34) afterwards.
•
The cutting depth can be infinitely adjusted
using the knurled screw (31). To do so, sla-
cken the lock nut (32) and set the required
cutting depth by turning the knurled screw
(31) in or out. Then retighten the lock nut (32)
on the screw (31).
•
Check the setting by completing a test cut.
•
A crosstip screwdriver is not supplied with the
product.
6.6 Sawdust bag (Fig. 2)
The saw is equipped with a sawdust bag (27) for
sawdust and chips.
The sawdust bag (27) can be emptied by means
of a zipper at the bottom.
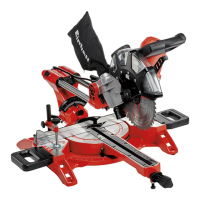
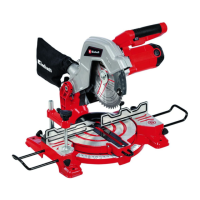
6.7 Replacing the saw blade (Fig. 1, 16)
•
Before changing the saw blade: Pull out the
power plug!
•
Wear work gloves to prevent injury when
changing the saw blade.
•
Swing the machine head upwards (4).
•
Press the saw shaft lock (5) with one hand
while positioning the hexagon key (45) on the
flange bolt (38) with the other hand. The saw
shaft lock (5) engages after no more than one
rotation.
•
Now, using a little more force, slacken the
flange screw (38) in the clockwise direction.
•
Turn the flange screw (38) right out and remo-
ve the washer (40) and the outer flange (39).
•
Take the blade (7) off the inner flange and
pull out downwards. To do so, move the saw
blade guard (6) up to enable access to the
saw blade.
•
Carefully clean the flange screw (38), washer
(40), outer flange (39) and inner flange.
•
Fit and fasten the new saw blade (7) in rever-
se order.
•
Important! The cutting angle of the teeth, in
other words the direction of rotation of the
saw blade (7) must coincide with the direction
of the arrow on the housing.
•
Check to make sure that all safety devices
are properly mounted and in good working
condition before you begin working with the
saw again.
•
Warning! Every time that you change the saw
blade, check that the saw blade guard (6)
opens and closes again in accordance with
requirements. Also check that the saw blade
(7) spins freely in the saw blade guard (6).
•
Warning! Every time that you change the saw
blade, check to see that it spins freely in the
table insert (16) in both perpendicular and
45° angle settings.
•
Warning! You should replace the table insert
(16) immediately whenever it is worn or da-
maged. To do so, undo the Philips screws in
the table insert (16) and take the table insert
out of the fixed saw table (18). To fit the new
table insert (16), proceed in reverse order.
•
Warning! The work to change and align the
saw blade (7) must be carried out correctly.
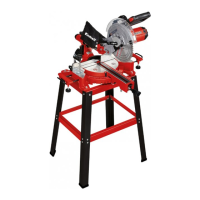
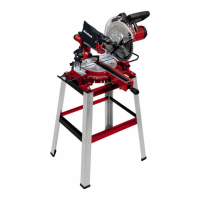
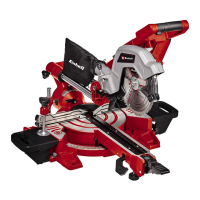
6.8 Transport (Fig. 1-3, 17)
•
Press down the locking lever (20) to lock the
turntable (19).
•
Using the scale (25), make sure that the
angle for miter cuts is 90°. In addition, the
machine head (4) must be secured with the
locking grip (26).
•
Press the machine head (4) downwards and
secure with the retaining pin (30). The saw is
now locked in its bottom position.
•
Fix the saw‘s drag function with the locking
screw for drag guide (29) in rear position.
•
Carry the machine by the transport handle
(43) (Not supplied with Art. No. 43.003.80).
•
Carry the equipment by the fixed saw table
(18).
•
To set up the equipment again, proceed as
described in section 5.3.
6.9 Operating the laser (Fig. 1, 18)
Switching on: Move the On/Off switch (42) to the
“ ” position to switch on the laser (41). A laser
line is projected onto the material you wish to pro-
cess, providing an exact guide for the cut.
Switching off : Move the On/Off switch (42) to the
“OFF” position.
Anl_TC_SM_216_SPK9.indb 31Anl_TC_SM_216_SPK9.indb 31 24.04.2019 09:30:4824.04.2019 09:30:48