Function Description
Analog
Adjustment
*4
Auto
Screen
Adjust
Screen ickering, display position, and size can be adjusted automatically.
Selecting “Auto Screen Adjust” displays a message. Select “Yes” to enable this
function.
Note
• The automatic screen adjustment function works correctly when an image is
fully displayed over the entire displayable area of the screen. It does not work
properly in the following cases:
- When an image is only displayed on part of the screen (command prompt
window, for example)
- When a black background (wallpaper, etc.) is used
Also, this function may not work properly with some graphic boards.
• When a signal is input into the monitor for the rst time or when a resolution
or vertical/horizontal scan frequency not used before is set, adjustment is
performed automatically (only for signals with a resolution of 800×600 (SVGA)
or higher).
Auto
Range
Adjust
Every color gradation (0 to 255) can be displayed by automatically adjusting the
signal output level. Selecting “Auto Range Adjust” displays a message. Select “Yes”
to enable this function.
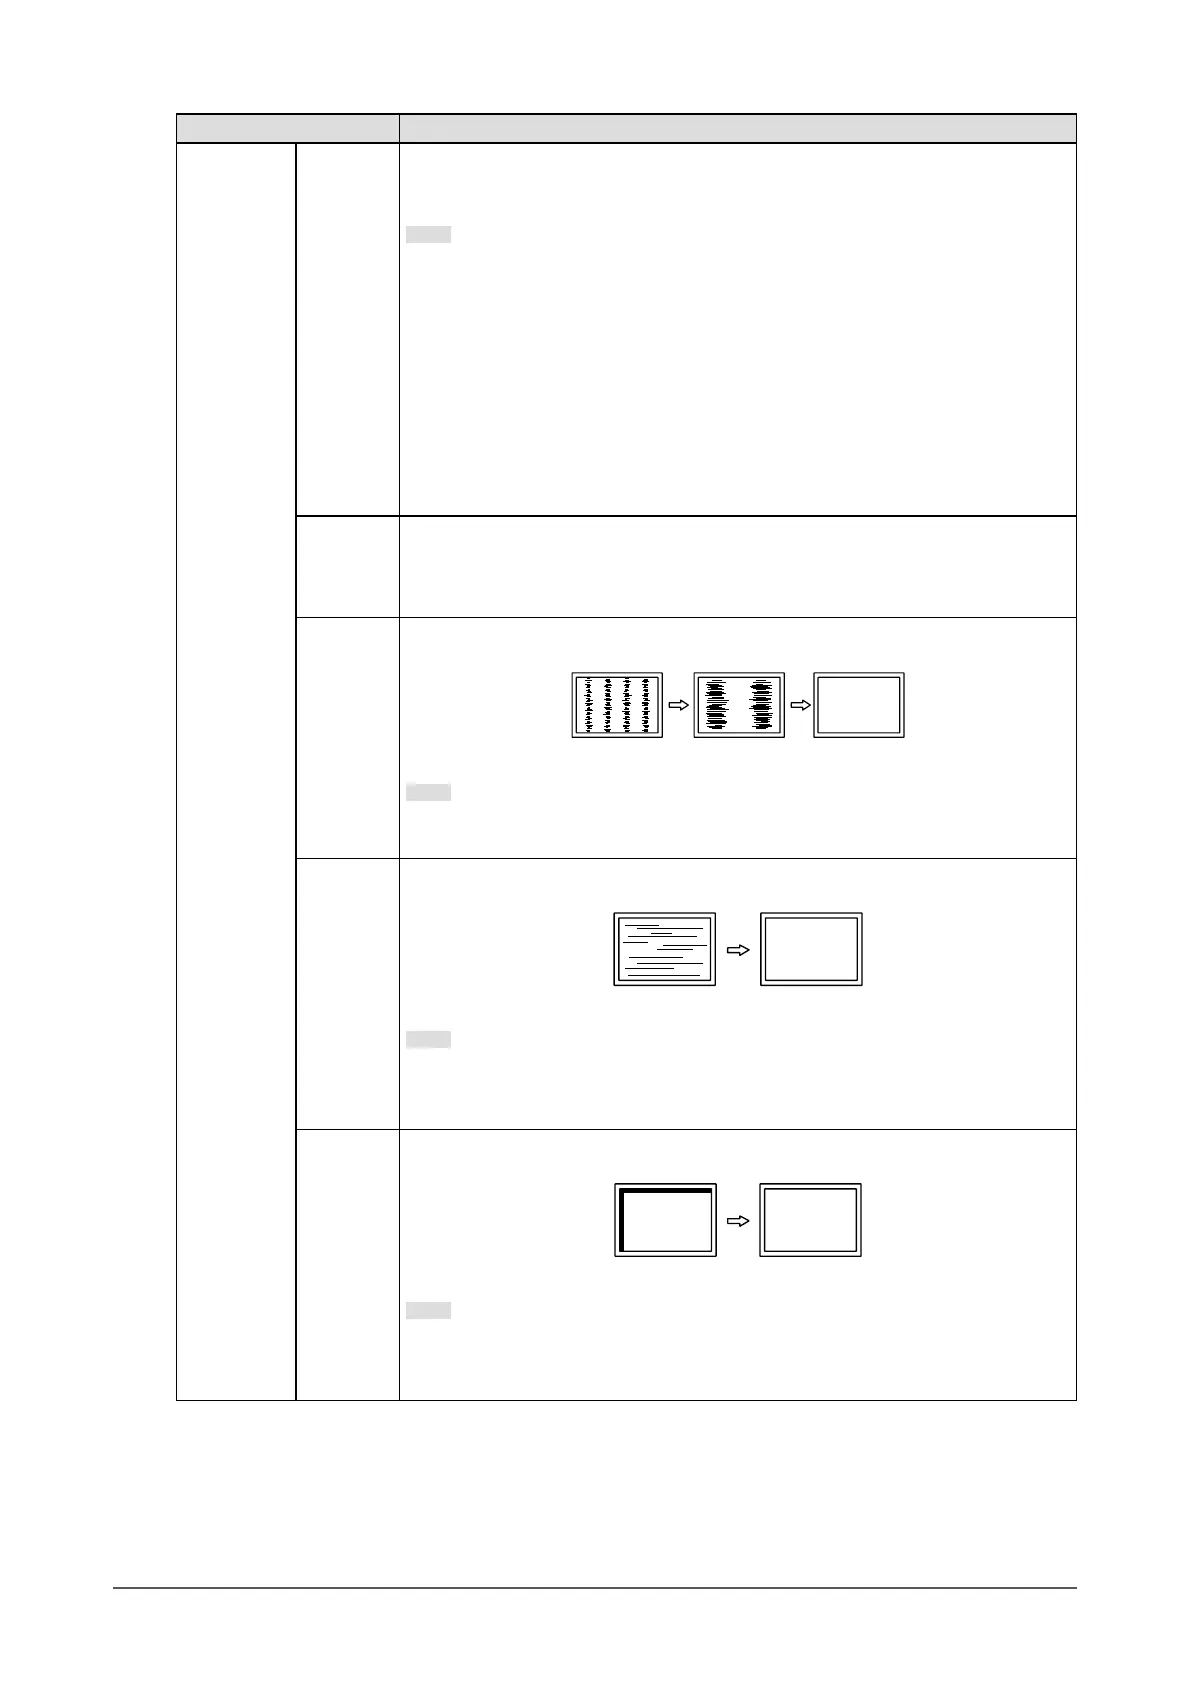
Clock
Flickering of vertical lines on the screen or part of the screen can be reduced.
Note
• It is easy to miss the point where the settings are correct. Adjust this setting
carefully.
Phase
Flickering and blurring over the entire screen can be reduced.
Note
• Flickering and blurring may not be completely eliminated depending on your
PC or graphics board.
• After setting, adjust the “Clock” again if vertical bars appear.
Hor.
Position
Ver.
Position
The display position (horizontal and vertical) of the screen can be adjusted.
Note
• Since the number of pixels and pixel positions are xed on the LCD monitor,
only one position is provided to display images correctly. Position adjustment
is made to shift an image to the correct position.
*4 Only valid for D-Sub input
22
Chapter 3 Advanced Adjustment / Setting