9
Chapter1Introduction
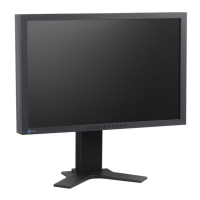
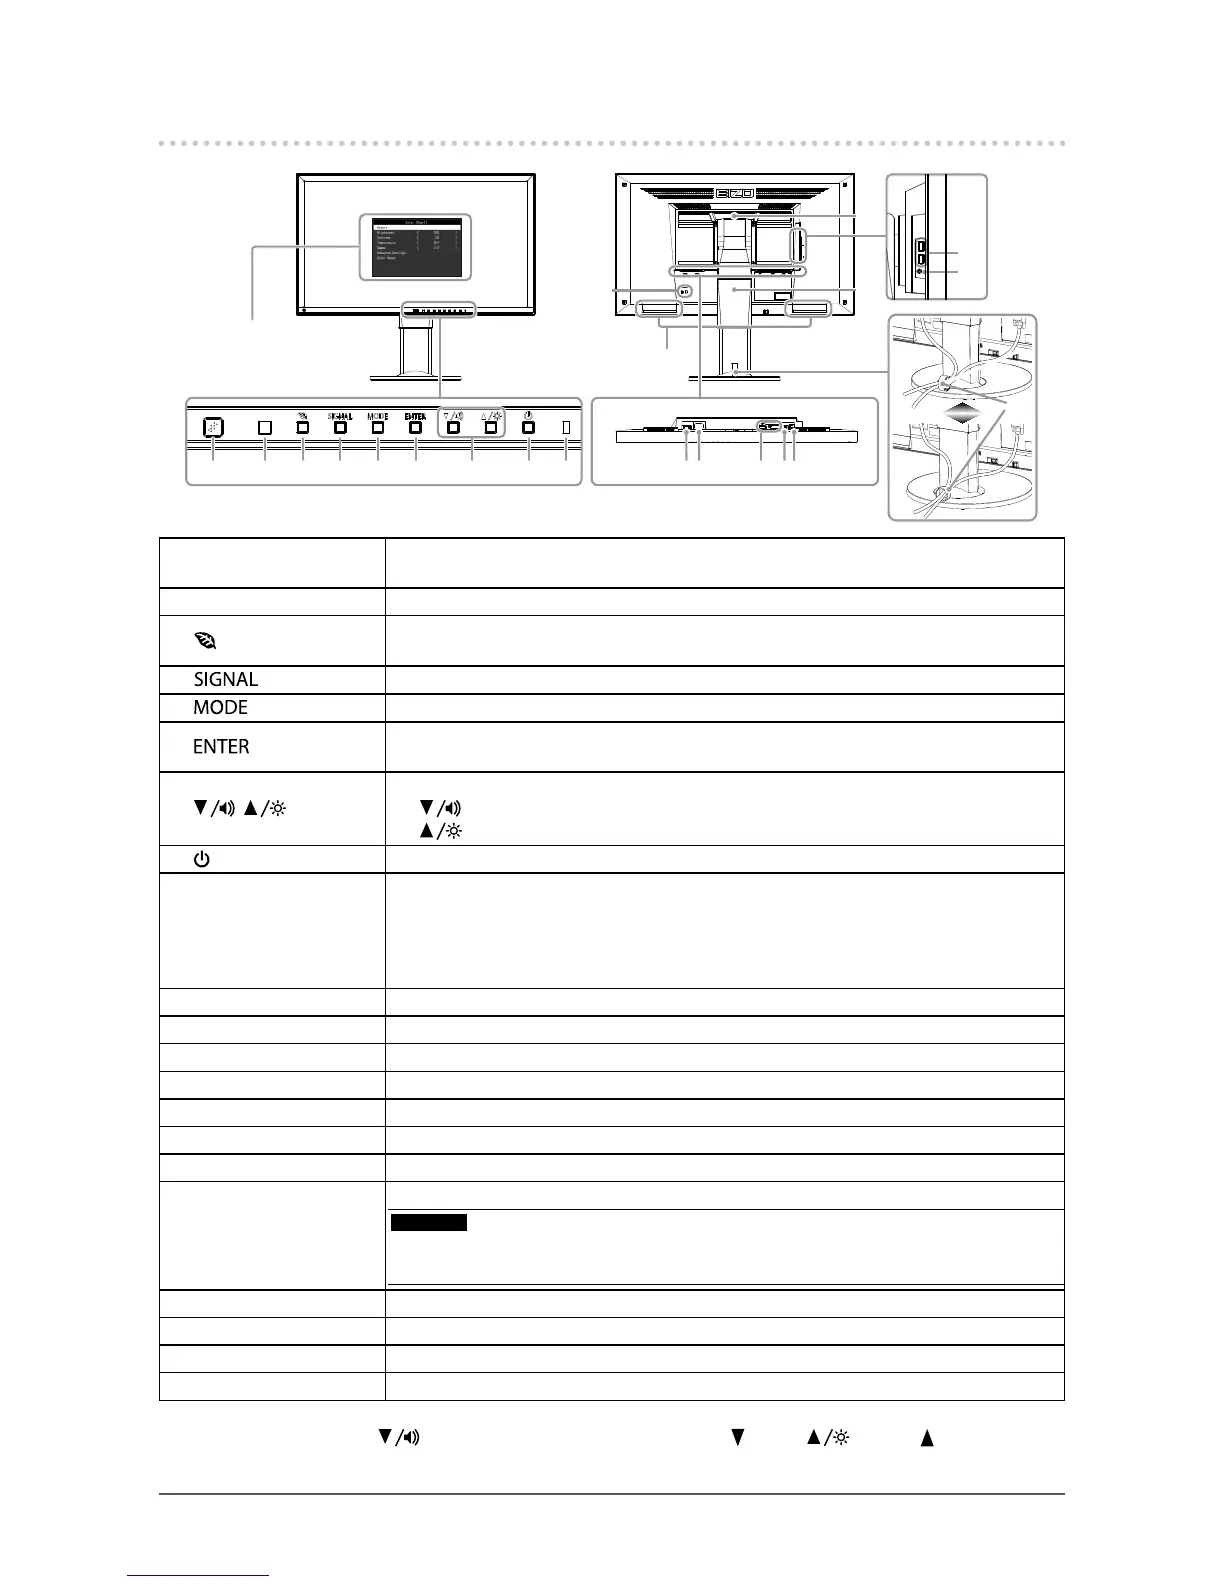
1-2. Controls and Functions
18
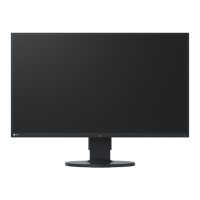
17
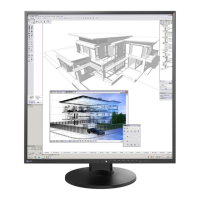
6 7 8 9521 3 4
1011 14
12
16
13
15
21
19
20
Settingmenu
*1
1. EcoView Sense sensor
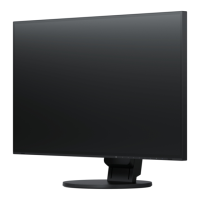
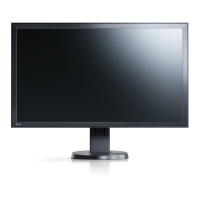
Detectsthemovementofapersoninfrontofthemonitor(EcoViewSensefunction(page
28)).
2. Ambient light sensor Detectsambientbrightness(AutoEcoViewfunction(page27)).
3.
button
Displaysthesettingmenuofthepowersavingfunction(AutoEcoView(page27)and
EcoViewSense(page28)).
4.
button Switchesinputsignalsfordisplay(page40).
5.
button ChangestheFineContrastmode(page15).
6.
button
DisplaystheSettingmenu,determinesanitemonthemenuscreen,andsavesvalues
adjusted(page11).
7.
, button
*2
• Providesthemenuselectionaswellastheadjustmentandsettingofafunction.
•
button:Displaysthevolumeadjustmentmenu(page22).
button:DisplaystheBrightnessadjustmentmenu(page16).
8.
button Turnsthepoweronoroff.
9. Power indicator
Indicatesthemonitor’soperationstatus.
Blue: Operating
Orange: Powersavingmode
OFF: Mainpower/Poweroff
10. Main power switch Turnsthemainpoweronoroff.
11. Power connector Connectsthepowercord.
12. Input signal connector Left:DisplayPortconnector/Right:DVI-Dconnector
13. Stereo mini jack Connectsthestereominijackcable(commerciallyavailableproduct).
14. USB port (UP) ConnectstheUSBcableforusingtheUSBHubfunction(page41).
15. Security lock slot ComplieswithKensington’sMicroSaversecuritysystem.
16. Speaker Outputsaudiosource.
17. Handle
Handleusedfortransportation
Attention
• Firmly grasp and hold the monitor by the bottom while grabbing the handle, and carefully
convey the monitor so as not to drop it.
18. Stand
*3
Adjuststheheightandangle(tiltandswivel)ofthemonitor.
19. USB port (DOWN) ConnectsaperipheralUSBdevice.
20. Headphone jack Connectstheheadphones.
21. Cable holder Coversthemonitorcables.
*1 See “1-4. Basic Operations and Functions” (page 11) for how to use.
*2 In this User’s Manual, the
button may be hereafter simply displayed as , and the button as .
*3 An optional arm (or an optional stand) can be attached by removing the stand (see “6-1. Attaching the Optional Arm” (page 34)).