8
3-Pin / 5-Pin
If you use a controller with a 5 pin DMX output connector, you will need to use a 5 pin to 3 pin adapter. They
are widely available over the internet and from specialty retailers If you’d like to build your own, the chart
below details a proper cable conversion:
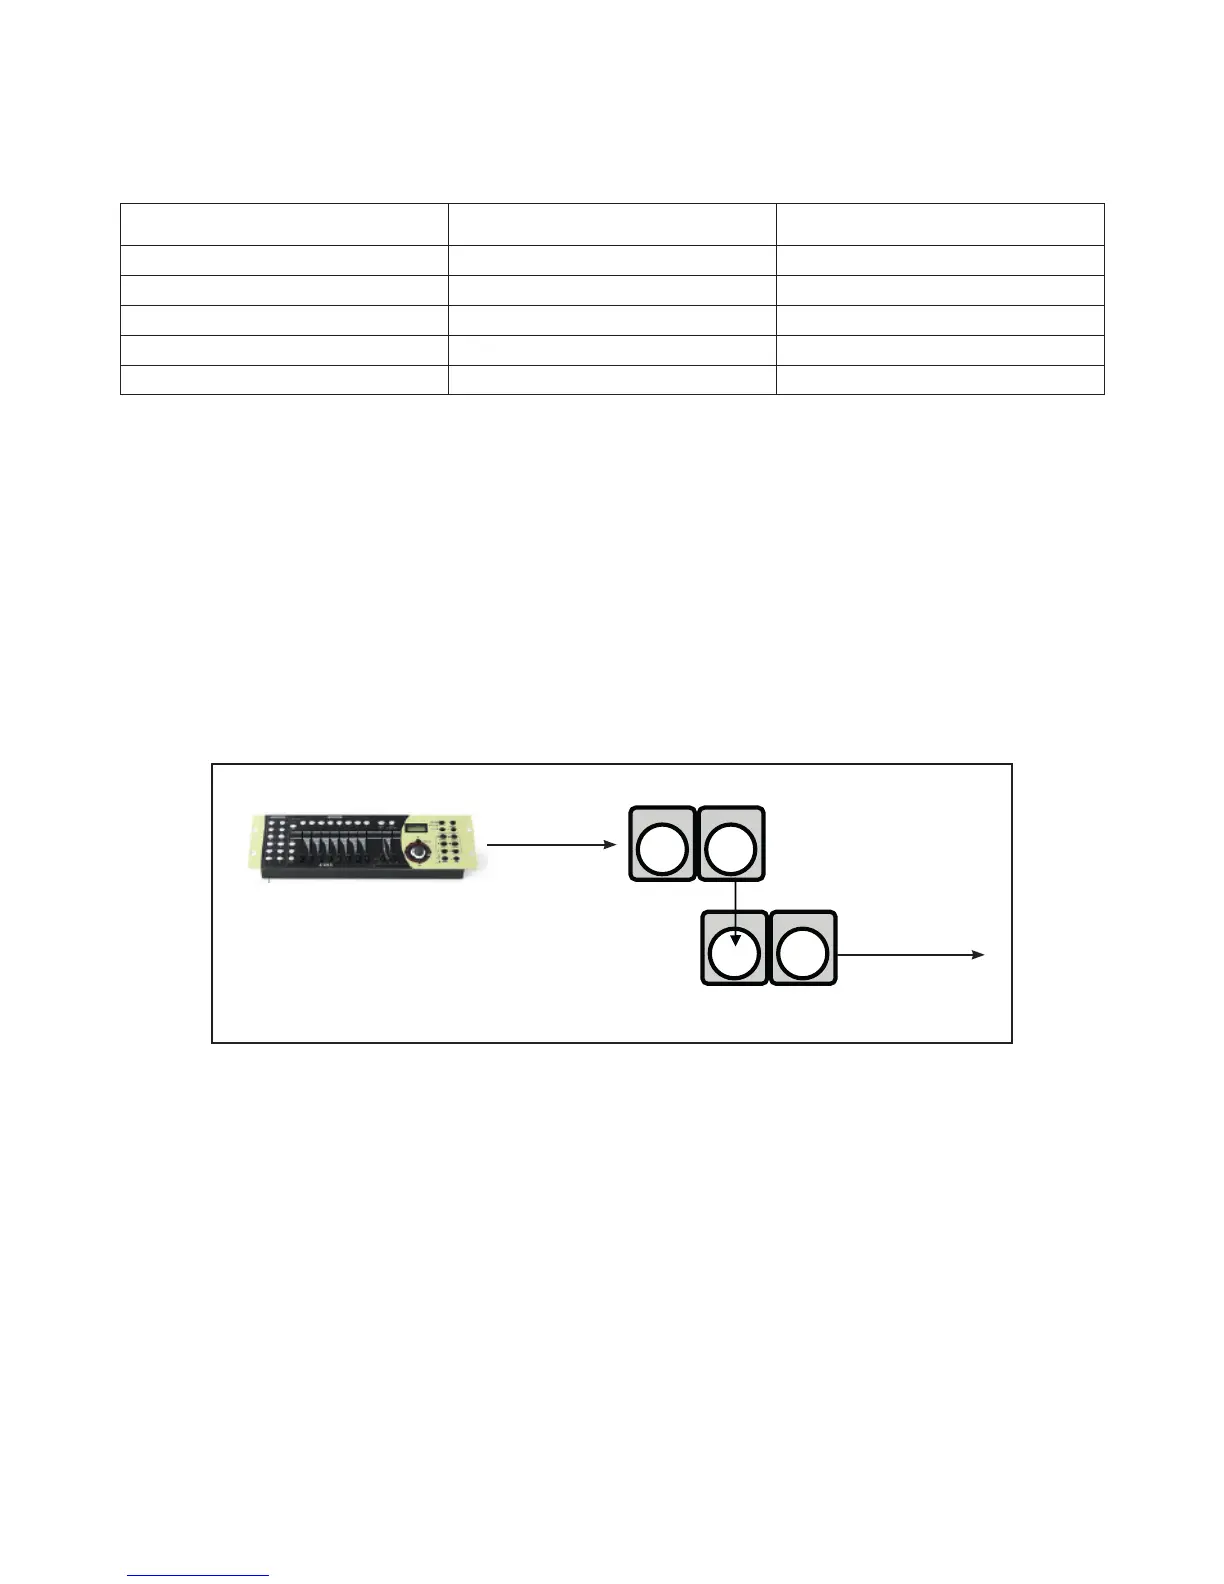
Take It To The Next Level: Setting Up DMX Control
• Step 1: Connect the male connector of the DMX cable to the female connector (output) on the controller
• Step 2: Connect the female connector of the DMX cable to the first fixture’s male connector (input).
Note: It doesn’t matter which fixture address is the first one connected. We recommend connecting the
fixtures in terms of their proximity to the controller, rather than connecting the lowest fixture number first,
and so on.
• Step 3: Connect other fixtures in the chain from output to input as above. Place a DMX terminator on
the output of the final fixture to ensure best communication.
Fixture Linking (Master/Slave Mode)
1. Connect the (male) 3 pin connector side of the DMX cable to the output (female) 3 pin connector of the
first fixture.
2. Connect the end of the cable coming from the first fixture which will have a (female) 3 pin connector to
the input connector of the next fixture consisting of a (male) 3 pin connector. Then, proceed to connect
from the output as stated above to the input of the following fixture and so on.
Conductor 3-Pin Female(Output) 5-Pin Male(Input)
Ground/Shield Pin 1 Pin 1
DMX Data (-) Pin 2 Pin 2
DMX Data (+) Pin 3 Pin 3
Not Used. No Connection. No Connection
Not Used. No Connection No Connection
 Loading...