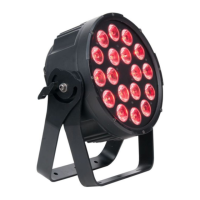
1 8
I N S T A L L A T I O N G U I D E L I N E S
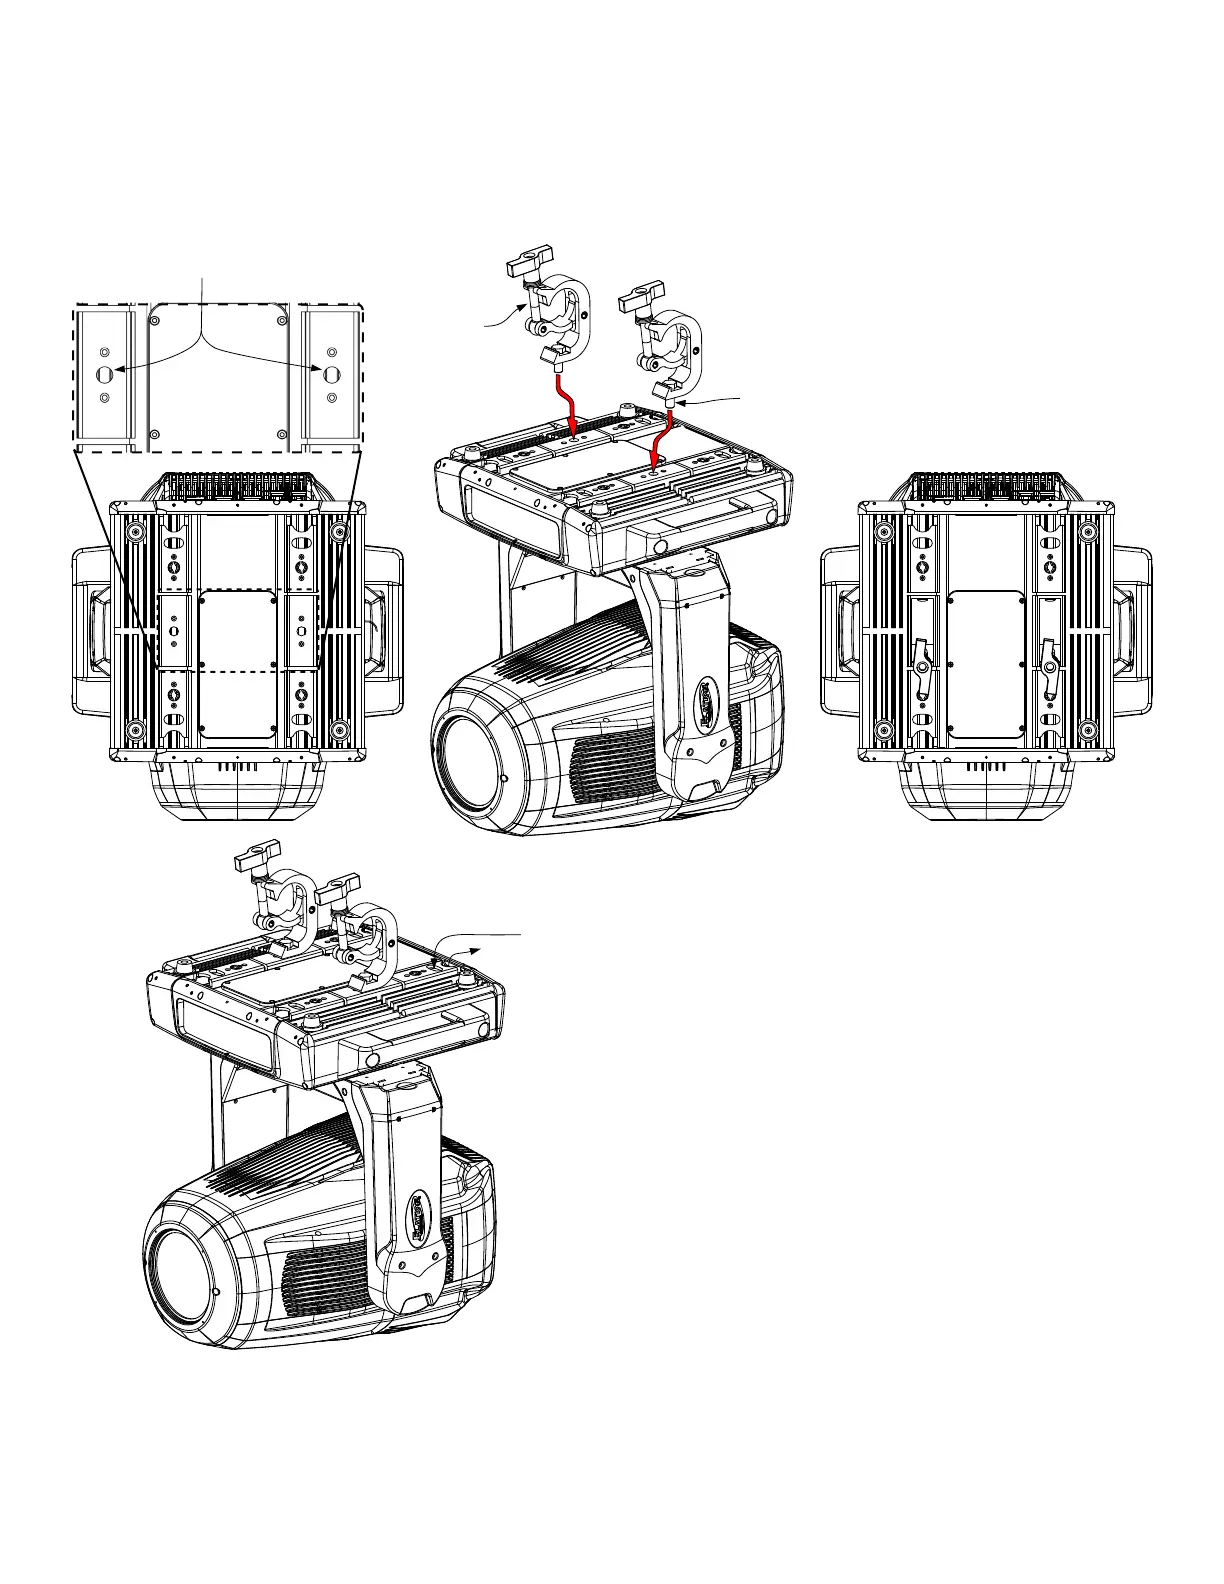
CLAMP INSTALLATION
Insert (2x) minimum grade 8.8 steel M12x19mm bolts (not included) through the respective mounting
hole of the clamp (not included), and then thread it into the matching 12M holes on the bottom of
the xture base. Both bolts must be threaded at least 20-30mm (0.8 - 1.2ins) into the xture base.
Clamp
M12x19mm Bolt
(2x) M12 Threaded Holes
MOUNTING THE FIXTURE ON A TRUSS USING CLAMPS
When mounting the xture to a truss, be sure to secure an appropriately rated professional
grade rigging clamp to the bottom of the xture using (2x) minimum grade 8.8 steel (2x)
M12x19mm bolts tted through the mounting hole of the Clamp. The xture provides built-in
rigging points for a SAFETY CABLE (not included). Be sure to only use one of the designated
rigging points for the safety cable and never secure a safety cable to a carrying handle.
Route Safety Cable through
Safety Cable Attachment
Points and around truss
S A F E T Y C A B L E
ALWAYS ATTACH AN APPROPRIATELY RATED
SAFETY CABLE WHENEVER INSTALLING THIS
FIXTURE IN A SUSPENDED ENVIRONMENT TO
ENSURE THE FIXTURE WILL NOT FALL IF THE
CLAMP FAILS.