5 Press dolly on to sample for about 10
seconds.
2 Ensure test surface of dolly is clear of
old adhesive - see Section 8.2
‘Cleaning the Dolly’ on page en-7.
4 Apply a thin, even coat of adhesive to
dolly test surface. If adhesive is low
viscosity, see Section 9 ‘Using a Dolly
Plug’ on page en-8.
1 Identify the dolly test surface.
3 Wipe dolly test surface and sample
area with a solvent to remove oil and
grease.
7 If required, score the coating around the dolly using a dolly cutter
- see Section 10 ‘Spares & Accessories’ on page en-9.
6 Leave dolly undisturbed for at least 15 minutes (preferably for 2
hours or more), to allow the adhesive to harden.
www.elcometer.com
en-4
R
3 GETTING STARTED - DIGITAL PRESSURE GAUGE (continued)
The gauge can display readings in MPa (Megapascals) or PSI
(Pounds per Square Inch).
The gauge has a gauge reset function which restores the original
factory settings.
3.3 SELECTING THE UNITS
3 To cancel the reset request, press or to toggle to
‘CANCL’ followed by to confirm.
3 Press to select the units required.
2 Press again to confirm the reset. The gauge will reset and
switch off.
2 Press or to toggle between MPA and PSI.
1 Press until RESET is displayed followed by to select.
1 Press until UNITS is displayed followed by to select.
3.4 RESETTING THE GAUGE
MAX
MENU
MENU
MENU
MAX
MENU
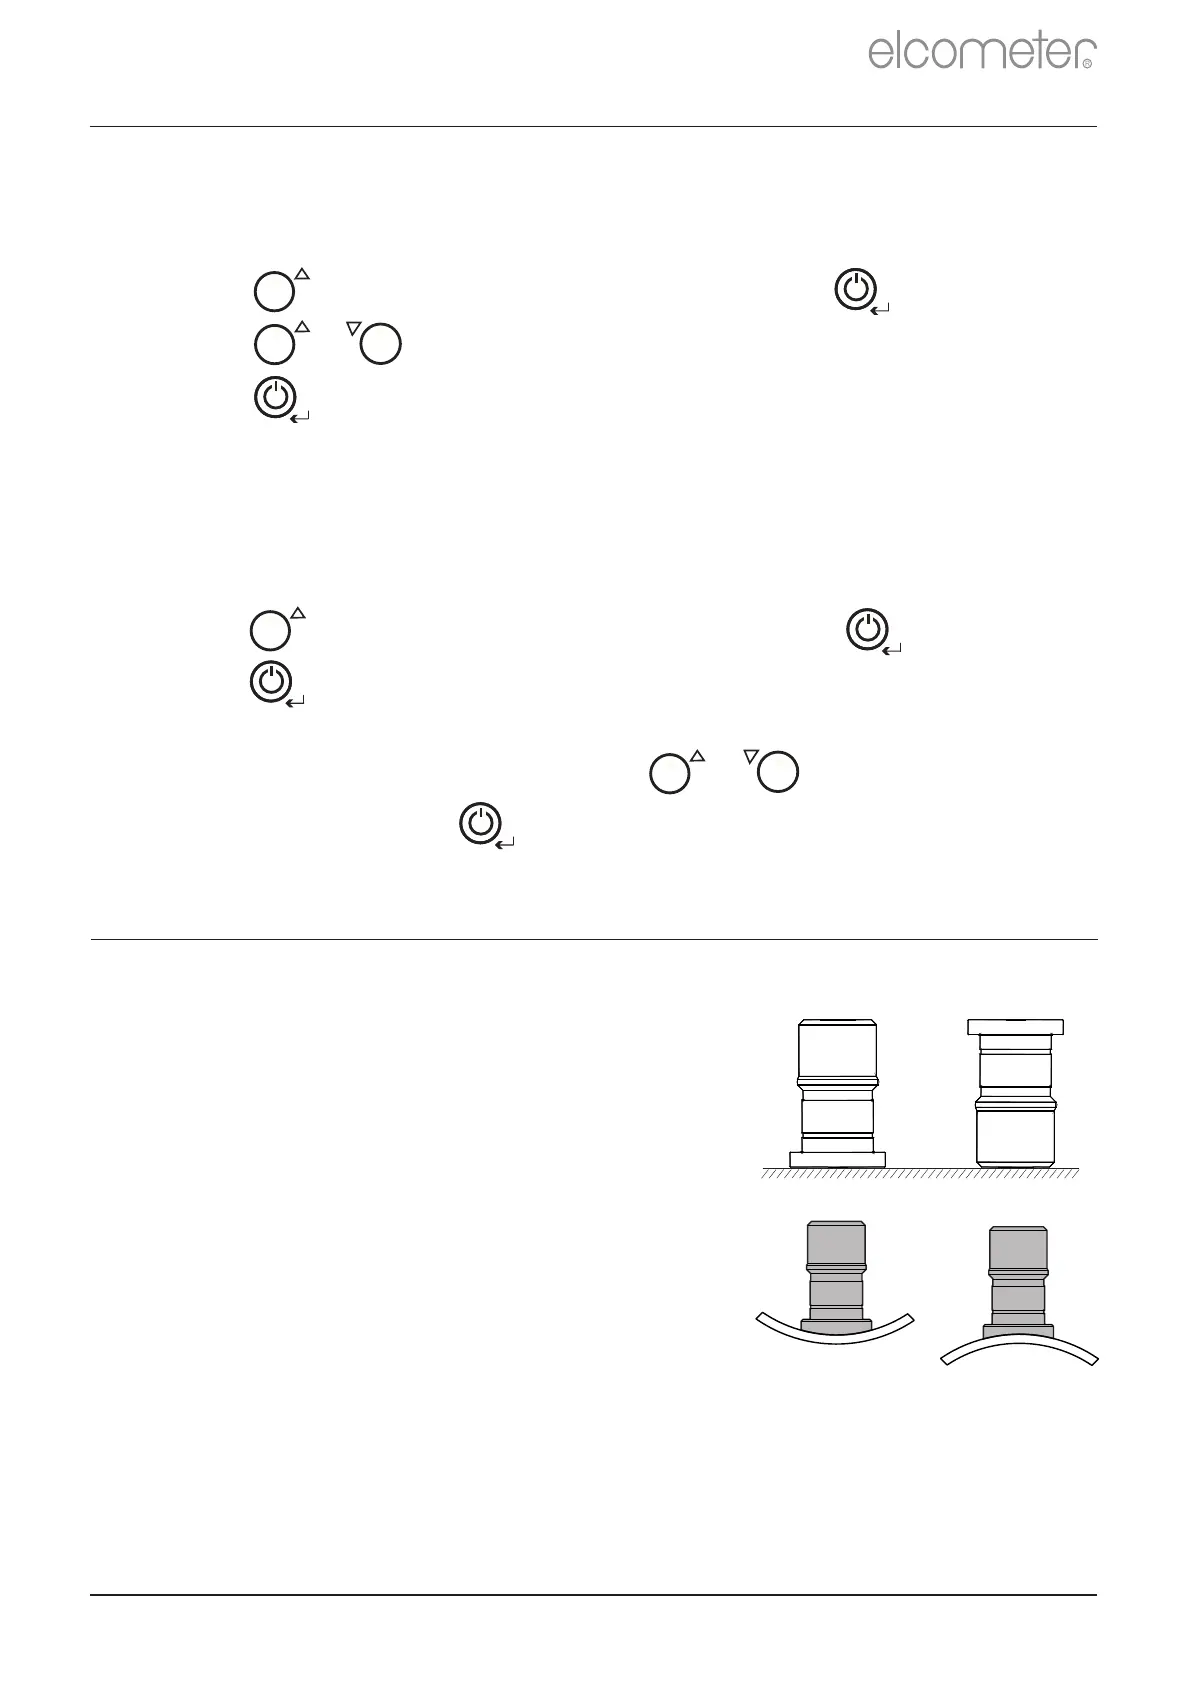
4 SECURING THE DOLLY
û
ü
ü
ü