6.0 PROBE SELECTION.
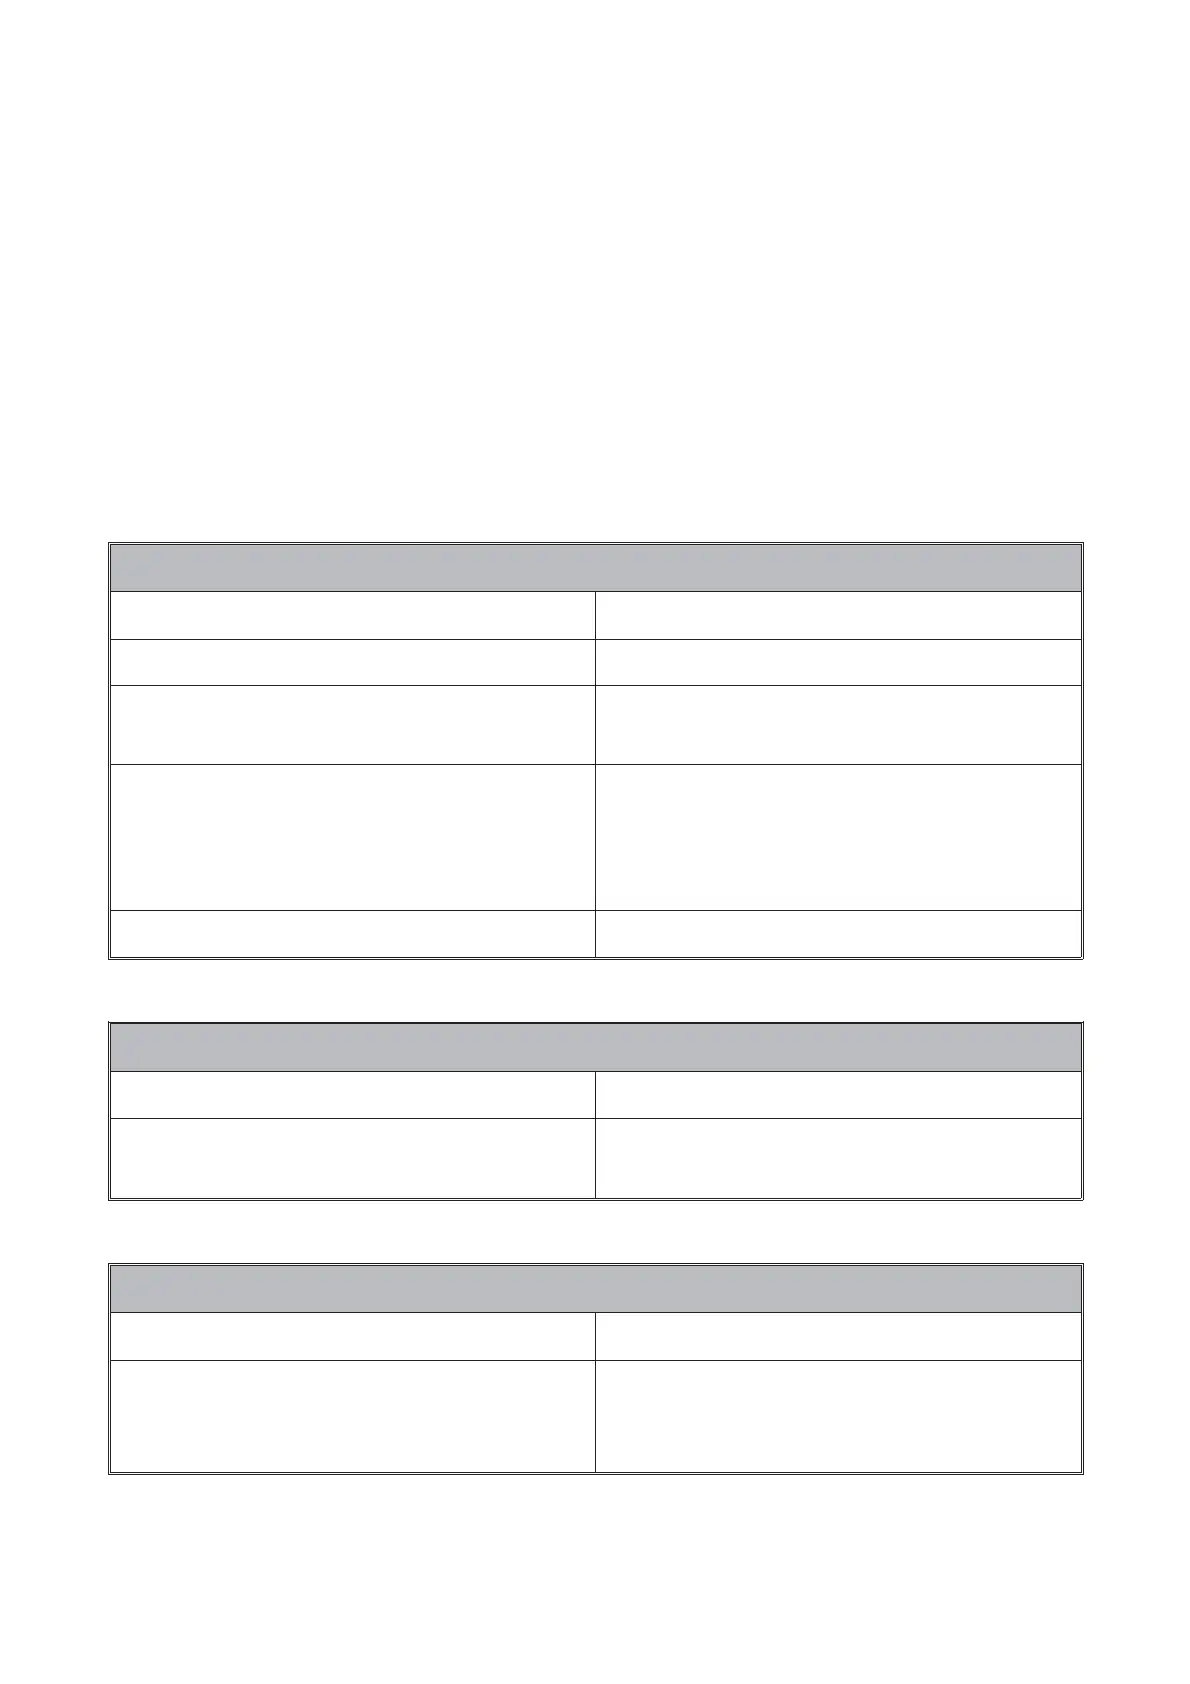
Table 1 (Section 4.3.) shows the most suitable probe to use
depending on the surface to be tested. Extension pieces and
connectors are also available if a long reach is required. See
Section 9.0.
Use only fittings supplied by Elcometer Instruments Ltd.
7.0 TROUBLESHOOTING.
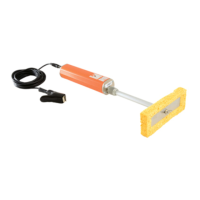
7.1 LCD Display Related Problems.
LCD Display Does Not Function
Possible Reason Solution
The detector is not turned on Press ‘ON’ to switch on
The battery is flat, as indicated by
the battery condition monitor
Recharge or replace the battery,
see Section 7.0
Connectors between the detector
and the battery are flattened
Remove the battery, see Section
8.0 and carefully lever up the
contacts using pliers or a
screwdriver
Fuse not fitted, or blown Fit or replace fuse - see Figure 3
LCD Display Shows ‘-1’ Continuously
Possible Reason Solution
Voltage higher than LCD display
range
Decrease the output voltage or
use a larger capacity detector
Displayed Voltage Drops During Test
Possible Reason Solution
Conductive surface or probe
surface area too large
Use a smaller probe, see Section
4.3, or decrease the output
voltage. See Section 7.3
13