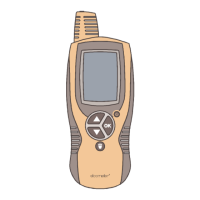
4.6 SELECTING THE MEASUREMENT UNITS
The Elcometer 311 can take measurements in µm and mils. To set the
measurement units:
1 Press the ‘ ’ softkey.
é
2 Use the softkeys to highlight ‘µm/mil’ and press ‘ ’ to
ê
alternate between ‘µm’ and ‘mil’, followed by the ç softkey to
return to the main reading screen.
www.elcometer.com
en-5
R
4 GETTING STARTED (continued)
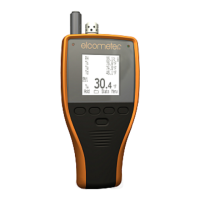
5 TAKING A READING
Before taking a reading, it is good practice to check the performance
of the gauge using the calibration check procedure, see Section 7
‘Checking the Gauge Calibration’ on page en-6.
To take a reading:
1 Whilst holding the gauge perpendicular, gently place the probe
onto the surface.
4 The reading may be inaccurate if the probe is not held flat against the
surface.
2
The coating thickness is shown on the display.
4 ‘>500µm’ (‘>20mils’) indicates a reading outside the gauge range.
3 For subsequent readings, lift the probe off and then replace it on
to the coated surface.
®
Using ElcoMaster the Elcometer 311 Model T can simultaneously
transmit the live reading to a PC or mobile device for report generation,
see Section 8 ‘Downloading Data’ on page en-7 for more information.
The Elcometer 311 Model T calculates and displays statistical values
as each reading is taken, see Section 6 ‘Statistics’ on page en-6 for
details.