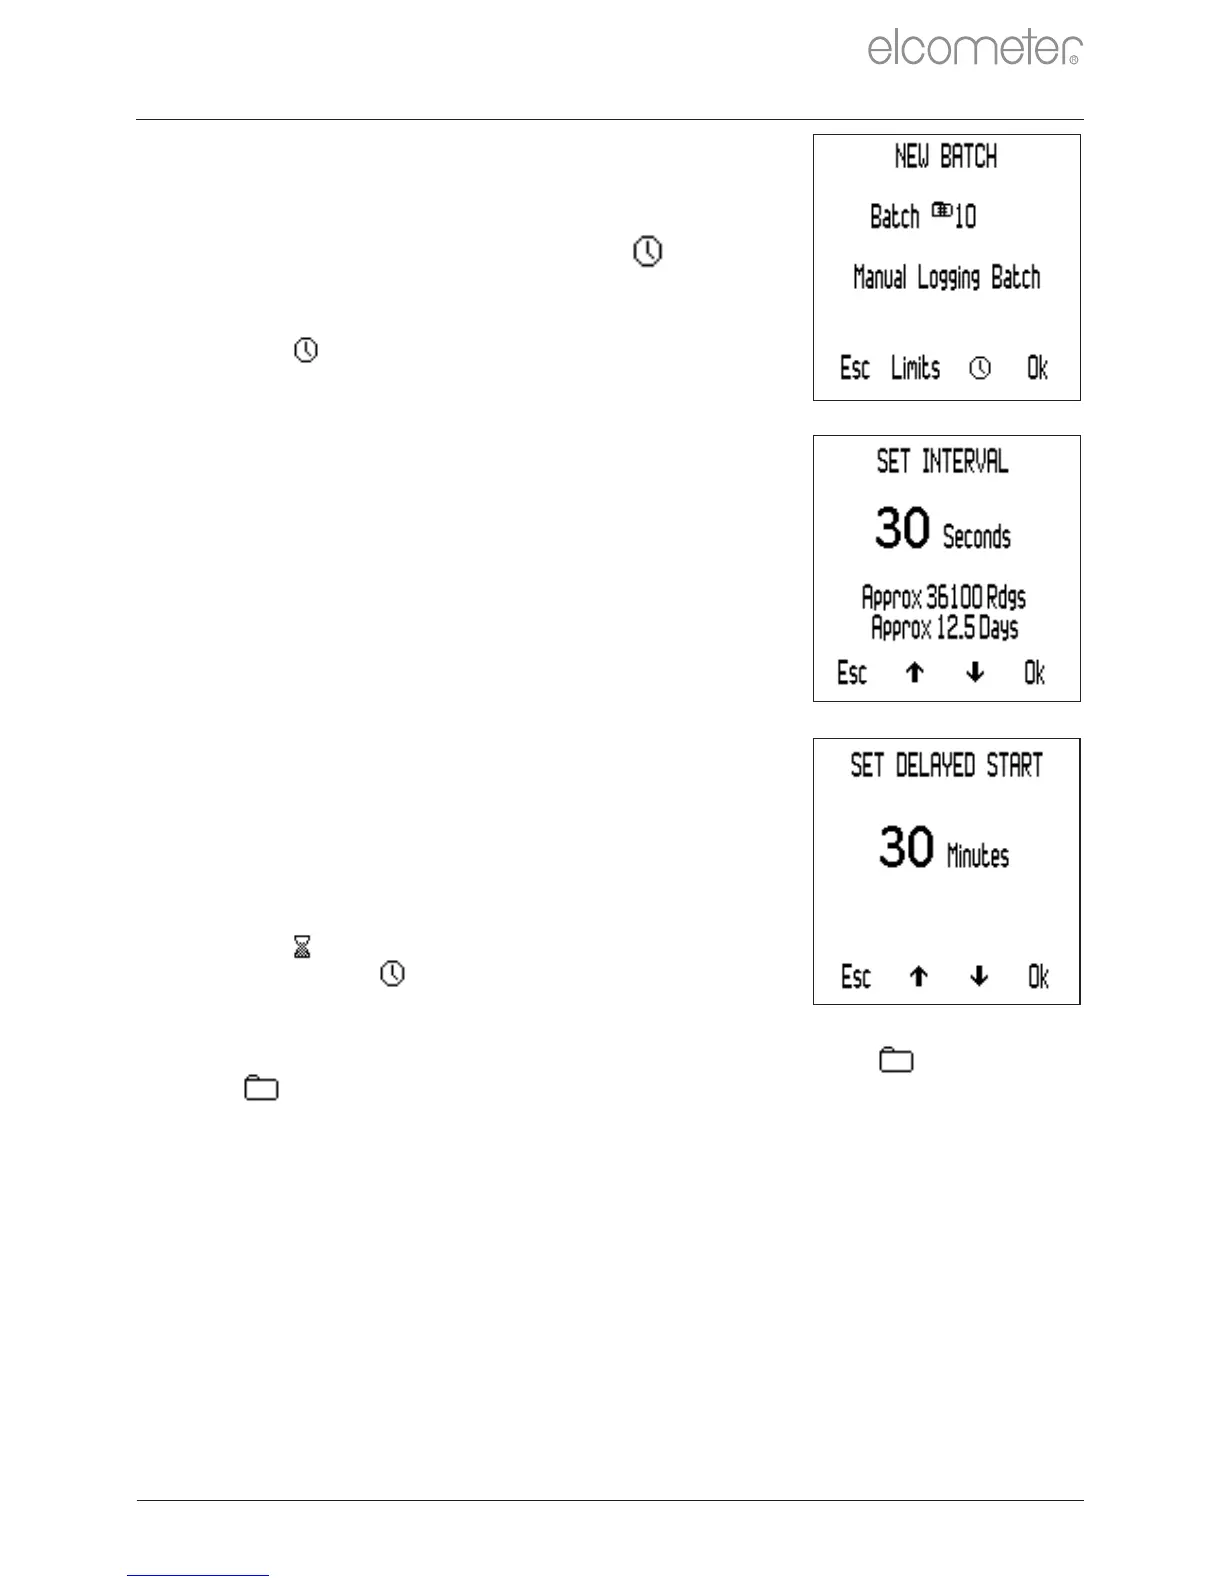
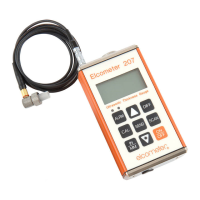
To create an ‘Interval Logging’ batch:
1 Press Menu/Batch/New Batch.
2 If ‘Interval Logging Batch’ is not
displayed on screen, press the
softkey to select ‘Interval Logging’
followed by ‘Ok’.
The icon will be displayed on the main
reading screen indicating that ‘Interval
Logging’ is enabled.
3 Use the sofkeys to set the
required time interval, between
1 second and 24 hours, followed by
‘Ok’ to set.
The approximate number of readings which
can be taken and saved in the batch
together with the approximate number of
days it will take to take those readings at the
time interval set is displayed.
4 If required, use the sofkeys to set
the required delayed start time,
between 1 and 60 minutes or ‘Off’,
followed by ‘Ok’ to set.
5 Press ‘Start’ to initiate logging.
If a delayed start time has been set, the
countdown will begin when ‘Start’ is pressed.
The icon will be displayed on screen,
changing to when the set delay has
elapsed and the gauge starts logging
readings.
When a batch is open, the ‘Batch’ softkey is replaced by . Press
to return to the Batch Menu.
www.elcometer.com
en-16
R
10 BATCHING - MODEL T (continued)