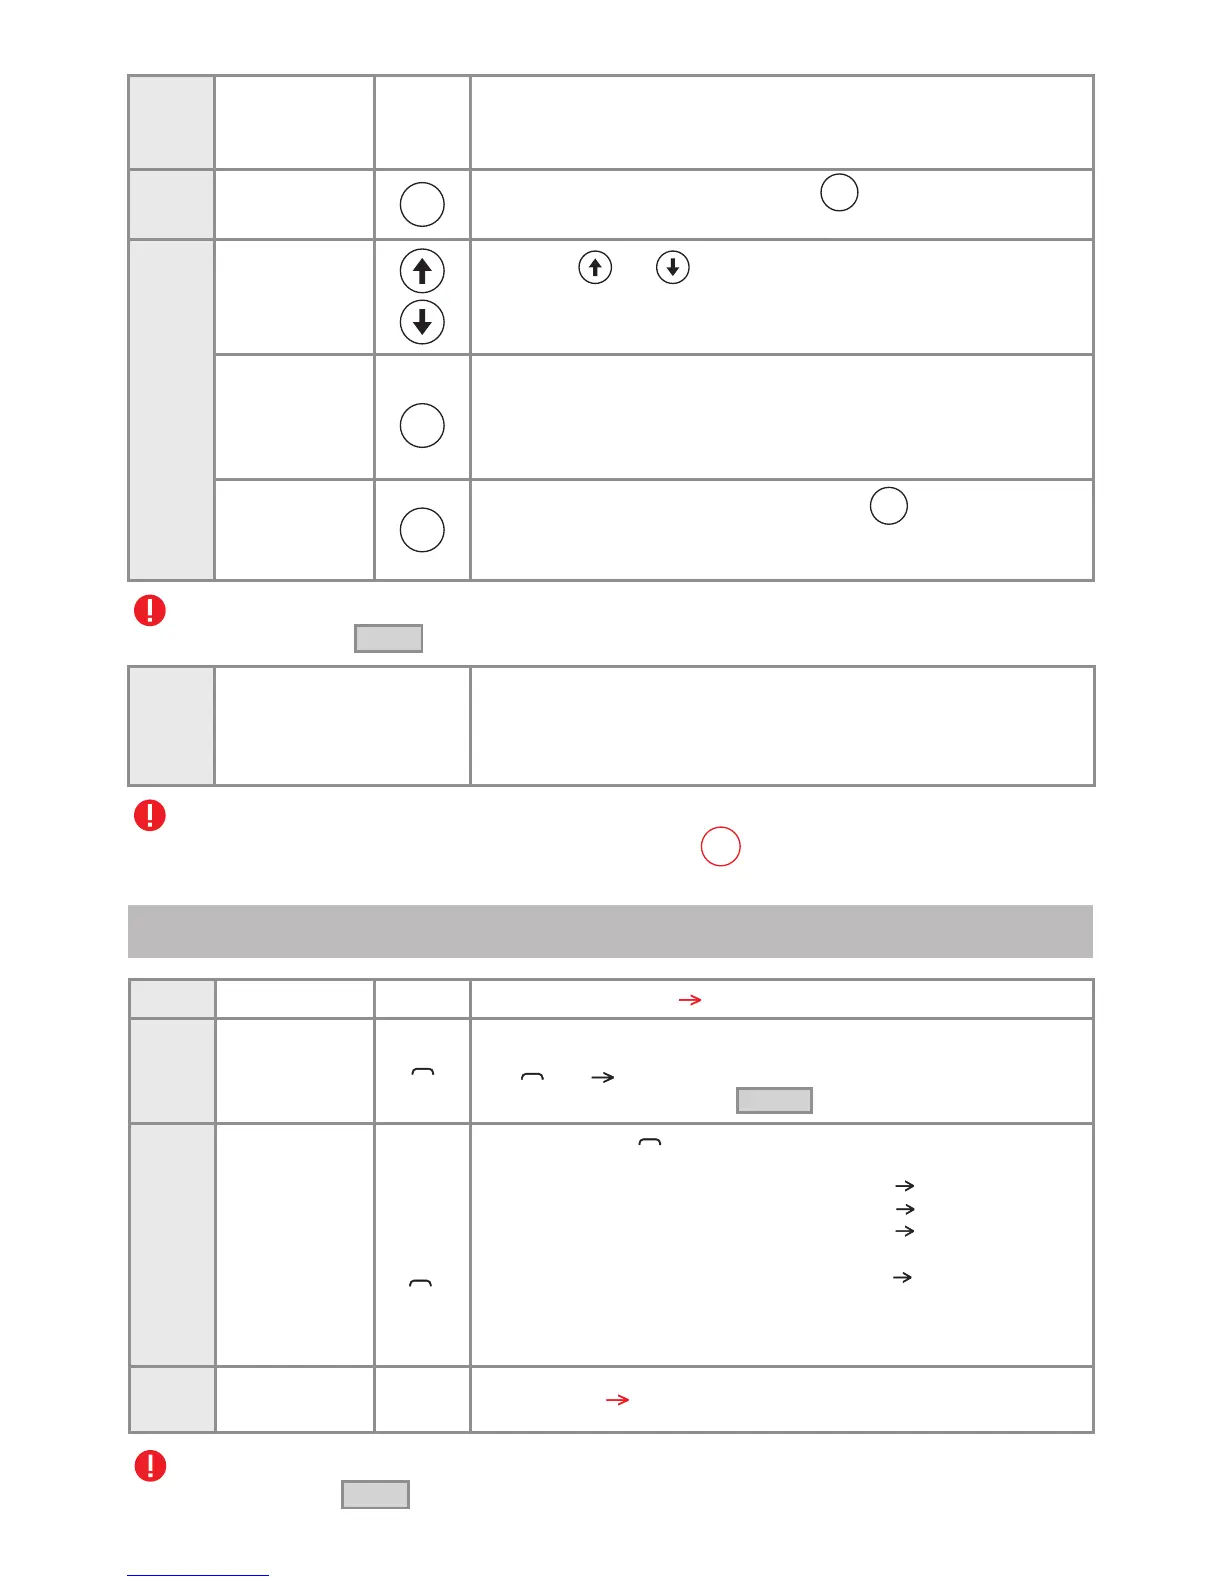
PRG
ON
Step 1
Step 2
PRG
Step 3
OK
SET
PRG
PRG
Note: Any error during programming is signalled with [ ]. In this case, the procedure must pe
BEEEEEP
recommenced from Step 3.
Step 4
Note: For addresses with more than 3 digits (ex. 1023), at the 3rd programming step, the thousand
-order digit of the address are set up, short pressing the ON key [the thousand-order digit is
changed from “0” to “1” and vice versa.
2. Manually programming the addresses of the terminals
Step 1
Central unit SCU
PROG
Step 2
At the terminal (mounted on the wall and supplied), long press
BEEEEP
the key [ ] .
You have 5 sec. to jump to Step 3 .
1...20
touches
x
Short touch the key, for a number of times equal to
the desired address. For ex.:
BEEP
2 short touches - address 2 is programmed 2 x [ ].
BEEP
3 short touches - address 3 is programmed 3 x [ ].
BEEP
4 short touches - address 4 is programmed 4 x [ ].
...
BEEP
n short touches - address n is programmed n x [ ].
After the confirmation sound the terminal exits the
programming mode by itself.
Step 4
Central unit SCU
PROG
Press PROG. The red LED turns off.
Note: Any error during programming is signalled with [ ]. In this case, the procedure must pe
BEEEEEP
recommenced from Step 2
Step 3
Connect the front case of the terminal to the PRG.TRM.001
programming device. The terminals of the programmer will be
connected to the +14V, CD and GND hubs of the terminal
Turn the device on, by pressing the ON key. The terminal
emits a [
BEEP
].
Short press SET for inserting the address in the memory of the
terminal. SET appears on the display. If the address is not
correctly inserted, ERR is displayed and an error [ ] is issued.
BEEEEP
Press SET again to reinsert the address.
Using the and keys, create the 3 digits that represent
the terminal's address (number of the apartment). For example,
for apartment 4, type 004, for apartment 23, type 023 etc..
After setting the address, long press the OK key. The terminal
BEEEEEP
emits a long, high-frequency [ ]. The programming of the
terminal is terminated.
The programmed terminal is connected on the back case
mounted on the wall. The additional terminals mounted in
parallel will be programmed with the same apartment no.
(the address of the main terminal) by following the 1...3 steps.
Long press of PROG. The red LED turns on.
42
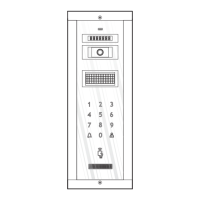
Terminal
VTM/VTE/ATM
Terminal
VTM/VTE/ATM
Terminal
VTM/VTE/ATM
Terminal
VTM/VTE/ATM