18
Installation manual
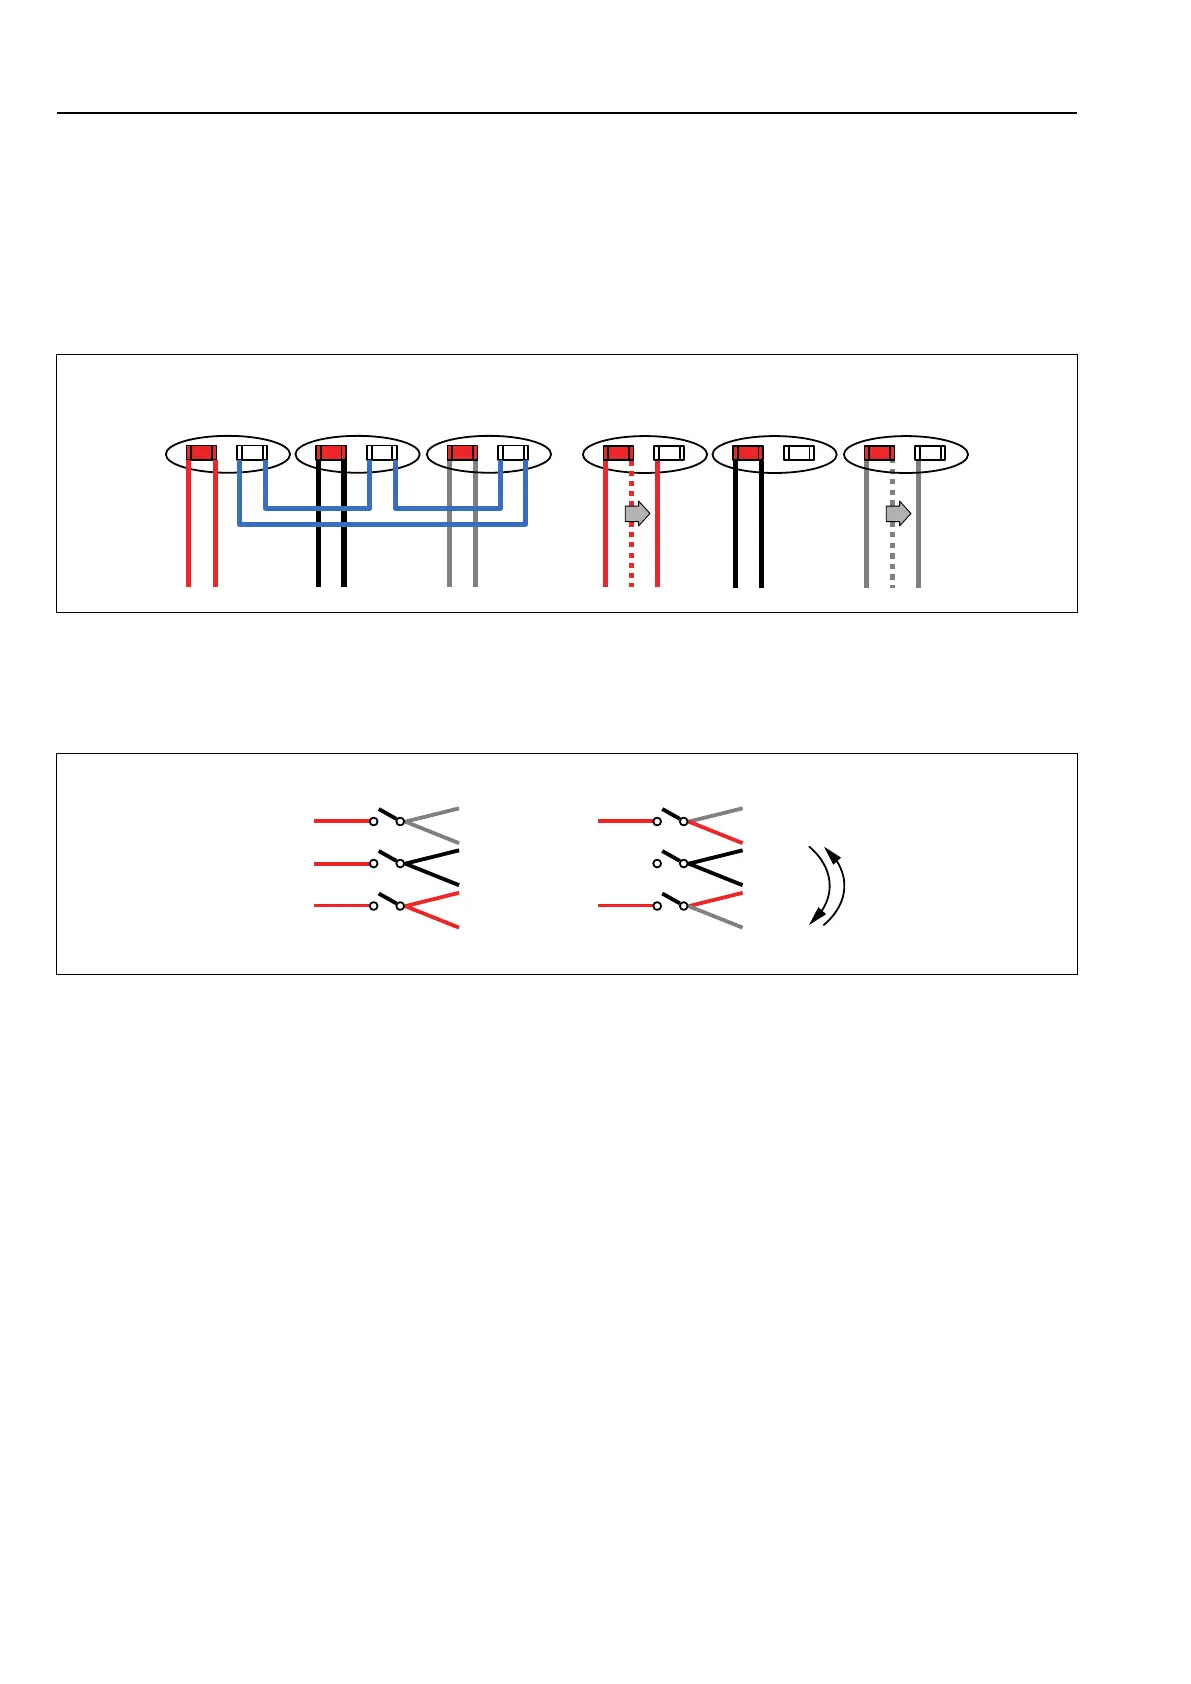
7.4.2 The machine can be converted from 400–415V 3AC to 230-240V 1AC with reduced
power
Disconnect the power to the machine.
Demount the front panel and remove the cover to the heating elements.
Remove the blue cables.
Move cables 357/BN on E1 and 358/GY on E3 from the red to the white terminals on each element.
Remount the cover to the heating elements and remount the cover panel.
400V/3~ 230V/1~
E1 E2 E3
355/BN
357/BN
354/BK
356/BK
353/GY
358/GY
E1 E2 E3
355/BN
357/BN
354/BK
356/BK
353/GY
358/GY
fig.8023
Demount the cover panel to the contactors.
• Reconnect K21 by switching position of 357/BN and 358/GY.
• At the main switch, reconnect L3 to N.
355/BN
358/GY
354/BK
357/BN
353/GY
356/BK
K21
L1
L3 => N
355/BN
357/BN
354/BK
356/BK
353/GY
400V/3~ 230V/1~
358/GY
K21
L1
L2
L3
fig.8024
Remount the cover panel to the contactors.
Connect the power to the machine.
Check that all terminals and wires are secure and test run the machine on a short program with 60°C to ensure that it
does heat up.

 Loading...