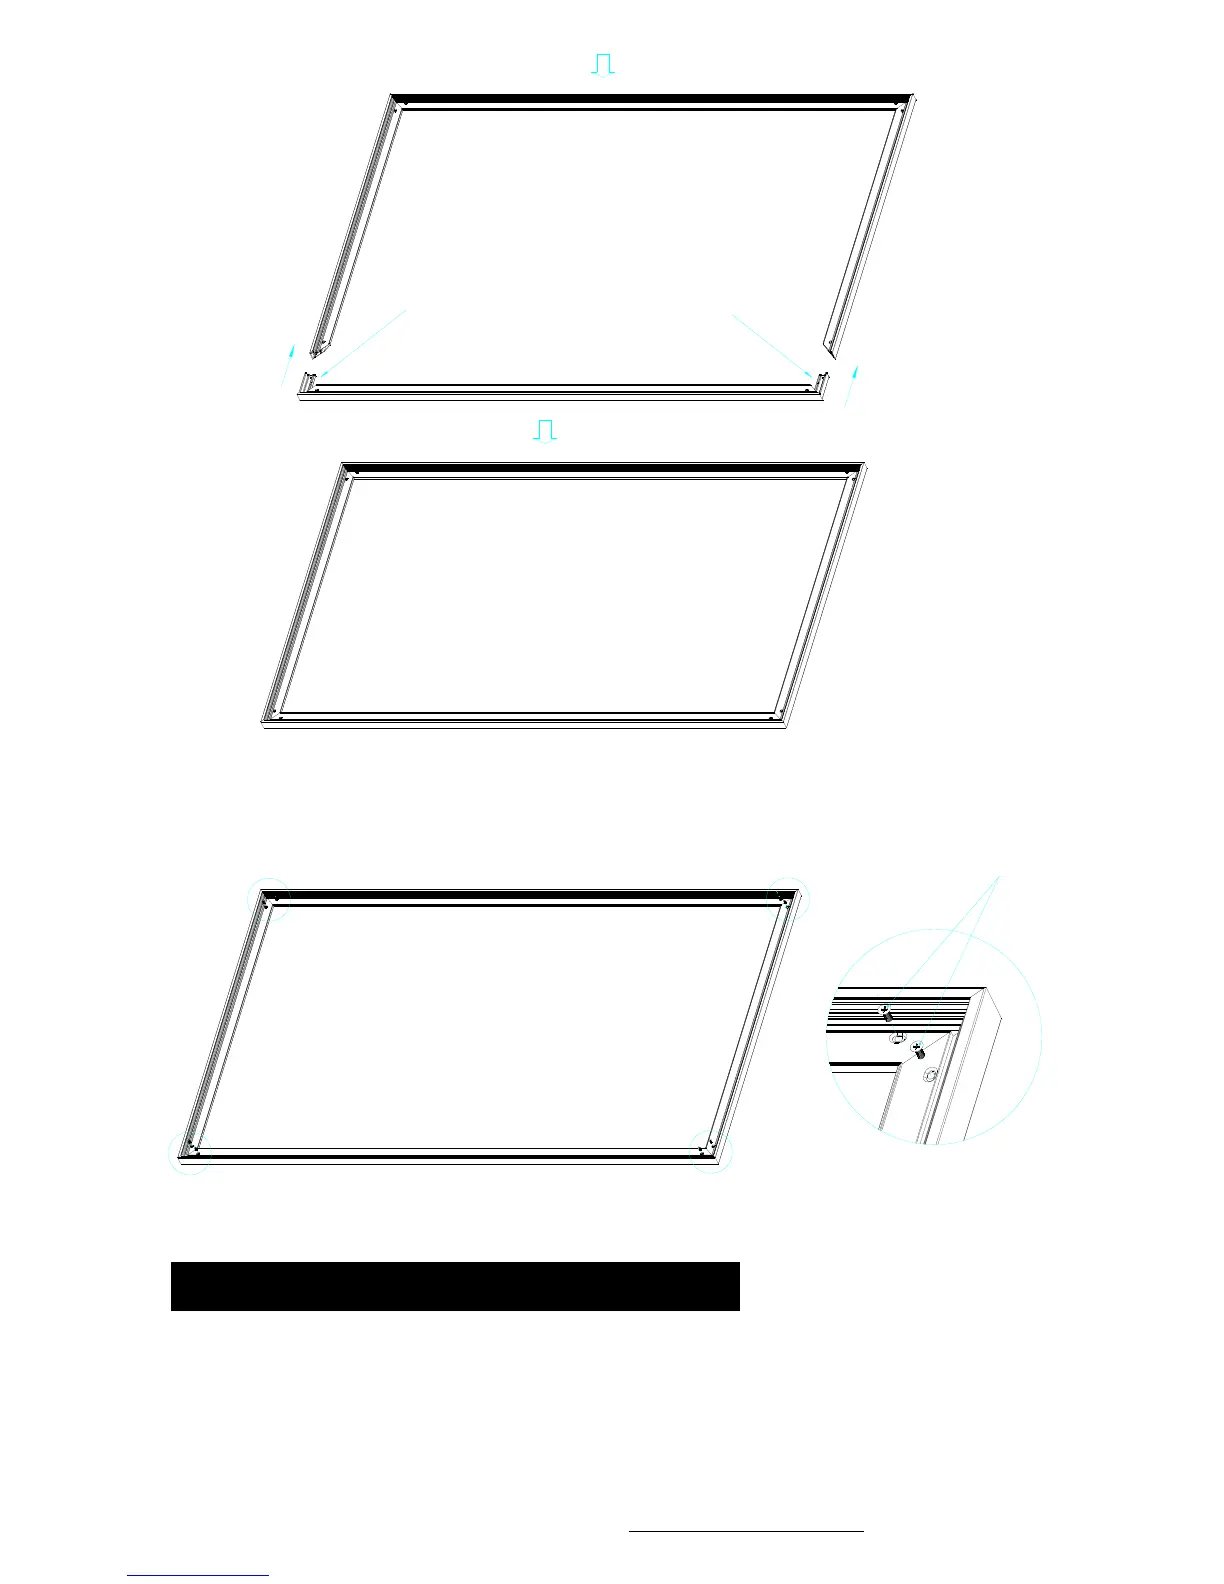
Push
Push
( fig.2)
Insert the exposed ends of the joint connectors
into the short (vertical) frame and align the four
corners so that they meet at perfect right angles
5. After making sure that all four corners join at right angles to form a perfect rectangle, fasten the
four angles together by using the (x8) joint screws included. (see fig.3)
6. Lay out the screen and tension rods on a clean and dry surface. Pass the screen
tension rods through the sleeves according to their corresponding lengths on each
edge of the screen as seen below. (see fig.4)
Screw
( fig.3)
Attaching the screen material to the frame
www.elitescreens.com / eliteinfo@elitescreens.com
1. Lay out the screen and tension rods on a clean and dry surface. Insert the screen tension rods
through the sleeves according to their corresponding lengths on each edge of the screen as seen
below. (see fig.4)

 Loading...