Rev.V02182023DT (DS8598) 2 www.elitescreens.com
WARNING
Due to various installation environments, the instructions provided in this user’s guide are for reference only.
Please consult a professional installation company for further installation and safety advice. The installer must
ensure that proper mounting hardware is used to provide adequate strength suitable for the installation.
Elite Screens is not liable for any faulty installations.
Individual modifications to this product are prohibited and will void the manufacturer’s warranty. Please contact
the Elite Customer Service Team with any questions.
NOTE: This equipment has been tested and found to comply with the limits for a Class B digital device, pursuant
to Part 15 of the FCC Rules. The product settings are designed to provide reasonable protection against any radio
interference within a residential installation. If properly installed, the screen may suffer from RF interference from
other home electronics.
Although radio interference affecting other household electronics is unlikely, the following steps can be taken
should RF interference occur.
✓ Reorient or relocate the receiving antenna on the device that may be casing the interference.
✓ Increase the distance between the screen and the interfering device’s receiver.
✓ Connect the projection screen to another power source apart from the interfering device.
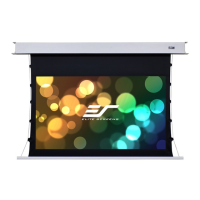
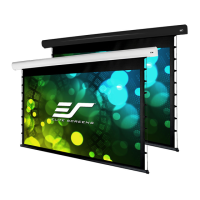
Pre-Installation
1. Carefully unpack the screen.
2. Always handle the screen upright on a clean, level surface.
3. Keep the screen out of contact with foreign particles such as dust, sawdust, and/or liquids.
4. Do not use this product in an outdoor environment. Avoid areas with wind blowing directly on the screen
as this can distort the projection image.
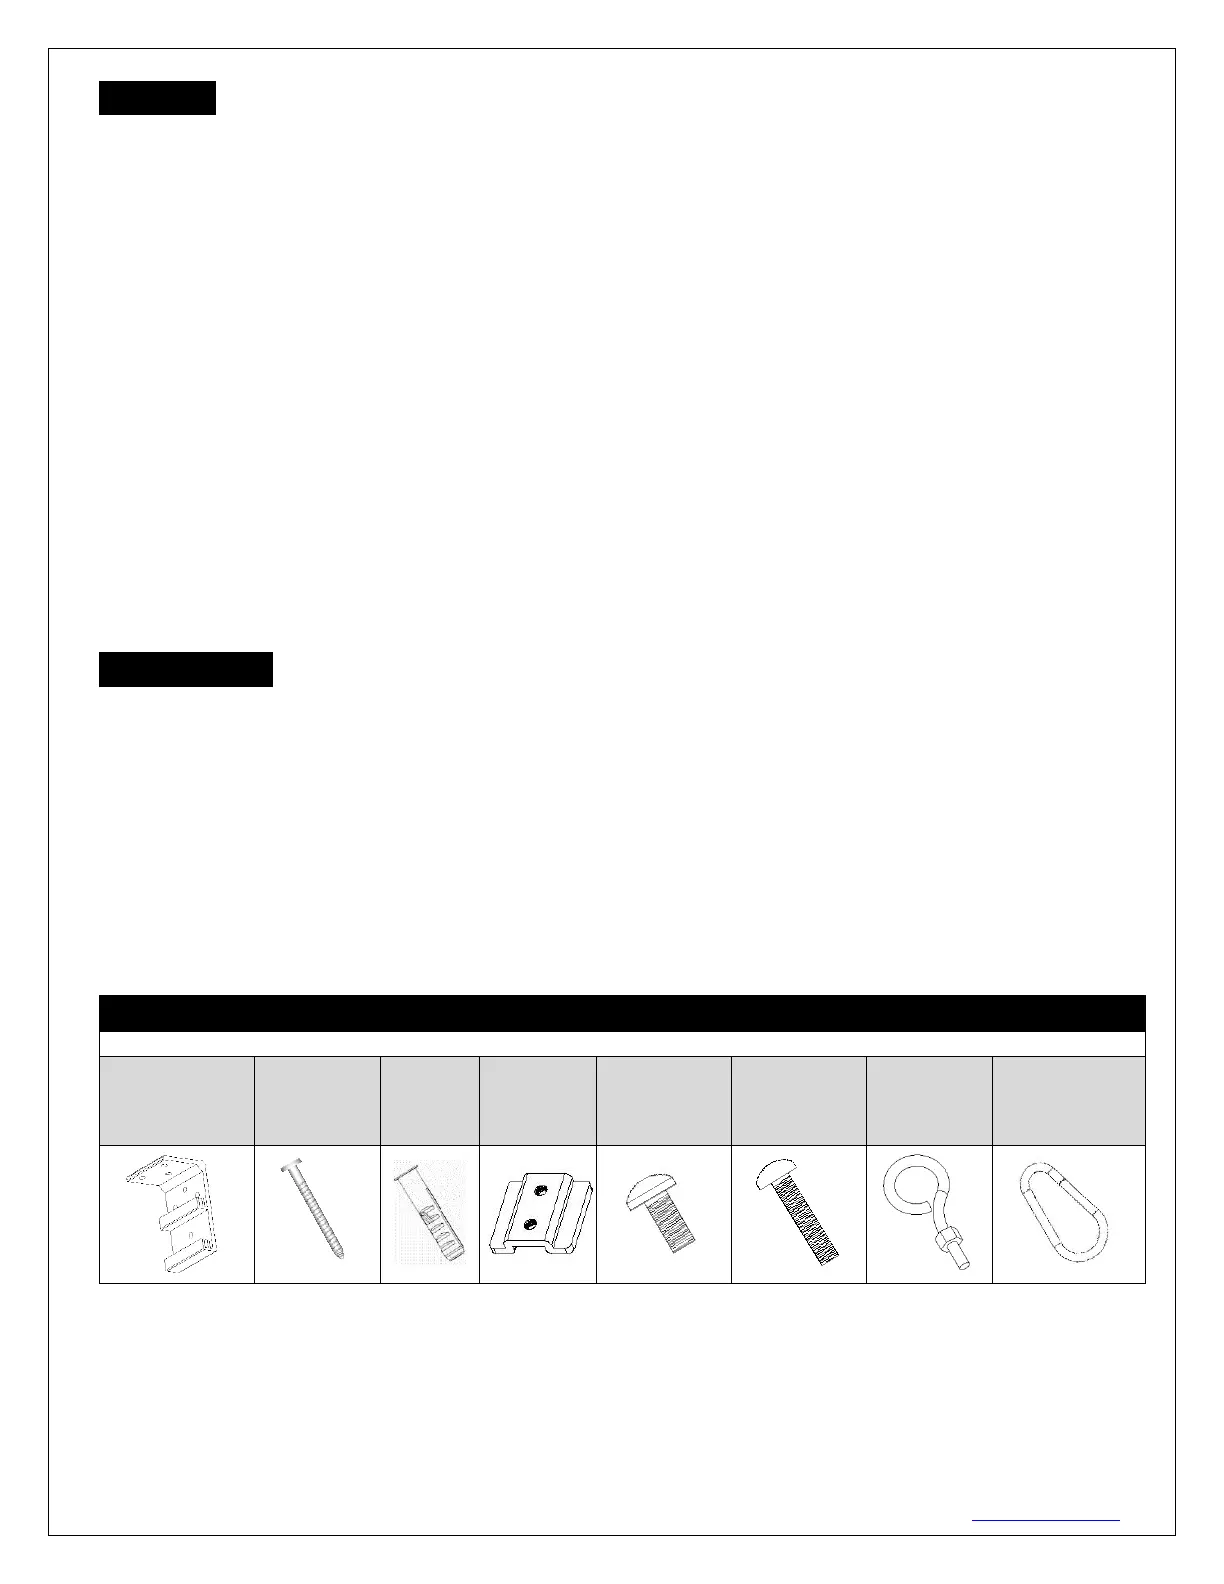
NOTE: Regardless of the mounting method, each screen should be securely installed so that vibrations or pulling
on the viewing surface will not cause the casing to become loose or fall. Included are complimentary mounting
screws that may or may not be appropriate for your installation. Always use the correct anchors to safely secure
the screen and always consult a professional integrator.
 Loading...