26
F.
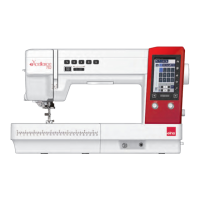
Needle Position
There are 5 needle positions available to
sew the 17 stitches. A colored dot
corresponding to the color of the stitch
name appears above L0, L1, L2, R1 or R2
to indicate which position(s) will require a
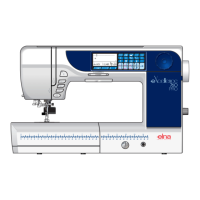
needle. Insert a needle into the proper
needle position. (See page 36 for
operating tilting needle clamp.)
Example:
• Yellow dots = 5 Thread
Insert a needle in position R1 and R2.
• Blue dot = 3 Thread Wide
Insert a needle in position R1.
• Red dot = Overlock 3
Insert a needle in position R1.
IMPORTANT: Switch off the machine
when inserting needles.
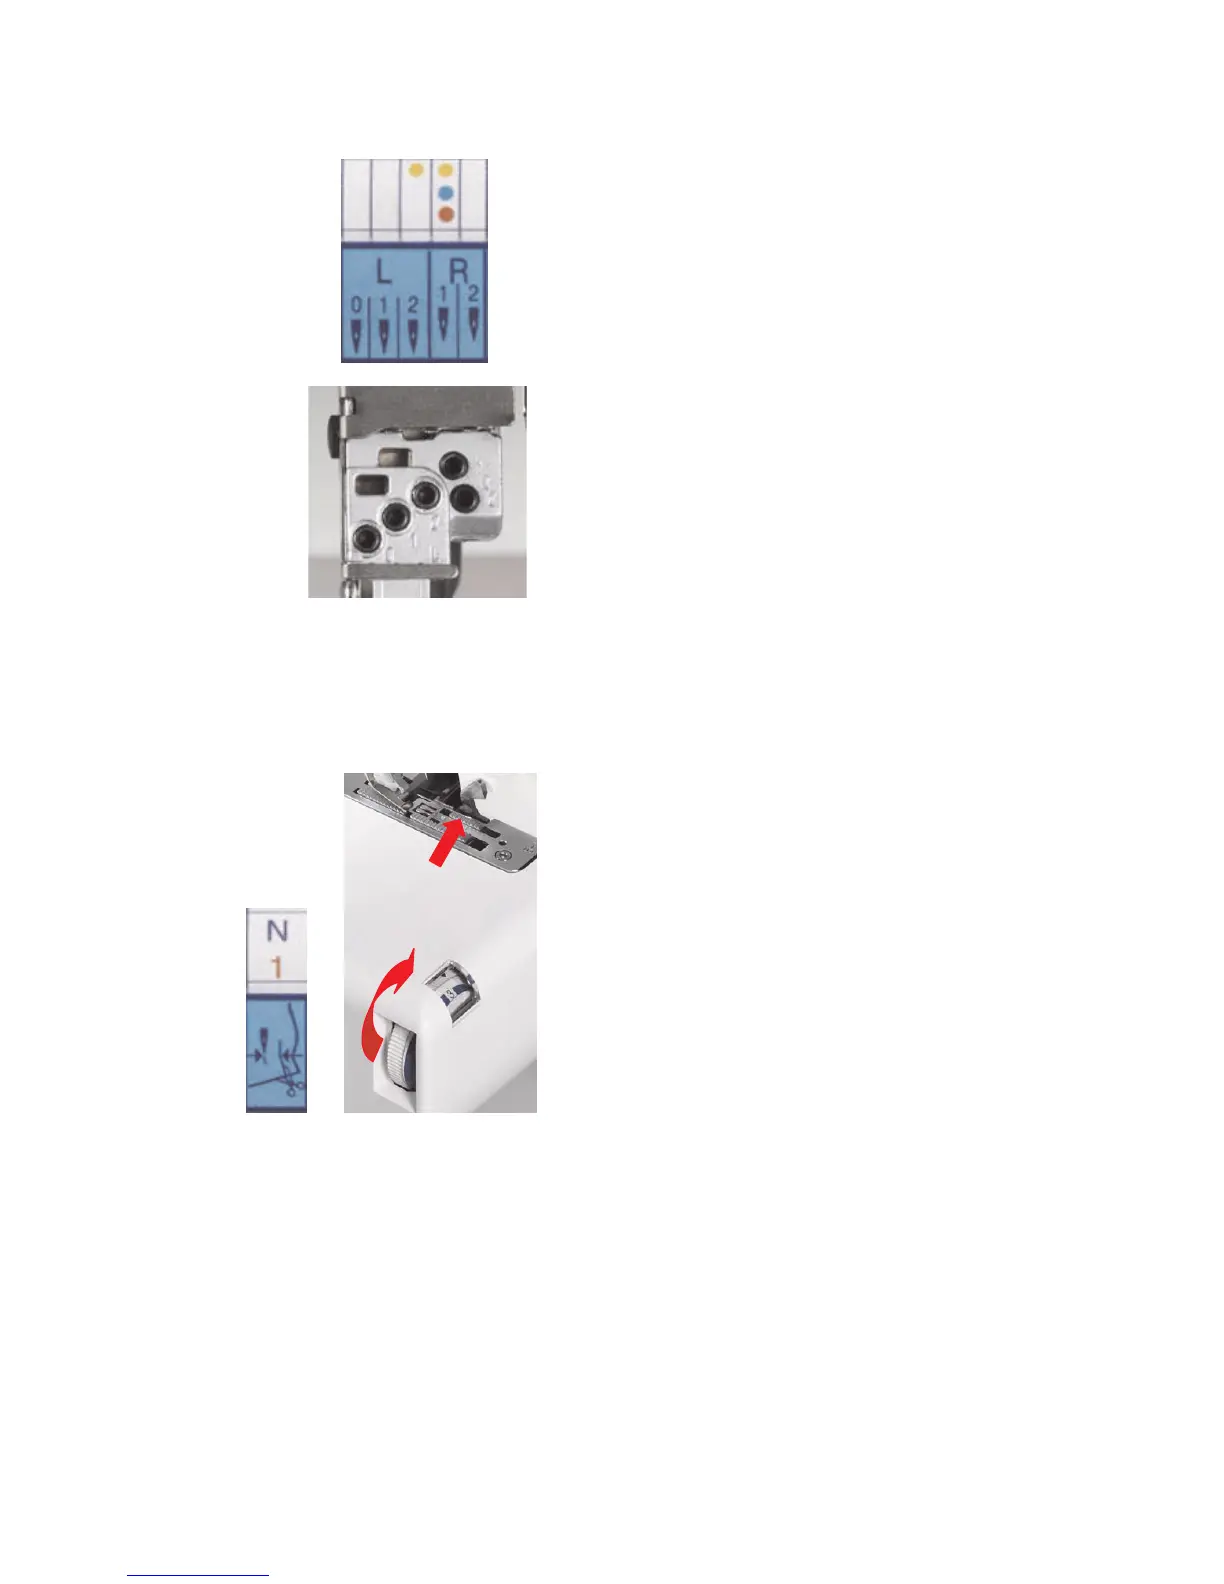
G. Set Cutting Width Dial
The cutting width dial sets the distance
between the needle and where the blades
cut. Turn the dial until the readout on the
display panel is visible in the side door
window.
Example:
• Blue N = 5 Thread and 3 Thread
Wide – move cutting width dial to N
setting.
• Red 1 = Overlock 3 – move cutting
width dial to 1 setting.
HINT: Open left side cover to fully expose
cutting width dial to more easily turn dial
for wider widths.
IMPORTANT: Never move cutting width
dial if threads are forming a stitch around
the instant rolled hem device (stitch width
finger). Remove threads by raising
presser foot and gently pulling them to the
back.
 Loading...