60
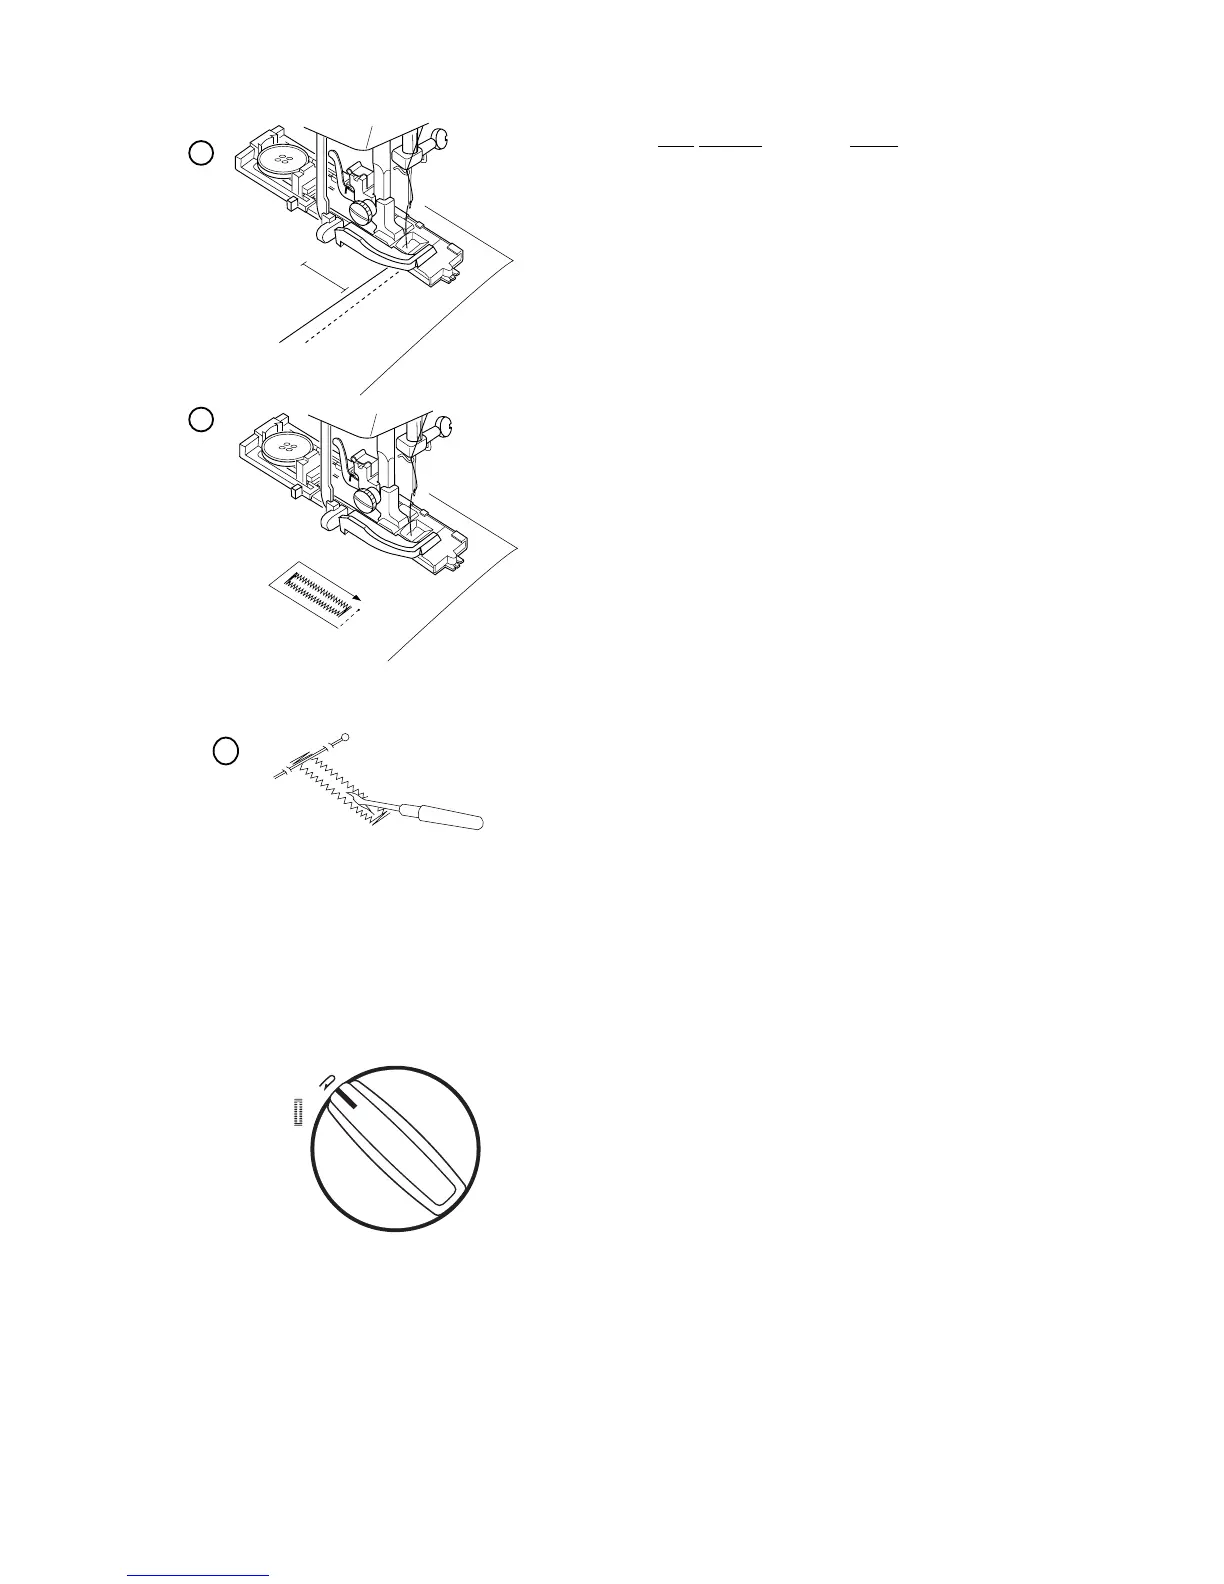
4. Mark the buttonhole area on the fabric. Place
both threads to the left under the foot. Insert the
garment under the foot and turn the flywheel
until the needle comes down into the fabric. The
needle should go in exactly at the marked line
for the buttonhole. Lower the presser foot.
5. The buttonhole will automatically sew:
1. the front bartack and zigzag on left side
2. back bartack
3. zigzag on right side
Sew slowly and stop sewing when front bartack
is reached and buttonhole is complete.
6. Cut threads at least 10 cm (4”) long. Pull the
needle thread to the wrong side of the fabric.
Knot the threads.
To cut the buttonhole open, place a pin just in-
side the bartack (to prevent accidentally cutting
bartack) and use a seam ripper.
To sew another buttonhole, turn the stitch selector
knob to “Reset” and back to “A”.
NOTE: It is important to turn the stitch selector
knob so that you begin the next buttonhole with
the front bartack step.
When buttonhole sewing is finished, push the button-
hole lever upward as far as it will go.
4
5
6
\
4
14
\
5
15
\
6
16
\
7
17
\
8
18
\
9
19
\
10
20
A
RESET
\B
\
2
\
1
\
3
C
12
11
13