Installation The following sections will step you through the
installation of the printer.
Step ➊
Attach Power
Supply
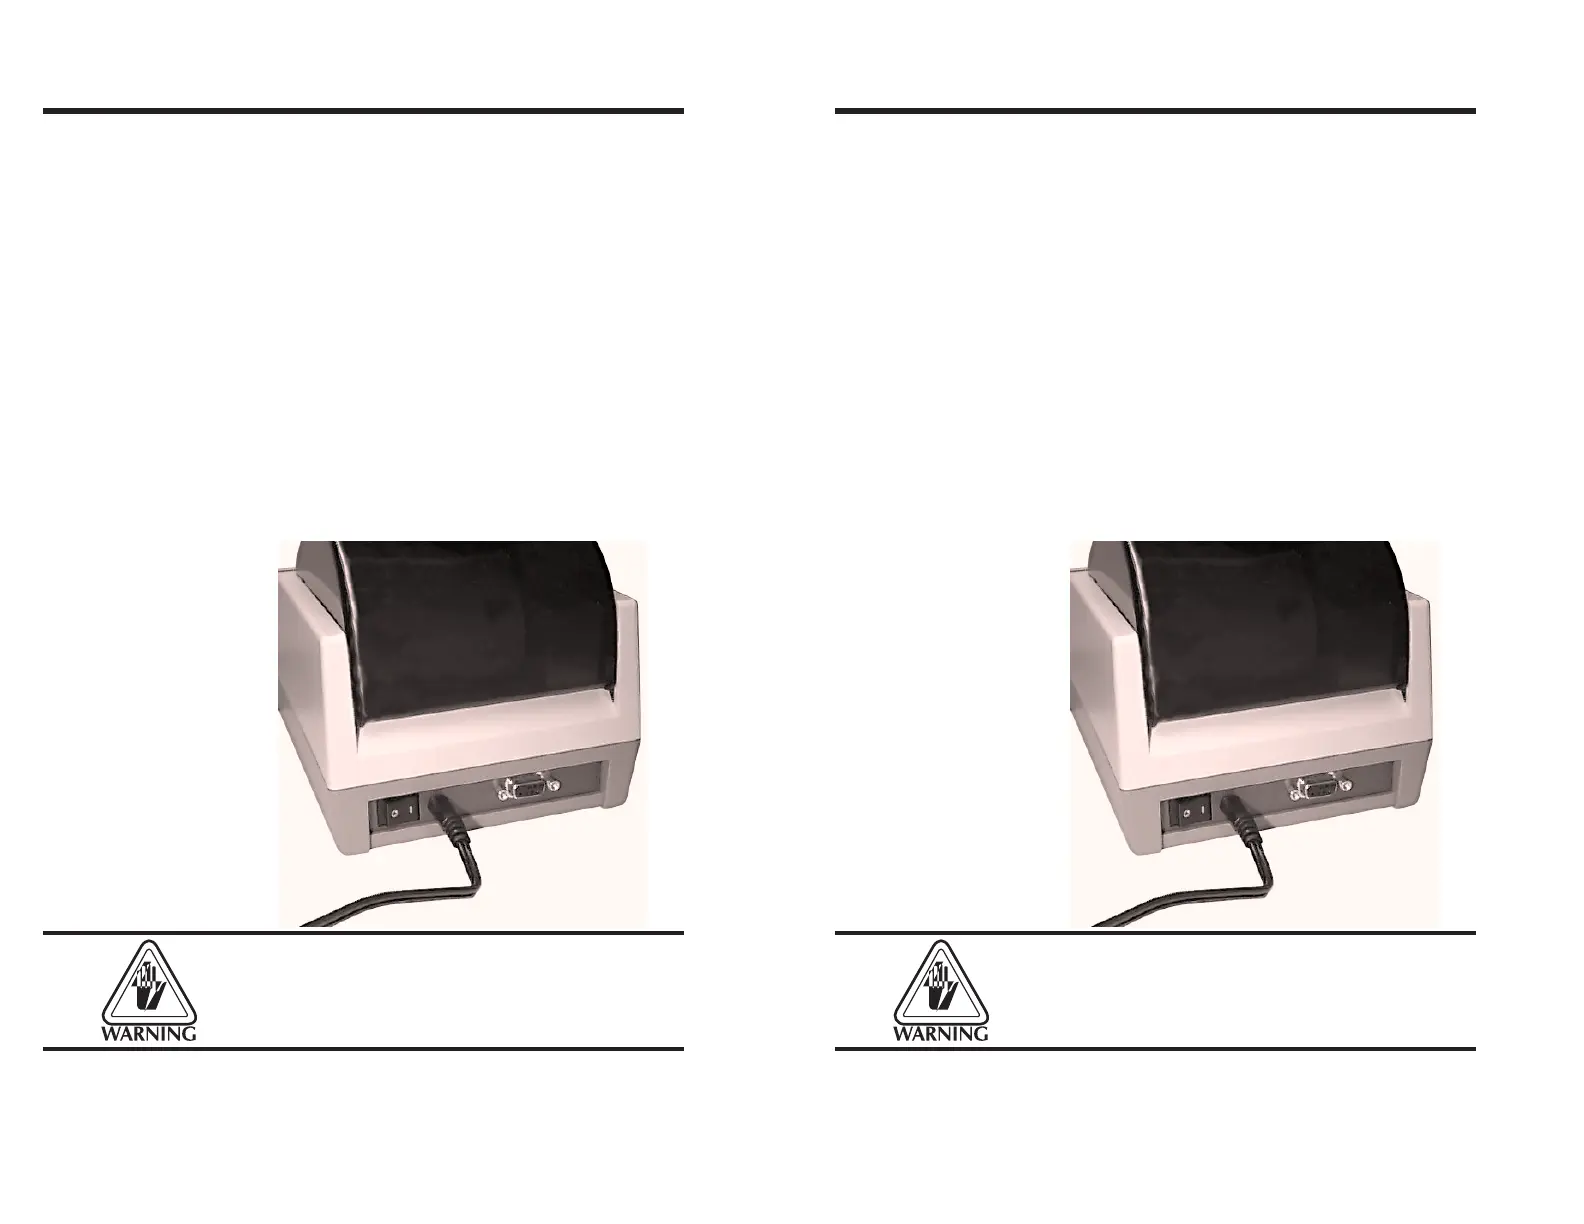
Place the printer in a suitable location that
allows easy access to printed labels. The printer
should never be operated while resting on it’s
side or upside down. Place the power supply
in a suitable location, preferably on the floor
near an electrical outlet. Check that the printer
power switch is in the OFF (0) position. Attach
the printer power cable to the jack at the rear
of the printer, near the power switch. Check the
label on the power supply for input voltage
requirements. Attach the power supply line
cord to an electrical outlet of the proper volt-
age.
The printer and power supply should never be
operated in a location where either one can get
wet. Personal injury could result.
Getting Started
4 980090-001 Rev. B
Installation The following sections will step you through the
installation of the printer.
Step ➊
Attach Power
Supply
Place the printer in a suitable location that
allows easy access to printed labels. The printer
should never be operated while resting on it’s
side or upside down. Place the power supply
in a suitable location, preferably on the floor
near an electrical outlet. Check that the printer
power switch is in the OFF (0) position. Attach
the printer power cable to the jack at the rear
of the printer, near the power switch. Check the
label on the power supply for input voltage
requirements. Attach the power supply line
cord to an electrical outlet of the proper volt-
age.
The printer and power supply should never be
operated in a location where either one can get
wet. Personal injury could result.
Getting Started
4 980090-001 Rev. B