START. START.
16 17
Access to advanced settings
1. Press [ON/OFF] to turn on the bike. Press
and hold the [+] and [-] buttons to access
the settings.
2. Hold down the [+] and [-] buttons, while
pressing the [ON/OFF] button 8 times to
access the advanced settings.
1st advanced parameter: Wheel diameter
setting. This parameter is set by default to 20
in, i.e. 20 inches.
2nd advanced parameter (oFT): Setting of the
automatic sleep time (between 0 and 60 min).
3rd advanced setting (dH): Setting the
number of assistance levels (between 2 and
9). The YUVY is delivered with a setting of 5
levels. Level 1 (20% assistance) to 5 (100%
assistance). If you choose a 9 level assistance
setting, the assistance will be scaled from 20%
to 100% over 9 levels
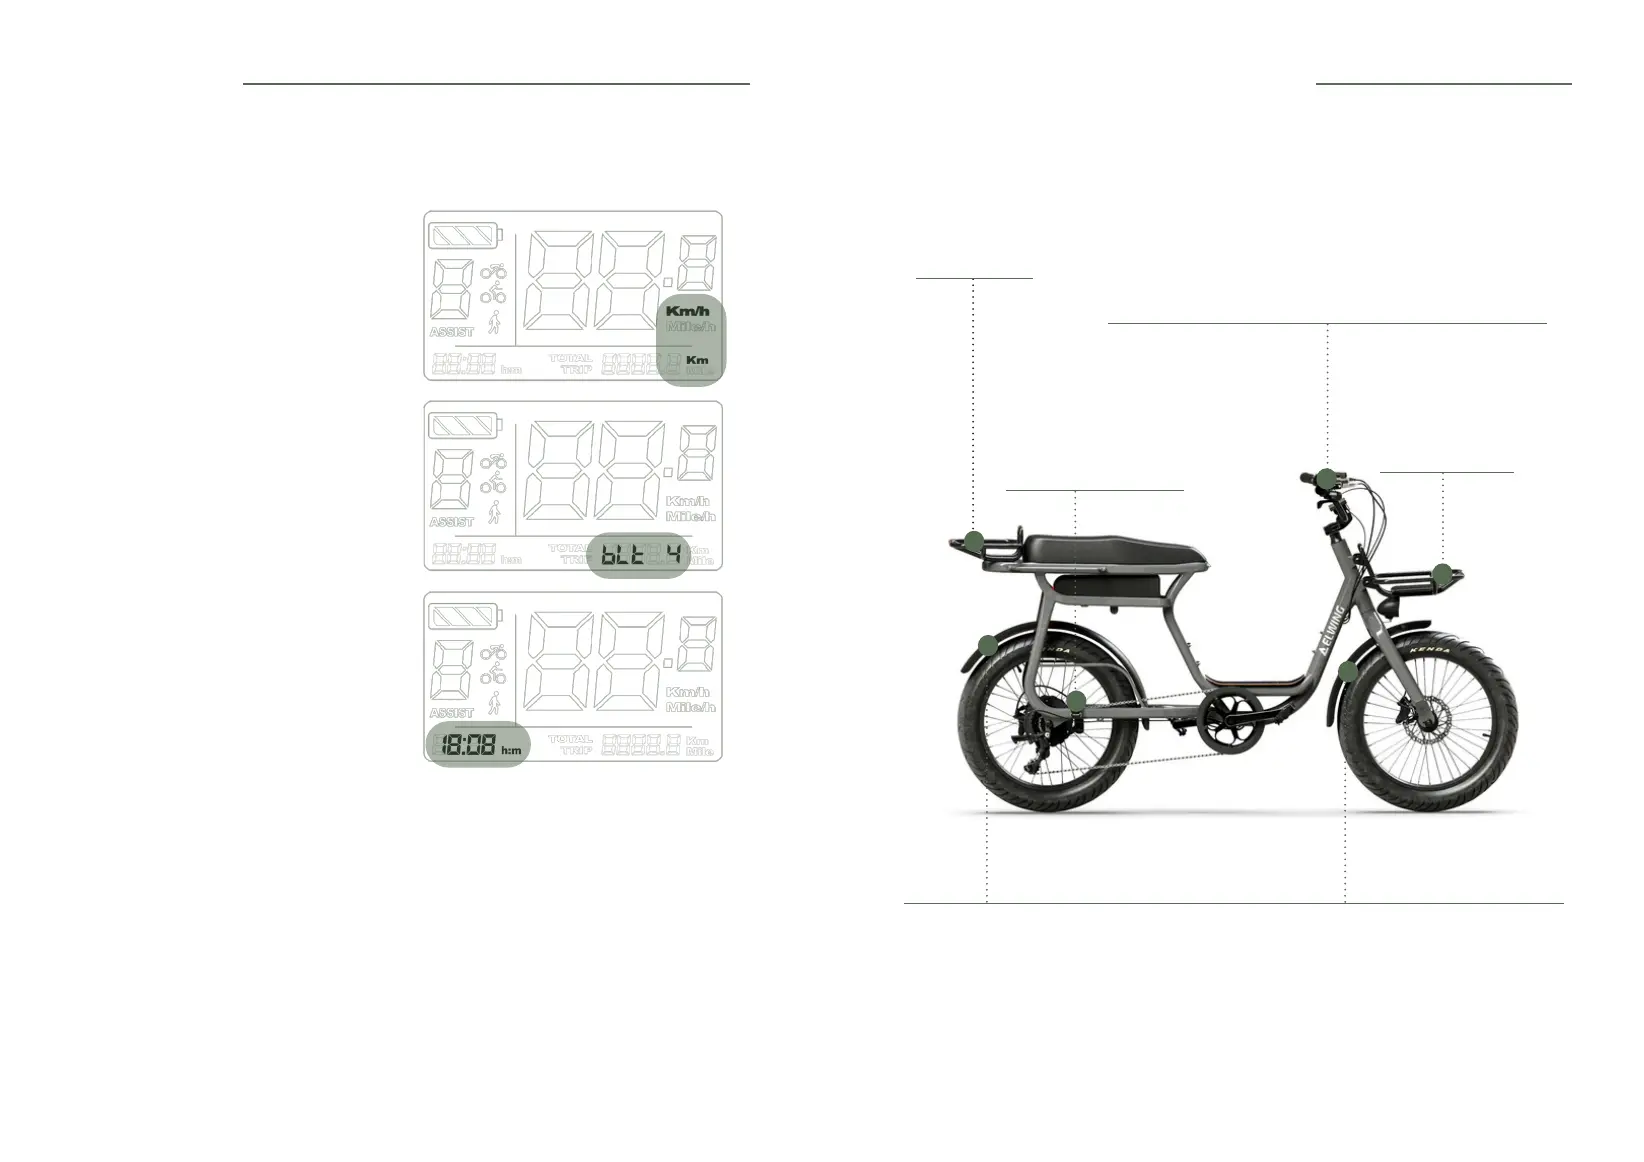
5.4 Access to parameters
• To access the settings, press and hold the [+] and [-] buttons. Press the [ON/OFF] button to
navigate through the menus.
1st parameter
You can change the unit of measurement by
pressing [+] or [-].
2nd parameter
Screen and rear light brightness.
3rd parameter
Setting the time.
6. Optional accessories assembly
Mudguard
In order to avoid friction that could lead to a puncture, make sure that there is a minimum
distance of 6 mm between the tyre and the mudguard at all points. This check should be
carried out regularly and every time you change the tyres on your bike.
Observe the original tyre size to maintain this gap. If the gap is smaller, contact your retailer so
that he can make the adjustment.
Regularly check the tightness of the xing points of your mudguards (refer to the Table of
recommended tightening torques)
Footrest
2 screws per footrest.
Screwed into the inserts
provided for this purpose..
Front basket
2 bolts.
Rear basket
3 bolts.
Accelerator
To install the throttle trigger, remove the handle (2 screws) and
brake lever (1 screw) by sliding them along the handlebars.
Position the trigger so that you can reach it with your thumb.
Reposition the handle and the brake lever.
NOTE
The throttle can be placed on the left or right side of the vehicle
as desired.
5. The screen