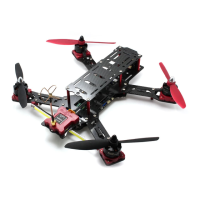
Nighthawk Pro
www.emaxmodel.com
12
motors. (Please refer to Appendix - Self checking light status)
Note:
Please test the distance between radio and video transmitter before testing to make sure the actual distance between
radio and video transmitter in your flight aera, for the electromagnetism will influence the distance between radio and
video transmitter.
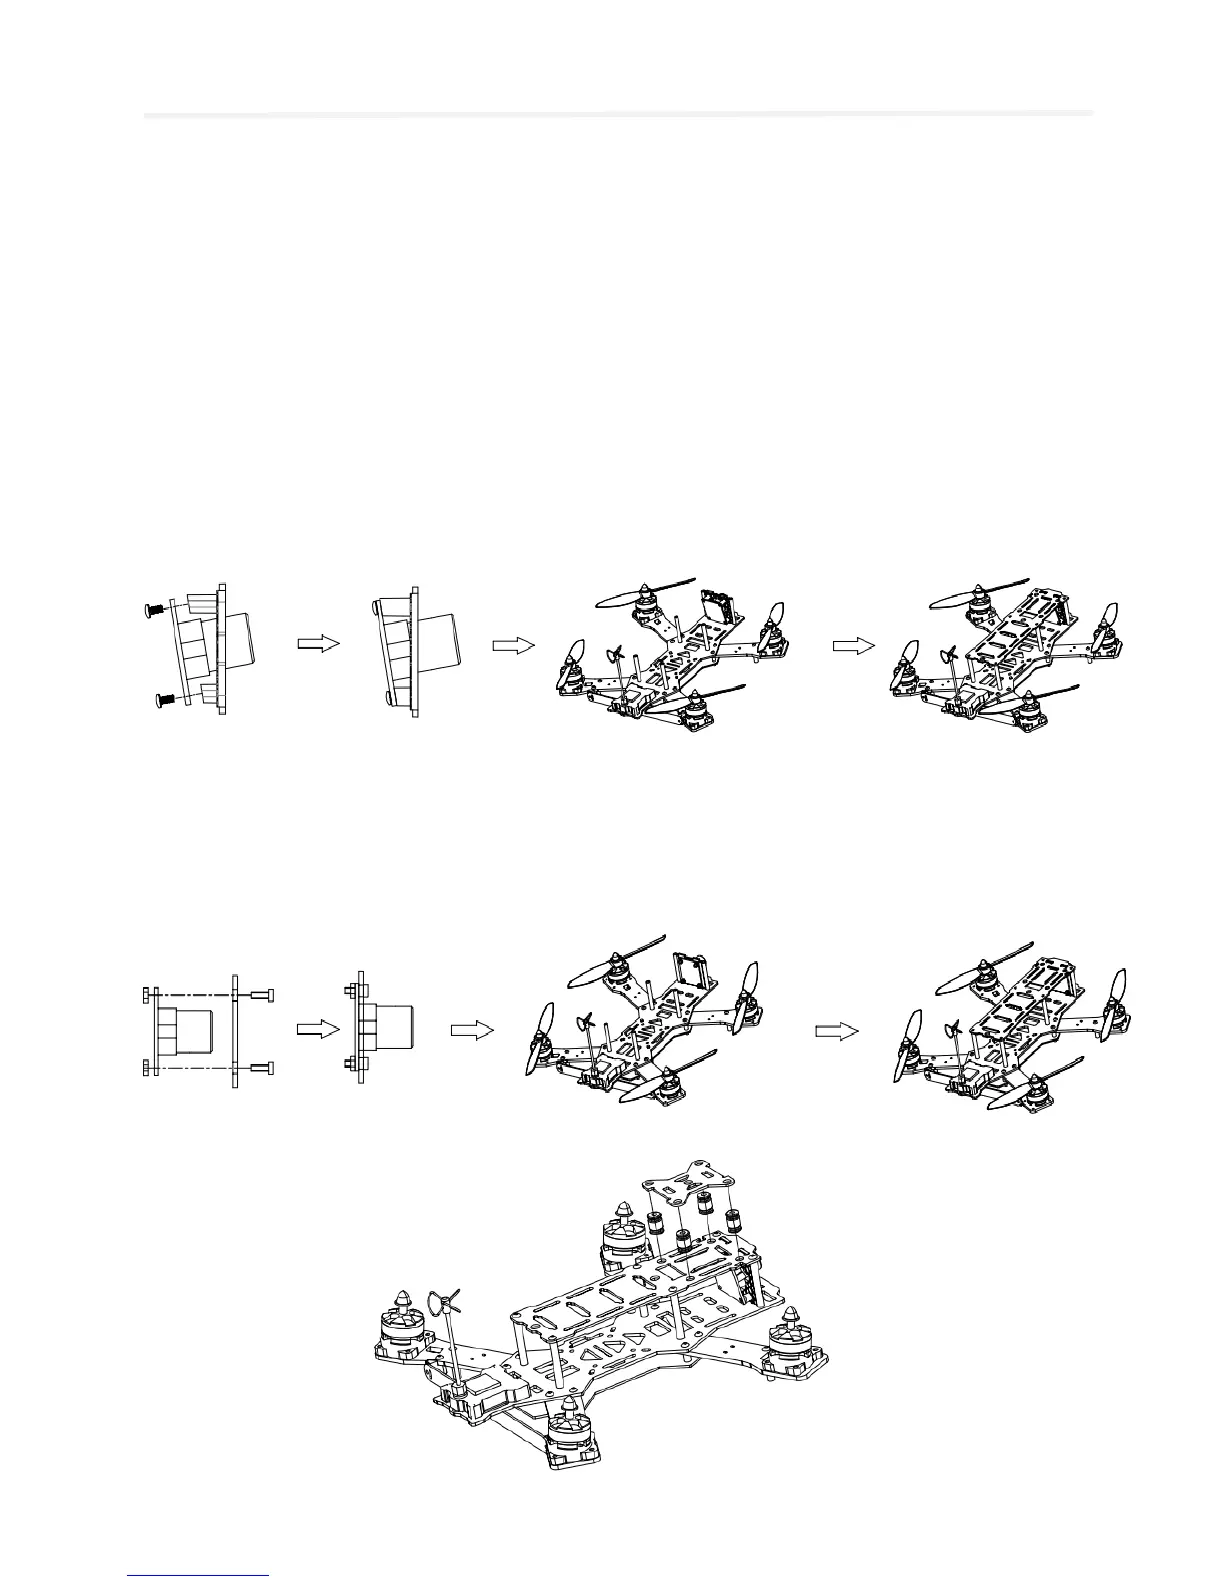
Step 7 Upgrade Accessories Installation
Inclined Camera Mounting Plate Installation
(1)Place camera to inclined camera mounting plate
(2)Use M2.3X6.5mm self tap screw to secure the camera
(3)Remove top board
(4)Insert camera with inclined mounting plate to the middle board
(5)Install the top board with M3.0X6.0mm screw with hex driver.
Camera Mounting Plate Installation
(1)Place camera to camera mounting plate
(2)Use M2.5X8.0mm nylon screws and M2.5 nylon nut to secure the camera.
(3)Remove top board
(4)Insert camera with mounting plate to the middle board
(5)Install the top board with M3.0X6.0mm screw with hex driver.
MOBIUS Accessories Installation