16
EMC Rails and Enclosures (CX3-10 Class and CX3-20 Class Storage Systems) Field Installation Guide
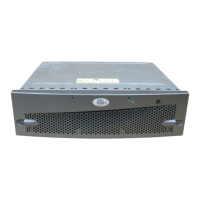
Installing a 1U SPS tray and SPS units in a cabinet
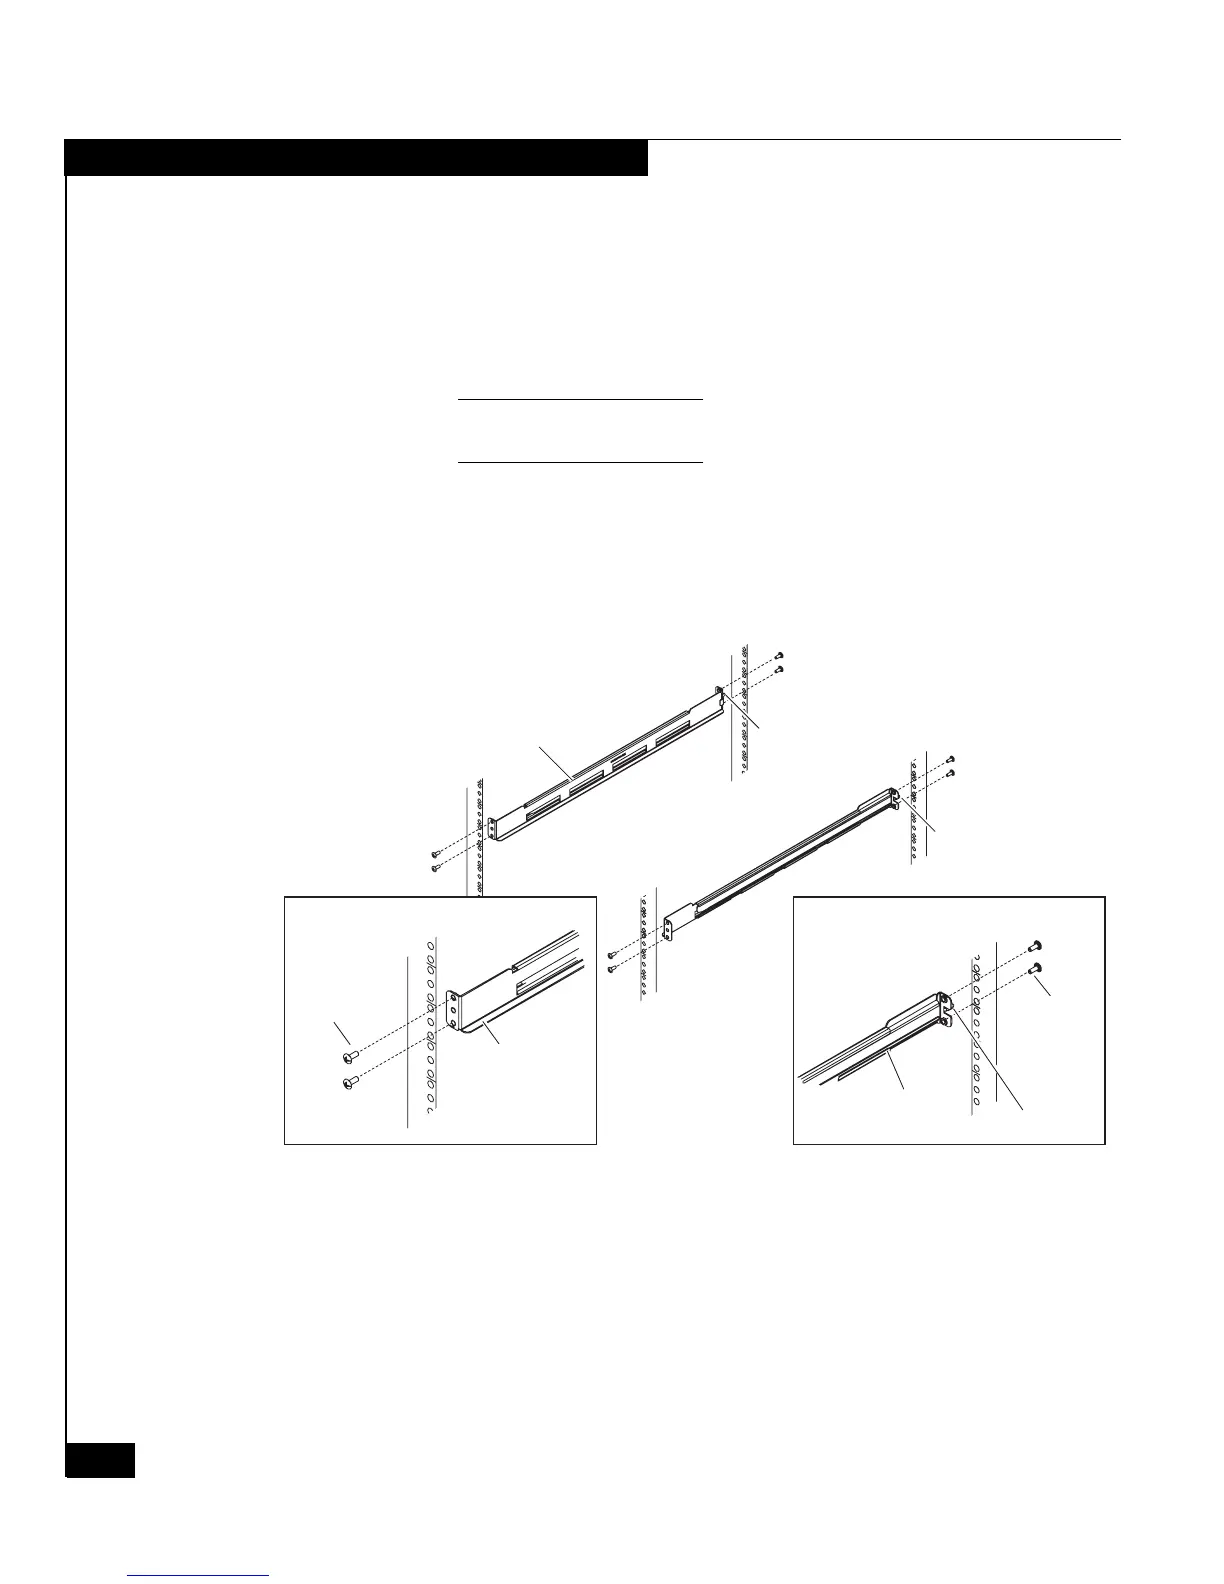
Refer to Figure 9 on page 16 as you perform steps 3 and 4.
3. Extend the rail to the front cabinet channel. Align the holes of the
front rail flange to the inside of the channel, ensure that the rail is
level, and then install two M5 x 16-mm Phillips securing screws
in the top and bottom holes, as shown in Figure 9.
Note: Leave the screws slightly loose to allow for adjustment after you
install the tray. Do not insert a screw in the middle hole yet.
4. At the back of the cabinet, insert and tighten two M5 x16-mm
securing screws in the holes above and below the alignment pin,
as shown in Figure 9.
Figure 9 Installing the 1U SPS adjustable rails
5. Repeat steps 2 through 4 for the other rail assembly.
EMC3253
Adjustable rail
Alignment pin
Alignment pin
Front
Left front
Screw (2)
Mounting rail
Right rear
Screw (2)
Mounting rail
Alignment pin