14
EMC Rails and Enclosures (CX4 Series Storage Systems) Field Installation Guide
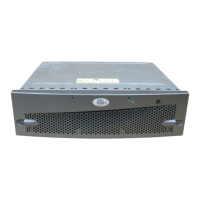
Installing a 2U storage processor enclosure (SPE) in a cabinet
Installing the adjustable rails
1. Locate and unpack the rail kit that accompanied your enclosure.
The front edge of each rail is stamped L or R for left and right
sides, when they face the cabinet front.
2. In most cases, the space into which you will install your enclosure
is covered by a filler panel, which is attached to latch brackets.
Remove any filler panel; then use a flat-blade screwdriver or
similar tool to pry off the latch brackets. Figure 9 shows how to
remove a common filler panel and latch bracket.
Figure 9 Removing the filler panel and latch bracket
Note: The predrilled holes in the cabinet channels are based on the
NEMA-standard U measurement. The holes are predrilled at distances of
1/2 inch, 5/8 inch, 5/8 inch (totaling one U), then 1/2 inch, 5/8 inch, 5/8
inch (another U), and so on. On EMC 40U and 40U-C cabinets, horizontal
lines or small holes in the channel mark the 1U increments.
Refer to Figure 11 on page 16 as you perform steps 3 through 7.
3. From the front of the cabinet, insert the alignment pins above and
below the appropriate U mark on the rear channel. Figure 10
shows the correct channel holes for the alignment pins.
CL4064
 Loading...