September 2016
6
Quick Start Guide
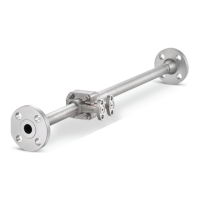
2.7 Flanged-style installation
Figure 6. Flanged-Style Flowmeter Installation
A. Installation bolts and nuts (supplied by customer)
B. Gaskets (supplied by customer)
C. Flow
Note
The required bolt load for sealing the gasket joint is affected by several factors, including
operating pressure, gasket material, width, and condition. A number of factors also affect the
actual bolt load resulting from a measured torque, including condition of bolt threads, friction
between the nut head and the flange, and parallelism of the flanges. Due to these
application-dependent factors, the required torque for each application may be different. Follow
the guidelines outlined in ASME PCC-1 for proper bolt tightening. Make sure the flowmeter is
centered between flanges of the same nominal size as the flowmeter.
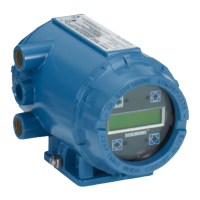
2.8 Remote electronics
If you order one of the remote electronics options (options R10, R20, R30, or
RXX), the flowmeter assembly ships in two parts:
1. The meter body with an adapter installed in the support tube and an
interconnecting coaxial cable attached to it.
2. The electronics housing installed on a mounting bracket.
Mounting
Mount the meter body in the process flow line as described earlier in this section.
Mount the bracket and electronics housing in the desired location. The housing
can be repositioned on the bracket to facilitate field wiring and conduit routing.
Cable connections
Refer to Figure 7 and the instructions on page 7 to connect the loose end of the
coaxial cable to the electronics housing.

 Loading...