22 Electronic Bypass Controller Installation and Commissioning Guide
Section 4 – Overview of the electronic bypass
All start/stop, safety, and re alarm inputs are routed to the electronic
bypass control board via customer terminal connections. The VFD
analog output is directly connected to the VFD control terminals.
The electronic bypass control card is factory set to accept a sinking type (dry contact
closure) type input.
The analog input is factory set to accept a 4–20 mA speed reference signal.
All control wiring must be run in a separate conduit from ANY high voltage or power
wiring. The wiring should also be properly grounded and shielded when necessary to
ensure proper operation.
4.1 Control Board
The following sections describe the electronic bypass control board DIP switch and
jumper settings required to properly congure the electronic bypass. All jumpers and
switches are located on the door mounted control board.
1. Option Enable/Disable (SW1)
2. Digital Inputs (J13)
3. Digital Outputs (J14)
4. Relay Outputs (J12)
4.2 Electronic Bypass Keypad Function Summary
(refer to table on next page)
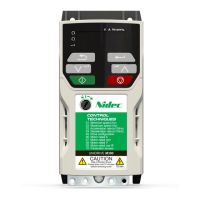
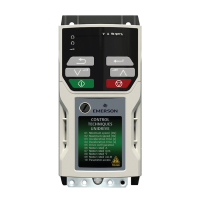
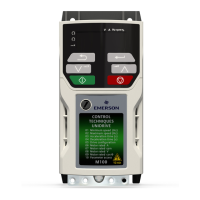
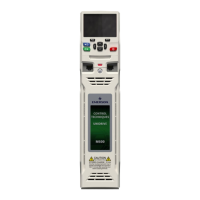
The electronic bypass keypad has (6) buttons labeled TEST, VFD, BYPASS, HAND,
AUTO, and OFF/RESET. Each button has an associated LED that indicates the state
of that button’s function. In addition, the keypad contains four alarm LEDs which
indicate Motor Overload, External Safety, Fire Alarm and VFD Fault. The left-hand side
of the keypad represents the bypass schematically, using 5 LEDS to indicate Power ON,
Input Contactor (closed), Bypass Contactor (closed), Output Contactor (closed) and
VFD enabled. Finally, a RUN LED located between the HAND and AUTO buttons gives
an indication that the motor is running.

 Loading...