9
REFRIGERANT PIPING
Refrigerant Piping
1.
Clean ends of tubing and insert into fi ttings. See
Figure 4.
2.
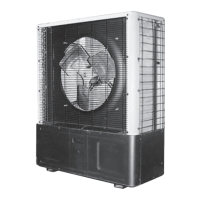
Protect valves by wrapping with wet rag “heat sink”
before brazing. See Figure 6 .
3.
Use shield to protect paint as shown in Figure 5. (Shield
can be made from scrap metal.)
4.
Braze tubing into fi ttings.
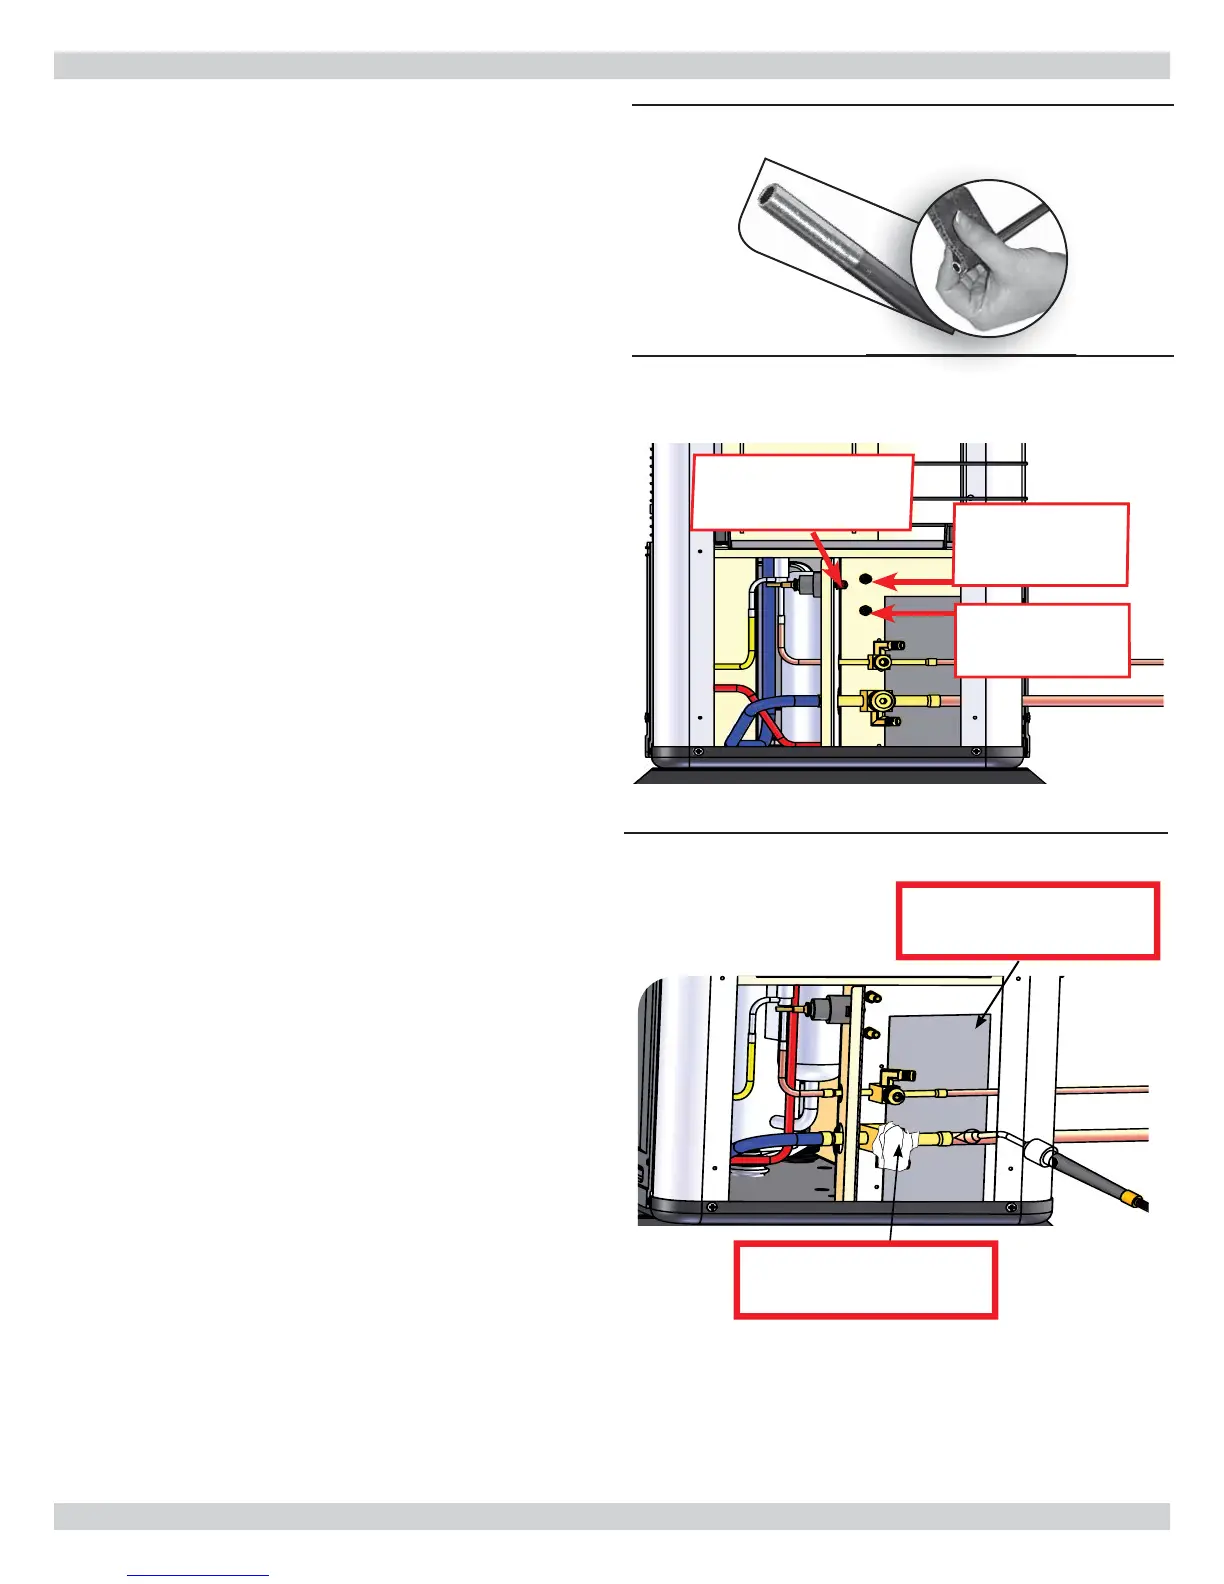
Figure 4 - Clean Ends Of Tubing
Figure 5 - Common Suction, Common Discharge,
& High Pressure Switch
Piping Preparation
• Avoid piping on wet and rainy days.
• Use only clean, refrigeration-grade copper tubing.
• Use tubing benders to guard against kinking.
• Verify no burrs remain on fi ttings.
• Cap ends of lines until ready for connections. Verify
plastic end caps remain in place when inserting through
wall openings.
• Insulate both lines.
• Isolate tubing from transmitting vibration to building or
unit and avoid contact with sharp edges.
• Wrap refrigeration valves with wet rag “heat sink” to
protect valves while brazing. (See Figure 31, Page 51.)
COMMON
DISCHARGE
PORT
HIGH PRESSURE
SWITCH
COMMON
SUCTION
PORT
ADD Heat Shield behind
Valve when brazing to
prevent damage to unit
ADD Wet Rag over Valve to
Keep from melting internal
valve Components
Figure 6 - Wet Rag, Heat Shield Over Valves