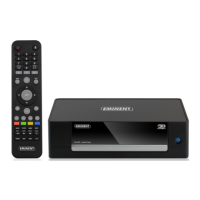
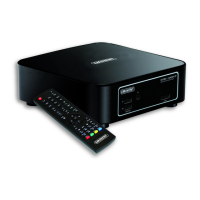
5.0 Connecting the media player
1. Connect the HDMI cable to the HDMI connection of the EM7480/EM7485 and
connect the other side of the HDMI cable to a free HDMI connection on your
television. In case you do not have a free HDMI connection on your television,
you can use the component connections of the media player and television to
obtain high definition images. You can also make use of the composite
connection when using an older CRT television.
2. If desired, connect a network cable to the LAN connection of the
EM7480/EM7485. Connect the other side of the network cable to your router or
switch.
3. Set the television to the corresponding HDMI channel.
4. Connect the cable of the power supply to the ‘DC-IN’ of the EM7480/EM7485.
5. Connect the power supply to a wall outlet.
In case you want to use a HDMI receiver, you need to connect the HDMI cable to both
media player and HDMI receiver.
If you want to play 3D images using a receiver, please make sure you are using a
receiver with HDMI 1.4 ports (HDMI 1.4 IN and HDMI 1.4 OUT)!
6.0 Setting up the media player.
Press the On/Off switch of the media player to start the media player. Usually, a
wizard will be shown. This wizard can be used to setup the media player.
1. The wizard starts with the menu language. Press the ‘OK’ button on the remote
control to enter the language selection. In this case, select ‘English’ and press
the ‘OK’ button.
2. Then ‘Time’. Press the ‘OK’ button on the remote control to enter the Time
selection menu. Configure the time settings for your location (Press the ‘Back’
button to return to the Wizard).
3. Then ‘Wired LAN Setup’ is selected. Press the ‘OK’ button to enter the selection
menu. If the media player has been connected using a network cable, you can
select ‘DHCP IP (AUTO)’ to automatically assign an IP-Address to the media
player.
4. When DNS (AUTO) is shown, you need to press the ‘OK’ button. Press the ‘OK’
button when the question ‘Save Network Setting’ appears. The connection will be
tested. If correct, the notification ‘Connected’ will appear. Also, an ‘IP-Address’
and ‘Submask’ will be shown. Press the ‘OK’ button. (Press the ‘Back’ button to
return to the Wizard).
5. Then select ‘Screen size’ and press ‘OK’ a screen calibration feature is
displayed. Use the navigation buttons to adjust the outer Red square to fit within
the screen and press ‘OK’ to confirm.