36
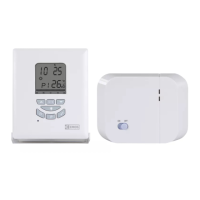
2. Press and release COMF/ECON button (for less than 1.5 seconds) to toggle between
comfortable and economic set temperature. Program override icon will be dis-
played and the temporary set temperature mode will be displayed accordingly.
3. Continue to hold the key for 1.5 seconds to change the set-temp to Defrost.
4. The Override indicator is ashing and Temporary program override is set.
Note: For cool mode, setback and defrost and not available, which will shows “-- -“ or
“--“ at set-temp.
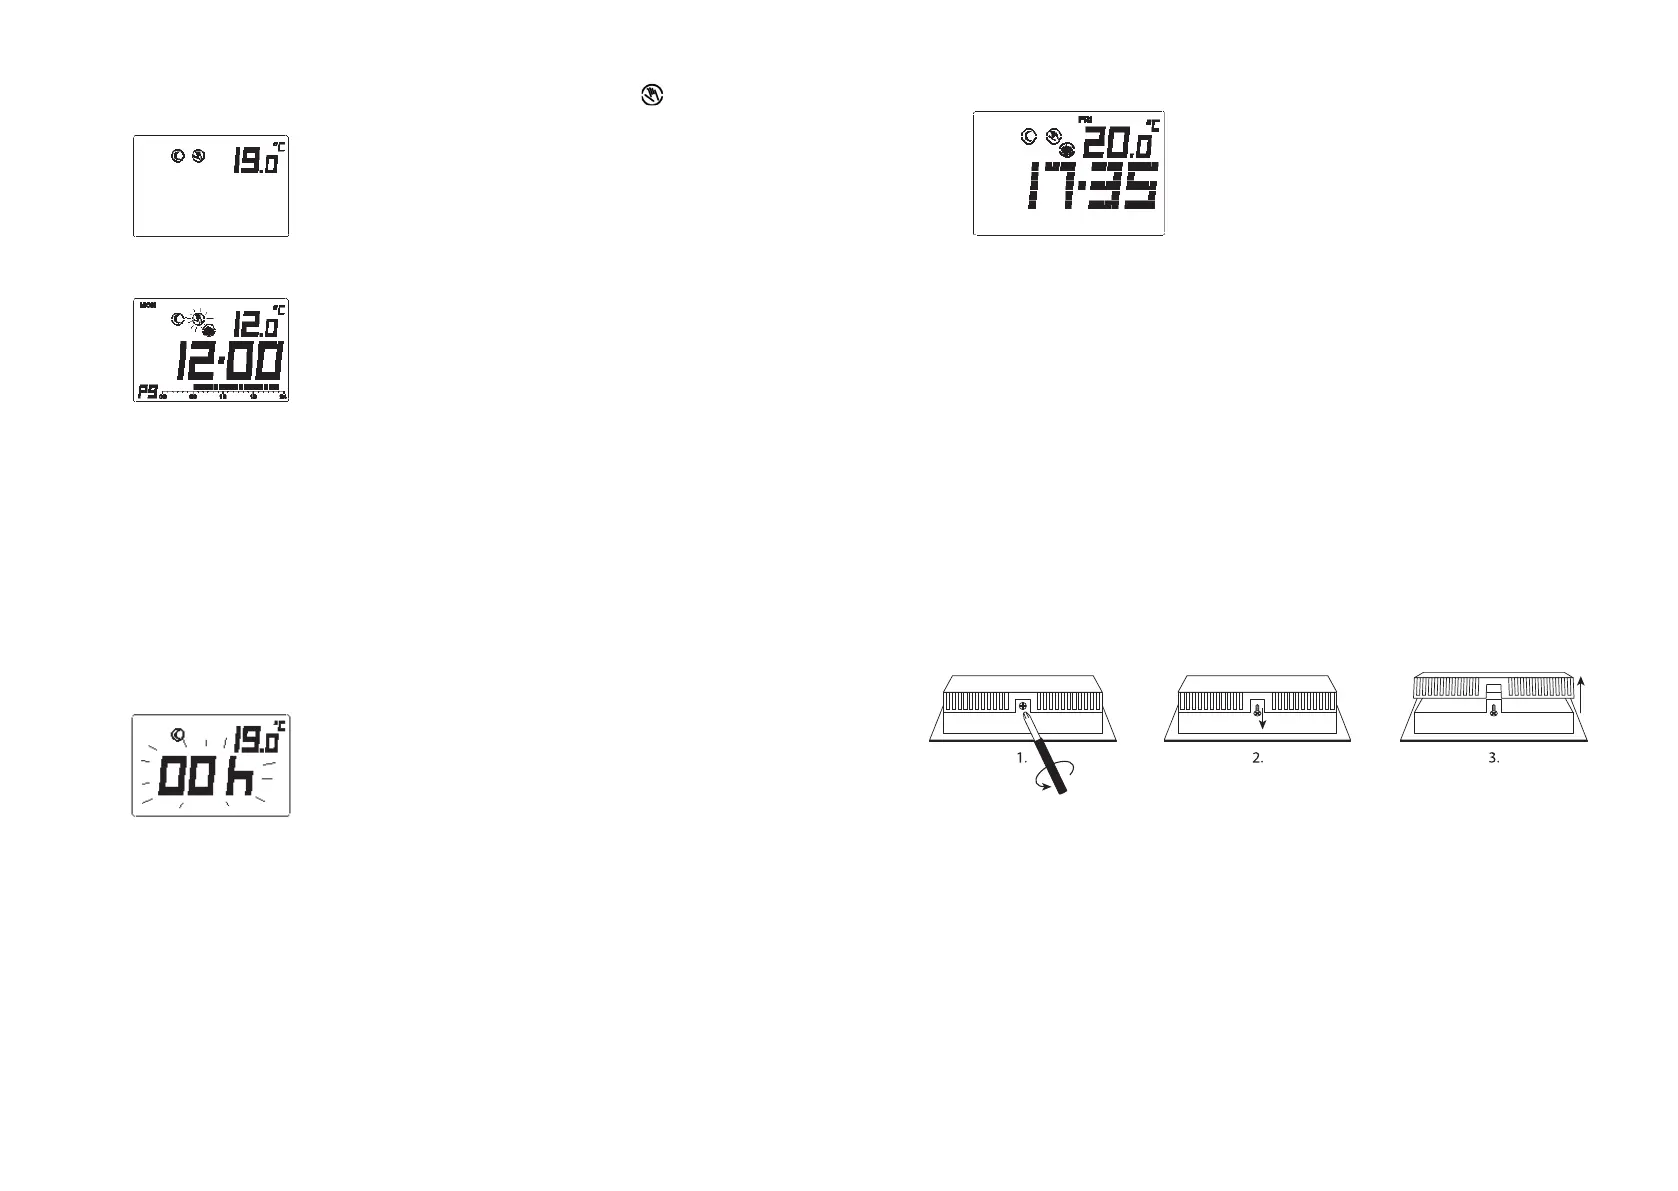
• Timer/ Permanent override
1. In normal mode, press and hold SET button (less than 3 seconds), until LCD display
“O” (Override).
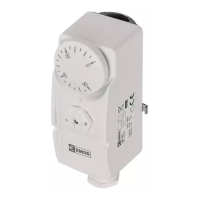
2. The current set-temp and the override time is played. Override time is ashing.
If it was no override set before (program control) “00h” will be displayed and the
Override indicator is cleared. For o mode in cooling “-- -“ or “--“ will be displayed at
the temperature. If Temporary override was set before, then “-- -“ and the Override
indicator will be displayed. If Timer or Permanent override was already set then the
remaining time or “9999” (Permanent override) and the Override indicator will be
displayed.
3. Press “U” or “V” to set the override period. The override period will change in the
following sequence: ... “00h” – “01h” – “02h” – ... – “23h” – “01d” – “02d” – “29d” – “30d”
– “9999” – “-- -“ – “00h”...
4. Press PROG will immediately change the override time to “00h” which e ectively
return the thermostat to Program control.
“h” means hour and “d” means day.
“9999’ means it is Permanent override.
“-- -“ means it is Temporary override.
5. Press COMP/ECON to select Comfort or Econ set-temp.
6. Press green button to select Setback (Heat mode) or activate O mode (Cool
mode)
37
7. Press and hold COMP/ECON for 1.5 seconds to select Defrost set-temp (Heat mode
only).
At any time press OK or wait 10 seconds will return to Normal mode.
Installation Instructions
• This electronic thermostat must be installed by an authorized, quali ed engineer,
and only in accordance with the wiring diagram. Installation must also be in
accordance with your electricity supplier’s regulations.
• In order to the room temperature to be monitored accurately and regulated pre-
cisely, the thermostat must be installed in a suitable location. The position of the
thermostat installation should be the area where it is not cover by curtains, furniture
or anything. Thermostat must not be installed too closed to any heat source, such as
stove, lights and direct sunlight. Also, it should not be installed in a position where
it will be exposed to draught.
• Important: The thermostat must be disconnected from its power supply before its
housing is opened.
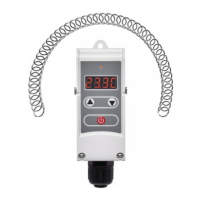
Wall mounting
The housing cover must be separated from the base plate before the controller is tted.
Follow the steps as below:
1. Screw out by 2 mm with a screwdriver.
2. Pull out by about 3 mm.
3. Open the back side.
4. Mounting holes are located at the back housing. Mark their locations on the wall
where the thermostat to be installed. Drill holes and insert the wall anchors and
then screw the base plate rmly on the wall or the ush mounted socket.
Wiring diagram
Connect the system wires to the terminals according to below wiring diagram.
1. Connect 230VAC live to terminal “COM”.
2. Connect heater/Cool in series with terminal “NO” and 230VAC Neutral.
3. Closed the housing.