Select User’s Manual
24
OperationOperation
CAUTION:
The device must be off before connecting the lead wires to the
device.
1. Locate the plug(s) at the end of the lead wire(s). If necessary, refer to the
illustration in the System Components section (page 20).
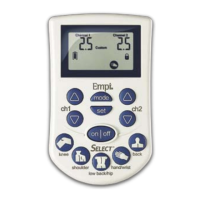
2. Locate the output jacks at the top of the device. They are labeled
Channel 1 and Channel 2 on the LCD display.
3. Insert one lead wire plug into each output jack. If using only one lead
wire, you can use either of the output jacks.
NOTE:
Use care when you
connect and disconnect the
lead wires from the electrodes
and the device. Pulling on the
lead wire instead of its insulated
connector may cause lead wire
breakage.
Proper preparation of the skin covered by the electrodes allows more stimulation to reach
targeted tissues, prolongs electrode life, and reduces the risk of skin irritation.
To prepare your skin at the electrode placement sites:
1. Identify those areas where your clinician has recommended electrode
placement.
2. Wash the area gently with mild soap and water, then rinse and dry
the area thoroughly. (The use of rubbing alcohol is discouraged except where
necessary to decrease excessive oils on the skin.)
3. It may be necessary to trim excess body hair with scissors prior to applying
the electrodes. Do not shave the area immediately before beginning treatment.
Wait 24 hours after shaving an area before initiating treatment at that site.
Failure to adequately prepare the skin may cause improper adhesion or skin
irritation and provide less than ideal stimulation.
Preparing the Skin for a Therapy Session
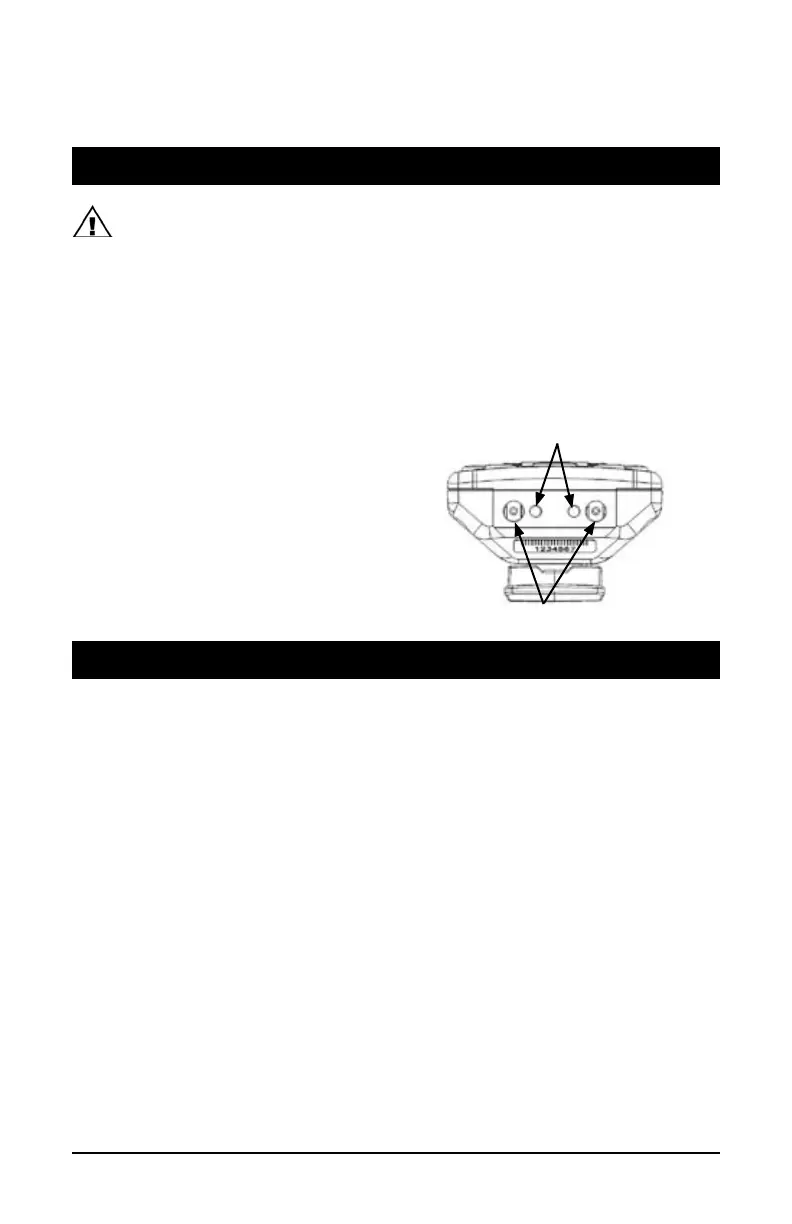
Connecting the Lead Wires to the Device
Channel Output Jacks
ON/OFF Indicator Lights
NOTES:
• Inspect the electrodes before each use.
• Place the electrodes on the skin as recommended by your clinician.
Position the electrodes with a minimum of two (2) inches apart between them.
Do not let them touch each other. Do not reposition the electrodes while the
device is turned on. The electrodes should be comfortable to wear and should
be placed exactly where you have been shown. The most common problems
with TENS therapy are caused by failure to wear the electrodes as directed.
• The pad contact icon will display and flash if there is bad contact between the
electrode and the skin.
• After three (3) seconds of bad contact, the intensity will drop to 6.0. If good
contact has been reestablished within 30 seconds, the intensity will ramp
back up to the original setting. If there has been more than 30 seconds of bad
contact, the intensity will drop to zero. Intensity can be increased once good
contact has been established.
• Do not place electrodes on cut, broken, or irritated skin. If skin irritation
develops, immediately discontinue device use, remove the electrodes, and
contact your clinician.
• For long-term stimulation, change electrode sites whenever
possible.
Contact your clinician for new placement sites.
• Replace self-adhesive electrodes that do not adhere well or fail to
deliver proper stimulation.
• Do not refrigerate electrodes. Keep them from heat sources. Refer to the
electrode packaging for information about electrode use and care.
NOTE:
Skin is not accustomed to exposure to the electrode gel and adhesives used with
the Select. While Empi takes great care and tests all electrode materials to avoid problems,
irritation may appear as redness, small pimple-like lesions, or blisters. If your skin develops
any persistent redness or irritation, do not continue to apply the electrodes to the same
area. Discuss this with your clinician or call an Empi representative.
Applying the Electrodes to the Skin
To apply the electrodes to the skin:
1. Make sure the device is off.
2. Remove the protective backing from the electrode and save the
backing for reuse.
3. Place the adhesive (gel) surface of the electrode on the skin placement
site prescribed by your clinician.
4. Press the entire surface of the electrode into place, making sure it is secure.
5. Repeat steps 2 through 4 for all electrodes.
user_manual_NEW_BH_edit_r5.indd 24-25 3/3/08 2:08:42 PM