6 7
In case of a wireless pedal malfunction, presumably caused by electromagnetic disturbances, use the wired pedal instead.
In case of a device malfunction, presumably caused by electromagnetic disturbances, first verify the cabling, and then move
any portable RF communications equipment and mobile devices placed nearby as far away as possible to rule out interference.
Stop using the device if the electromagnetic disturbances persist and contact EMS technical support for assistance.
INSTALLATION
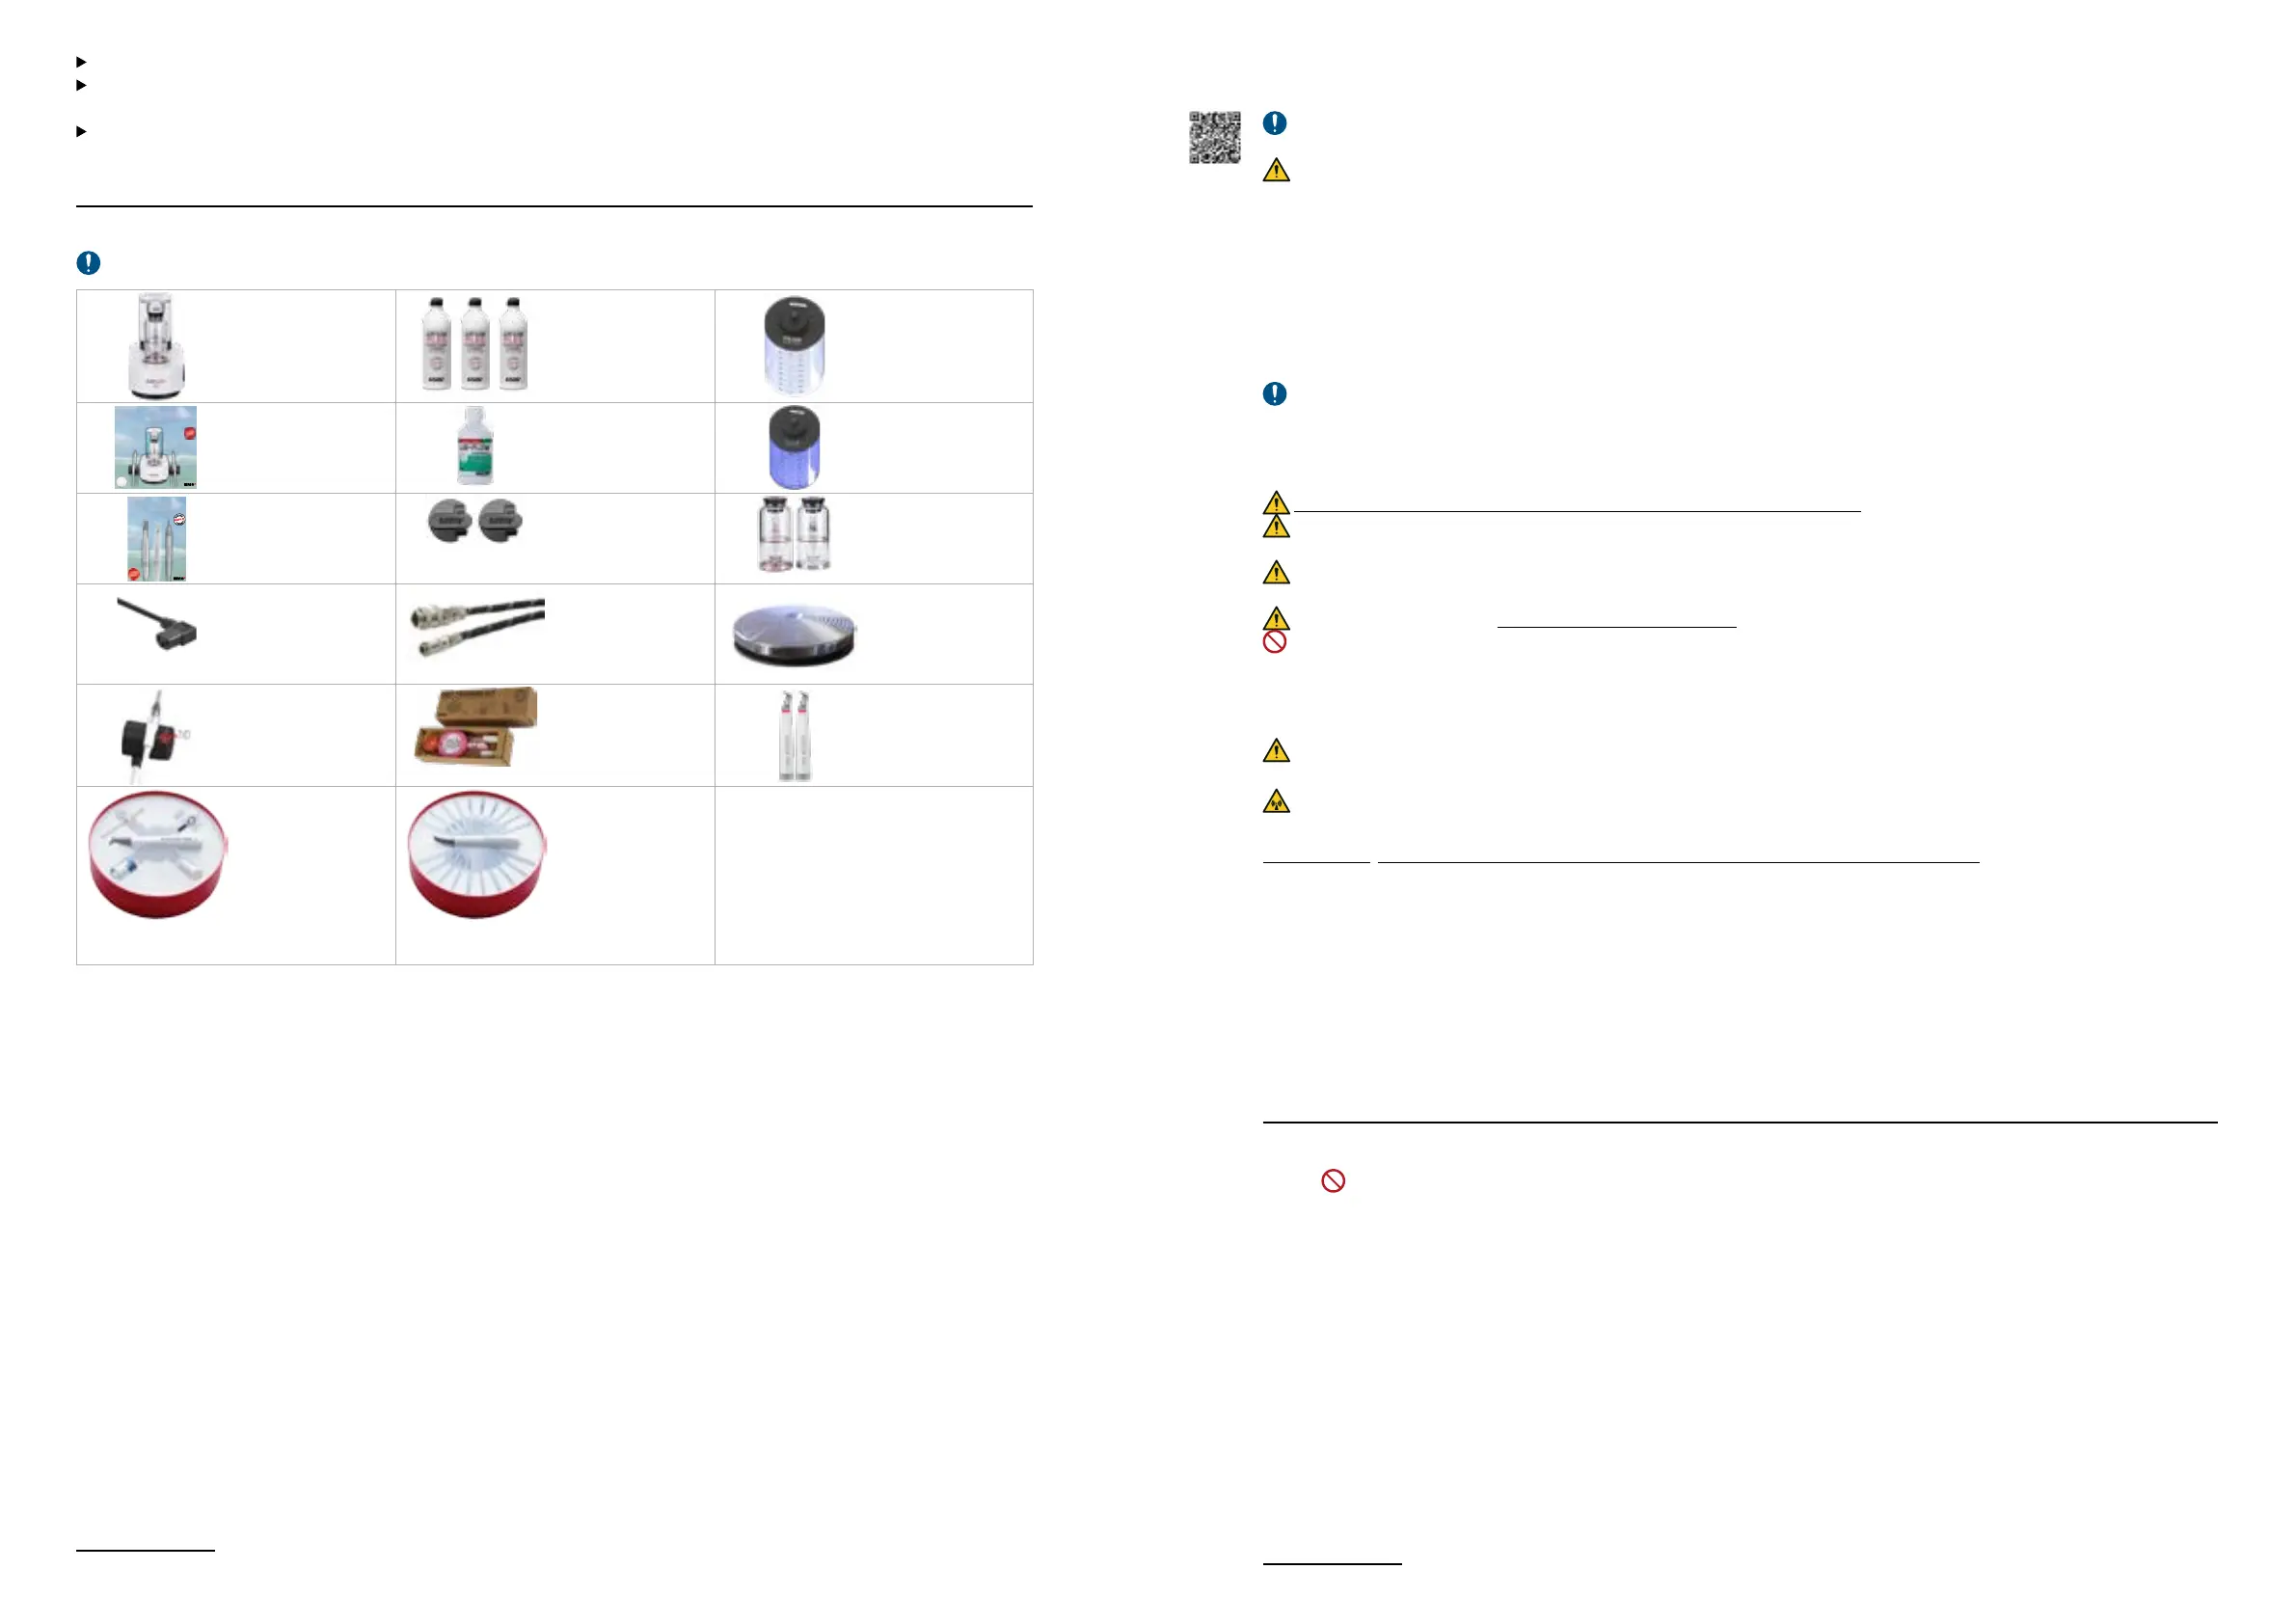
I- EQUIPMENT INCLUDED IN THE BOX
Check contents for any damage that may have occurred during transportation.
AIRFLOW
®
ONE Unit
with Master Screw,
water & air filters
installed
1x FT-230/A
AIRFLOW
®
PLUS
Prophylaxis Powder
3x DV-165/Z
WATER bottle
1x EG-121
QUICK GUIDE
AIRFLOW
®
PROPHYLAXIS MASTER
Quick Guide
1x FB-620/US
AIFLOW CLASSIC
Prophylaxis Powder
1x DV-164/MIN
CLEANER bottle
1x EG-1000
REPROCESSING
INSTRUCTIONS
R
Reprocessing
instructions
1x FB-358/NA
CLIP+CLEAN
2x AB-613
(package EL-655)
Powder chambers
1x EL-607 (Plus)
1x EL-606 (Classic)
US power cord
1x CD-137
Air hose
1x EH-142-US
Water hose
1x EG-110-US
Boost wireless pedal
1x EK-404A
with 2x AA 1.5V type
lithium batteries
AIRFLOW
®
Handpiece
cord
1x EM-145
GBT training tool kit
1x FV-122
GBT ready
2
2 x EL-308
1
2 3
5 4
AIRFLOW
®
application
1 - EL-308/XC: AIRFLOW
®
Handpiece
2 - AB-470A/A (FV-083
3
):
Easy Clean
3 - EL-1076: Cord gaskets
4 - El-600 (FV-094
3
):
Water filter
5 - EL-599: Air filter
1x FS-473
1
2
PERIOFLOW
®
application
1 - EL-354: PERIOFLOW
®
Handpiece
AB-358/B (DT-095
3
):
Nozzle extractor (under)
2 - 20x AB-1010 (DT-476/
US
3
): PERIOFLOW Nozzle
1x FS-474
2 If GBT ready kit ordered
3 Reference to be used for individual accessory order
II- STEP-BY-STEP INSTALLATION
2.1- Find an appropriate area to place the device
Place the medical device (control unit) with the recommended STATION
8
within the dental cabinet in a suitable position for
your activity and leave enough free space to allow easy handling and proper ventilation.
Use of this equipment adjacent to (minimum 10 cm of clearance) or stacked with other equipment should be avoided
because it could result in improper operation. If such use is necessary, this equipment and the other equipment should be
observed to verify that they are operating normally.
Keep a minimum of 10 cm clearance around the unit.
The medical device must be placed on a secure and flat surface (with a maximum slope of 5 degrees).
2.2- Check for proper water and air supply lines
Verify that your dental cabinet has a filtered tap water source (please note that only an air supply line is needed for the
recommended STATION+) and a compressed air source using air and water hoses EG-110-US and EH-142-US, respectively.
In case your cabinet water and air lines are not provided with the required hoses EG-110-US and EH-142-US, a proper
installation by qualified personnel is required. Call EMS Service for support.
2.3- Check for a proper and safe power grid
This device uses a Class-I insulating system that requires protective earth.
Plug the unit only into an FI protected mains supply (FI = Residual current protection).
For USA and Canada: connect only to a hospital-grade outlet.
Check that the rated voltage of the device is suited for the local line voltage to prevent damaging the unit, risk of fire and
electric shock.
The mains plug of the unit must be accessible at all times.
DO NOT INSTALL the device in case your dental cabinet does NOT have protective earth. If you have any concerns about
this, call EMS Service for on-site support by qualified personnel.
2.4- Be aware
The use of cables and accessories other than those supplied by EMS may negatively affect EMC performance. Use only
parts supplied by EMS.
The device uses a low power radio, 8 dBm EIRP max, Bluetooth
®
2.4 GHz, to communicate with the wireless pedal.
Interference may occur in the vicinity of this equipment.
The Bluetooth
®
radio is automatically disabled (powered off) when a wired pedal is connected.
Portable RF communications equipment (including peripherals such as antenna cables and external antennas) should be used
no closer than 30 cm (12 inches) to any part of the device, including cables. Otherwise, degradation of the performance of this
equipment could result.
2.5- Connect air and water hoses
Turn the device over and place it upside down.
1
In the absence of the STATION
8
, connect the air hose EH-142-US to the
cabinet/dental unit.
Push the hose connector into the air jack firmly (it may be hard).
Pressure: 4.5 to 7 bar. 6 bar ideally
Dry air. Max. humidity: 1.032 g/m3
Filtration: max. 1 μm
2
Connect the water hose EG-110-US to the cabinet/dental unit.
DO NOT install the WATER or CLEANER bottles before connecting the
air and water lines.
Drinking water
Pressure: 2 to 5 bar
Salinity: max. 0.2%
Temperature: 10°C to 30°C
8 AIRFLOW
®
STATION or STATION+
Scan
for
support