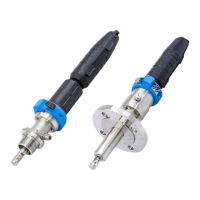
Cleanfit CPA871 Mounting
Endress+Hauser 41
Install the sensor as follows:
1. Remove the cover (→ 27, item 2) (only possible if the assembly is in the service
position).
2. Unscrew the retraction pipe (item 5) (in a counterclockwise direction).
3. Turn the lock nut (item 7) on the "Gel - KCl adapter" (item 6) as far as it will go in an
upward direction.
4. Remove the yellow dummy plug (item 3).
5. Screw in the "Gel - KCl adapter" (item 6) in place of the dummy plug and hand-tighten (3
Nm (2.2 lbf ft)).
6. Hand-tighten the lock nut in a clockwise direction, and then use an open-ended wrench
(AF 24 mm) to tighten it by ¼ turn.
7. Screw in the retraction pipe again.
8. Screw in the sensor (→ 28, item 4) using the open-ended wrench (item 1) and hand-
tighten (3 Nm (2.2 lbf ft)).
9. Secure the open-ended wrench back in the cover.
10. Mount the cover on the assembly. When doing so, guide the measuring cable through
the cable grommet (top of cover).

 Loading...