CM14 Calibration and adjustment
Endress+Hauser 23
To ensure a high level of accuracy, it is important to readjust the pH sensors at set intervals.
The calibration interval depends heavily on the area of application of the sensor, as well as the
required level of accuracy and reproducibility. The calibration interval can vary between
weekly and once every few months.
Two-point calibration is the preferred method for pH sensors, particularly in the following
applications:
• Municipal and industrial wastewater
• Natural waters and drinking water
• Boiler feedwater and condensates
• Beverages
Calibrating with buffers with pH 7.0 and 4.0 is recommended for most applications.
You use calibration buffers to perform two-point calibration. The quality buffers supplied by
Endress+Hauser are certified and measured in an accredited laboratory. The accreditation
(DAR registration number "DKD-K-52701") confirms that the actual values and the maximum
deviations are correct and traceable.
To calibrate the sensor, remove it from the medium and calibrate it in the laboratory. Since
Memosens sensors save the data, you can always work with "precalibrated" sensors and do not
have to stop monitoring the process to perform a calibration.
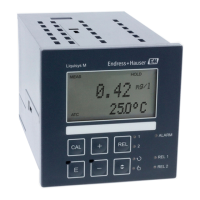
Calibration of a pH glass electrode:
1. Press "E" to call up the main menu.
2. Press the "+" button to navigate to the "Calibration" menu.
3. Press "E" to open the menu.
Display reads "pH glass".
4. Press "E" to open the menu.
Display reads "pH (act)".
5. Press "+".
Display reads "Insert sensor".
6. Remove the glass electrode from buffer 1, rinse with distilled water, dry and immerse in
buffer 2.
7. Press "+".
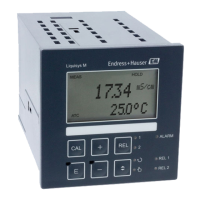
8. Display reads "wait for stable value", when the value is stable, the display changes.
Display for buffer 2 value, "pH Buffer 2".
9. Press "+".
Display reads "Save Calib. Data?"
10. Press "+".
Display reads "Calib. successful".
11. Press "+".
Return to measuring operation

 Loading...