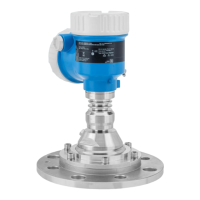
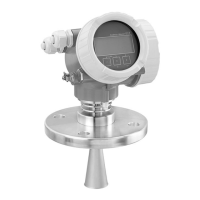
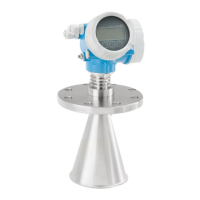
Micropilot FMR60/62/67
Endress+Hauser 13
Locking in "Increased safety mode"
To commission the device, carry out and document the following steps in the order shown
(→ 30).
Reset device. This resets all parameters to defined values.
Navigate to: Setup → Advanced setup → Administration
Setting
Device reset = To factory defaults or To delivery settings
Carry out configuration. The configuration procedure and the meaning of the individual
parameters are described in the Operating Instructions (→ 7). The following parameter
settings must be observed (→ 15).
Perform a device check (for more details, see the Operating Instructions → 7). The signal
quality is tested here and possible installation errors are detected.
Navigate to: Diagnostics → Device check
Setting
Start device check = Yes
Start SIL/WHG confirmation sequence.
Navigate to: Setup → Advanced setup → SIL/WHG confirmation
Setting
Set write protection = enter the relevant locking code (HG: 7450; SIL: 7452; SIL and WHG:
7454).
In this way, forbidden parameter changes (e.g. via external operating tools if the
confirmation sequence is performed at the device display) are prevented already during
the SIL/WHG confirmation sequence.
Setting
Commissioning = Increased safety mode
The device checks the parameter settings in accordance with the following table and forces
the switching of parameters if necessary.
When the check is finished, SIL/WHG preparation = Finished is shown. The commissioning
sequence can be continued. Press "Next" to confirm.
• If configuration was not performed in accordance with the specifications in point 2,
only "Expert mode" can be selected at this point.
• The commissioning mode must not be changed during the completion of the SIL
confirmation sequence. If the wrong option has been selected, the sequence must be
canceled and started again.
Simulate distance values using the Simulation distance parameter, verifying that the
response of the current output is correct. For MIN monitoring and MAX monitoring, in each
case simulate a distance directly above and below the switch point. For range monitoring, 5
distance values should be simulated which cover the entire measuring range.
L
CAUTION
During distance simulation, the loop current does not correspond to the measured value.
‣
It must be ensured that there is no risk of danger arising from this.
Confirm that the distance simulation is correct.
Setting
Simulation correct = Yes.
Compare the character string which is now output ("0123456789+-,.") with the reference
string printed here, and confirm if the output is correct.
The parameters previously configured and which require confirmation are transferred via an
independent data format to the display/operating tool. Check the parameters one after the
other and confirm if correct.

 Loading...