RUNNING BELT CENTERING PROCEDURE:
1. Do not wear loose clothing, neckties, or loose jewelry while making this adjustment.
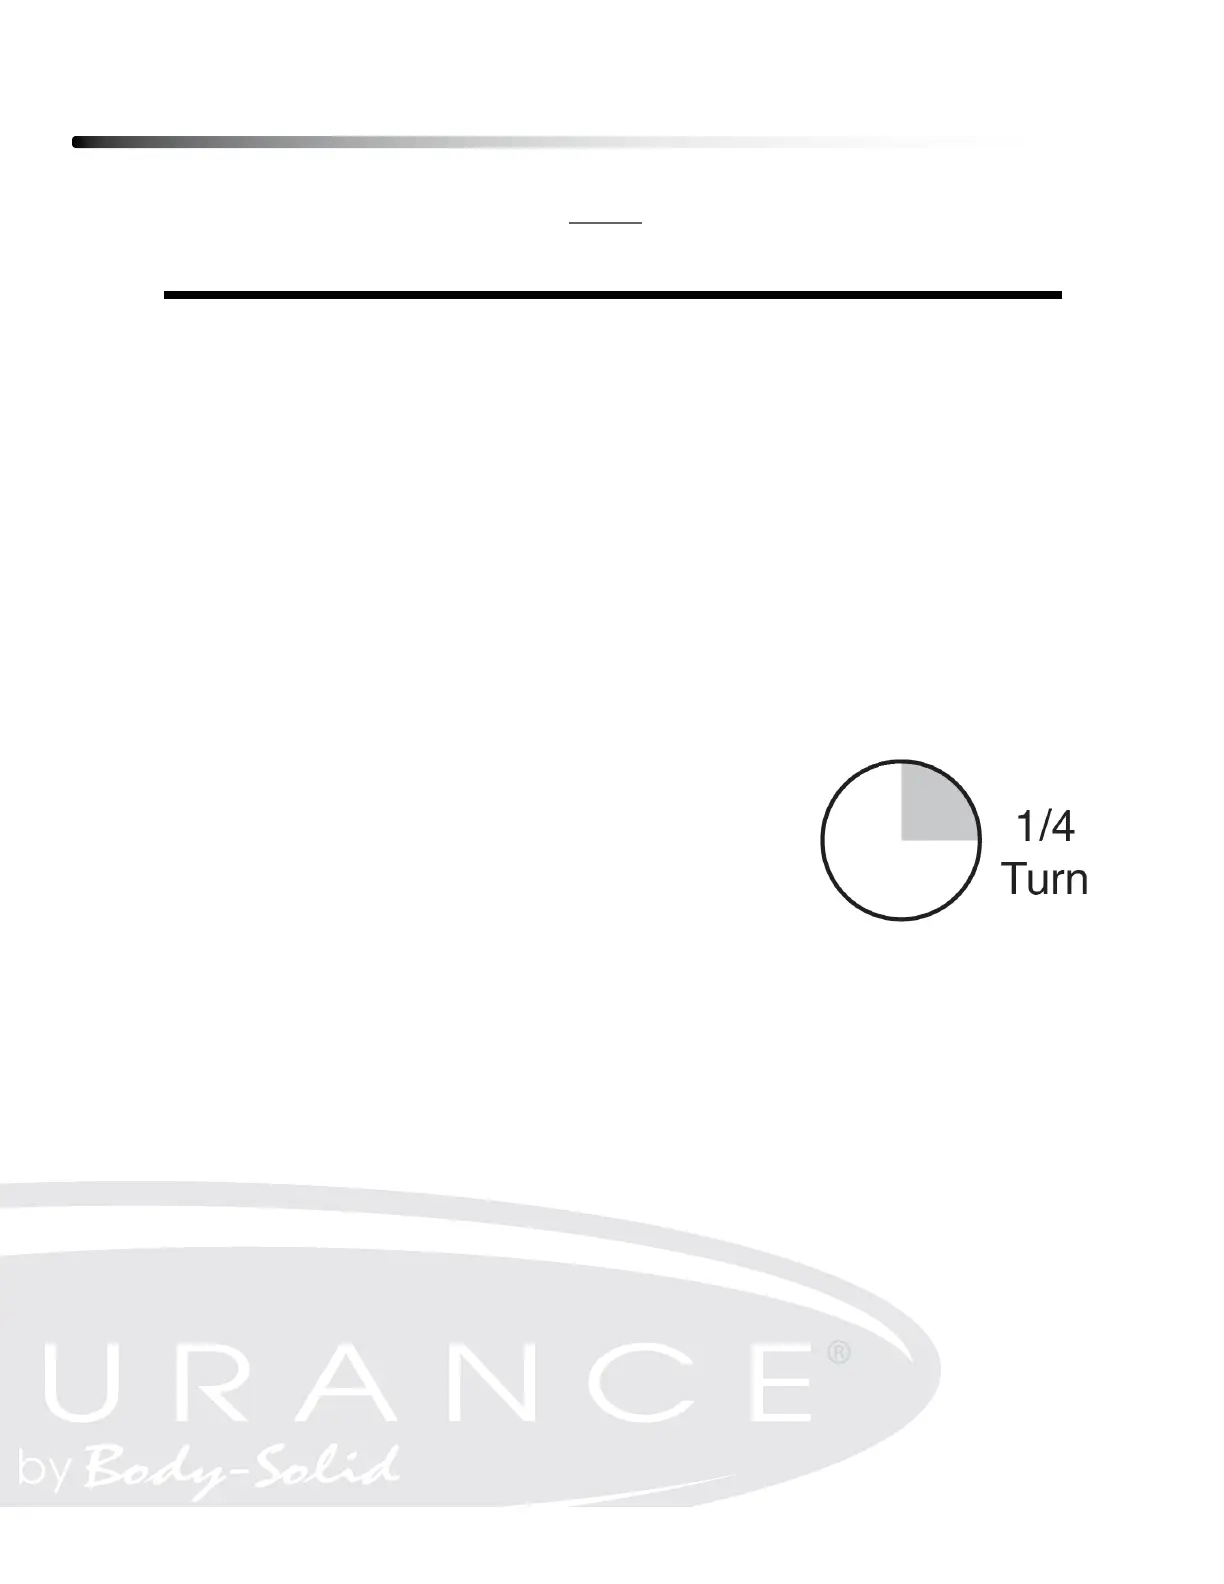
2. Never turn the bolts more than ¼ turn at a time.
3. Always tighten one side and loosen the other to prevent over tightening or loosening the
belt.
4. Run the treadmill. Adjust belt while the treadmill is running at 4 mph (6.4 kph)
with no person on the belt.
After making the adjustment, walk on the belt for ve minutes to test the change. If
necessary, repeat the procedure but never turn the bolts more than ¼ turn at a time. Over
tightening the belt can signicantly shorten the belt’s product life.
IF BELT IS TOO FAR TO THE LEFT SIDE:
1. Turn the left roller bolt ¼ turn clockwise (tighten).
2. Turn the right roller bolt ¼ turn counterclockwise (loosen).
IF BELT IS TOO FAR TO THE RIGHT SIDE:
1. Turn the right roller bolt ¼ turn clockwise (tighten).
2. Turn the left roller bolt ¼ turn counterclockwise (loosen).
RUNNING BELT TENSIONING
If you plant your foot on the belt and can feel a slipping sensation, then the belt has stretched
and is slipping across the rollers. All belts will stretch over time; this is a normal and common
adjustment on any treadmill. To eliminate this slipping, tension both Allen bolts on the rear
roller ¼ turn. Try the treadmill again to check for slipping. Repeat if necessary, but never turn
the roller bolts more than ¼ turn at a time.
NOTE: Over tightening of the running belt will severely shorten the life of the belt and may
cause further damage to other components!
Damage caused by severely overtightening the belt is not covered under warranty.
To reduce the risk of electrical shock, always unplug the treadmill from the electrical
outlet immediately after use and before maintenance!
Maintenance
29


 To Next Page