16/36
5.3. Required material for assembling
The following supplies are a suggestion and not an instructional obligation.
• levelling scale
• pencil or marker
• 4 plugs (6 mm)
• drilling machine
• drill (6 mm)
• 4 screws (5 mm)
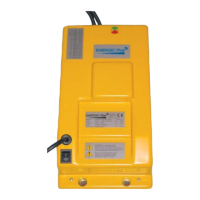
5.4. Installation of the charger
When mounting the high frequency charger, it is important
that you attach the high frequency charger upright to the
wall or to the vehicle. This means that the ventilation should
be at the bottom of the unit.
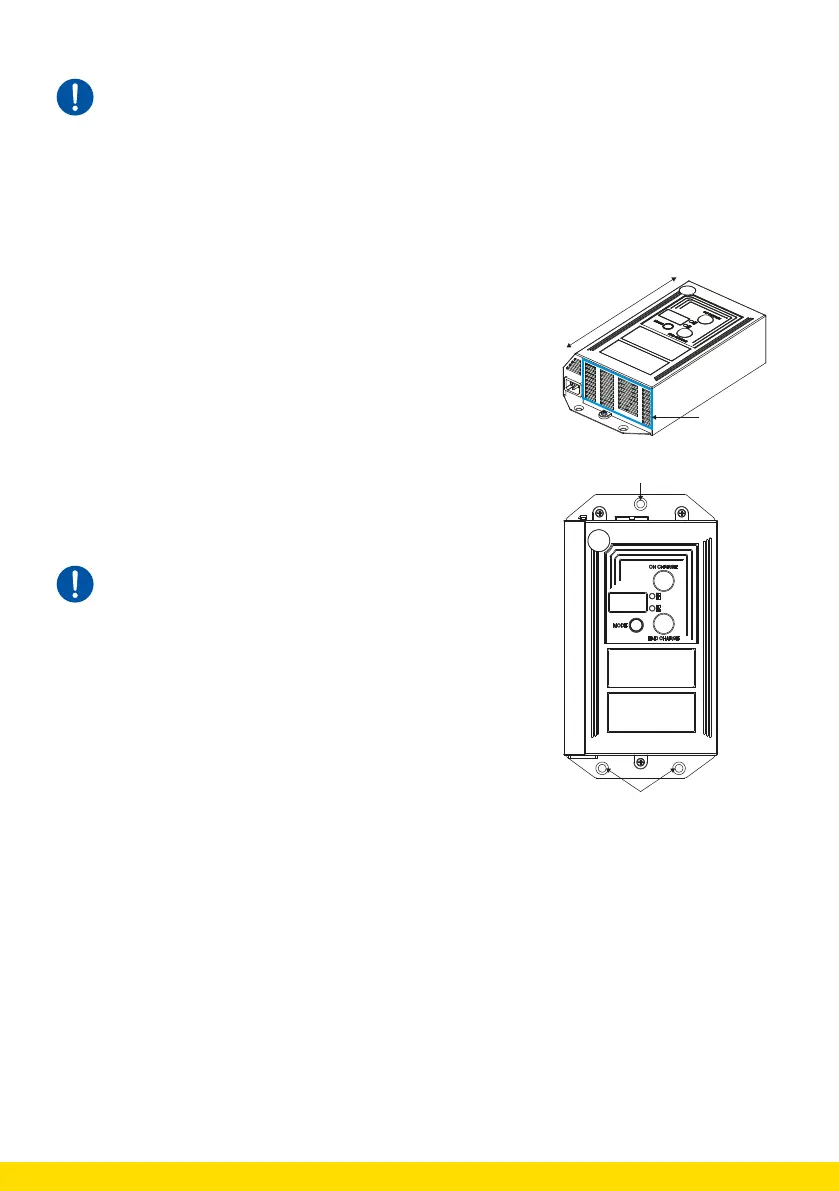
Top
Bottom
Ventilation
Each high frequency charger has drill holes to attach it to
the wall or to your vehicle.
Only use these drill holes to attach the high frequency
charger.
The assembly below is a suggestion and not an
instructional obligation.
1. Place the high frequency charger in the desired
location. Make sure it is level.
2. Mark the drill holes by using a pencil or marker.
3. Take a drill that has the same diameter as your plug.
4. Drill holes in the previously indicated places.
5. Place the plugs in the drilled holes.
6. Put the high frequency charger against the wall.
Make sure that the holes in the high frequency charger
match the holes in the wall.
7. Drill the high frequency charger to the wall.
Drilling holes
Drilling holes