Do you have a question about the ENERMAX LIQFusion Series and is the answer not in the manual?
Attaching the fans and radiator unit to the computer chassis using screws.
Inserting position screws into the back plate for specific Intel CPU sockets.
Mounting the back plate on the motherboard and securing position screws with washers.
Positioning the mounting plate onto stand-offs and securing with set screws.
Installing the position plate directly onto stand-offs for specific Intel sockets, bypassing the back plate.
Evenly applying thermal paste onto the CPU surface before mounting the cooler.
Removing the protective film from the cold plate of the CPU cooler before installation.
Placing the waterblock onto the CPU and tightening the mounting screws.
Connecting the pump's power connector to the motherboard or PSU via adapter.
Connecting the fan power connectors to the motherboard's fan headers.
Refill coolant if flow indicator is stuck. Perform operation outside chassis.
Connect 24P power adapter to PSU to power pump and flow indicator.
Apply thermal grease evenly on the CPU surface during re-installation.
Place the waterblock onto the CPU and tighten the mounting screws again.
Reconnect the pump power connector to the motherboard or PSU.
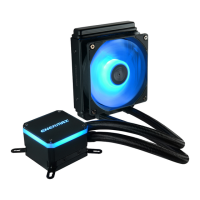
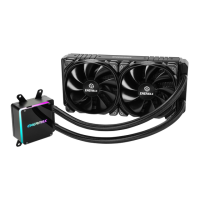
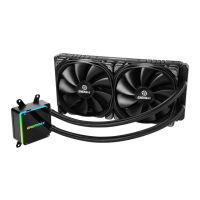
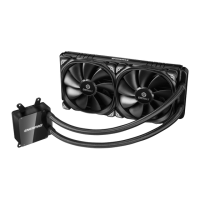
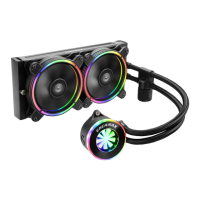
| Radiator Material | Aluminum |
|---|---|
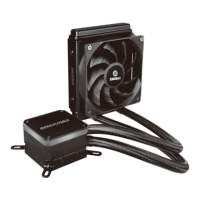
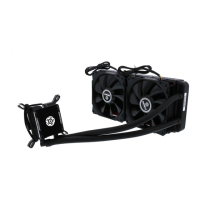
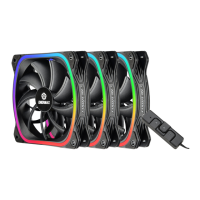
| Fan Size | 120mm |
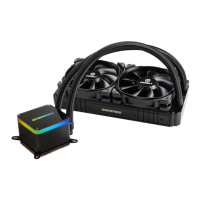
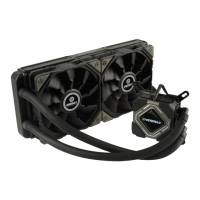
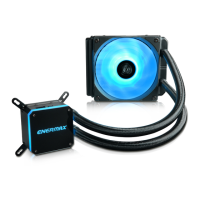
| Type | Liquid Cooling System |
| Radiator Size | 240mm, 360mm |
| Fan Airflow | 72.3 CFM |
| Socket Compatibility | Intel LGA 1200, 115x, 2066, 2011(-3) AMD AM4 |
| Lighting | RGB |
| Connector | 4-Pin PWM |