Sending a Stamp File to the Laser
Once you have successfully setup your stamp artwork, you are ready to print your design. In the Dashboard
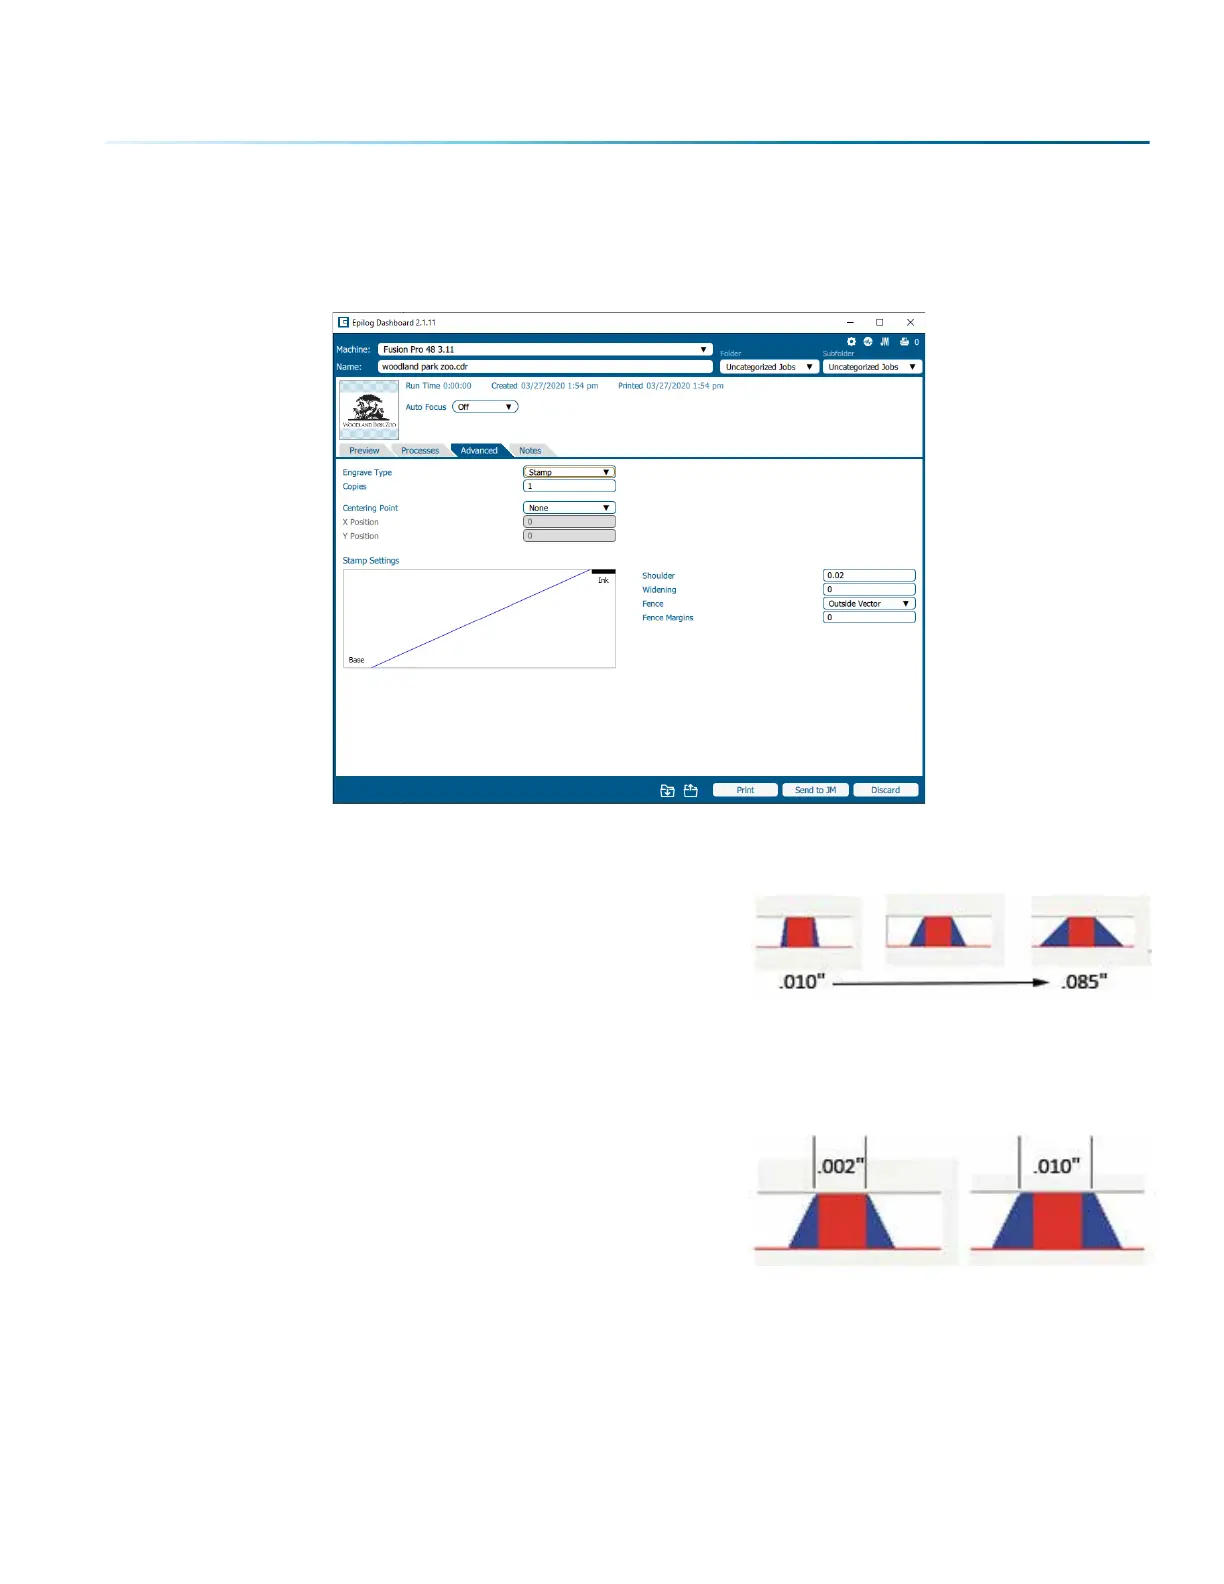
go to the Advanced tab. Under “Engrave Type” select “Stamp”.
Shoulder Settings
The Shoulder setting in the Dashboard adjusts the angle of
the shoulders of your characters. A higher shoulder number
provides a wider angle and more support for the characters.
The following drawing shows a side view of a character with
the shoulders set between 0.010” and 0.085”. Many users feel
the default setting of 0.020” is ideal.
Widening Settings
The Widening setting in the Dashboard adjusts the width of
the character at its top. A higher Widening number provides
a bolder character. The following drawing shows a side view
of the dierence in characters when their widening is set to
0.002” or 0.010”. (Note that the Shoulder doesn’t change). Many
users feel the default setting of 0 is ideal.
Fence
The Fence setting lets you choose between “Outside Vector” and “Bounding Area”. Outside vector is used
when the artwork already has a vector line surrounding it. Bounding Area creates a fence that is a box
around the artwork, and will be in the shape of the artwork.
- 189 -
SECTION 12: ENGRAVING MATERIALS
 Loading...


