20 Printing From Your Camera’s Memory Card
Selecting and Printing Photos
1. Load Epson photo paper. See page 10 for a
list.
2. Press the
Home button until Print Photos is
selected, then press
OK.
3. Select View and Print Photos and press OK.
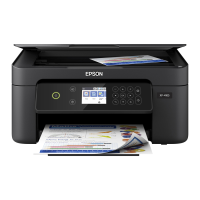
4. Press
l or r to move through your photos
and display one you want to print.
Tip:
If View Auto Correct: Off appears at the top of the display screen, press the View
Auto Correct button to preview how your printouts will look with Fix Photo turned
on (see page 21).
5. To print more than one copy, press + or – to select the number of copies you
want of that photo.
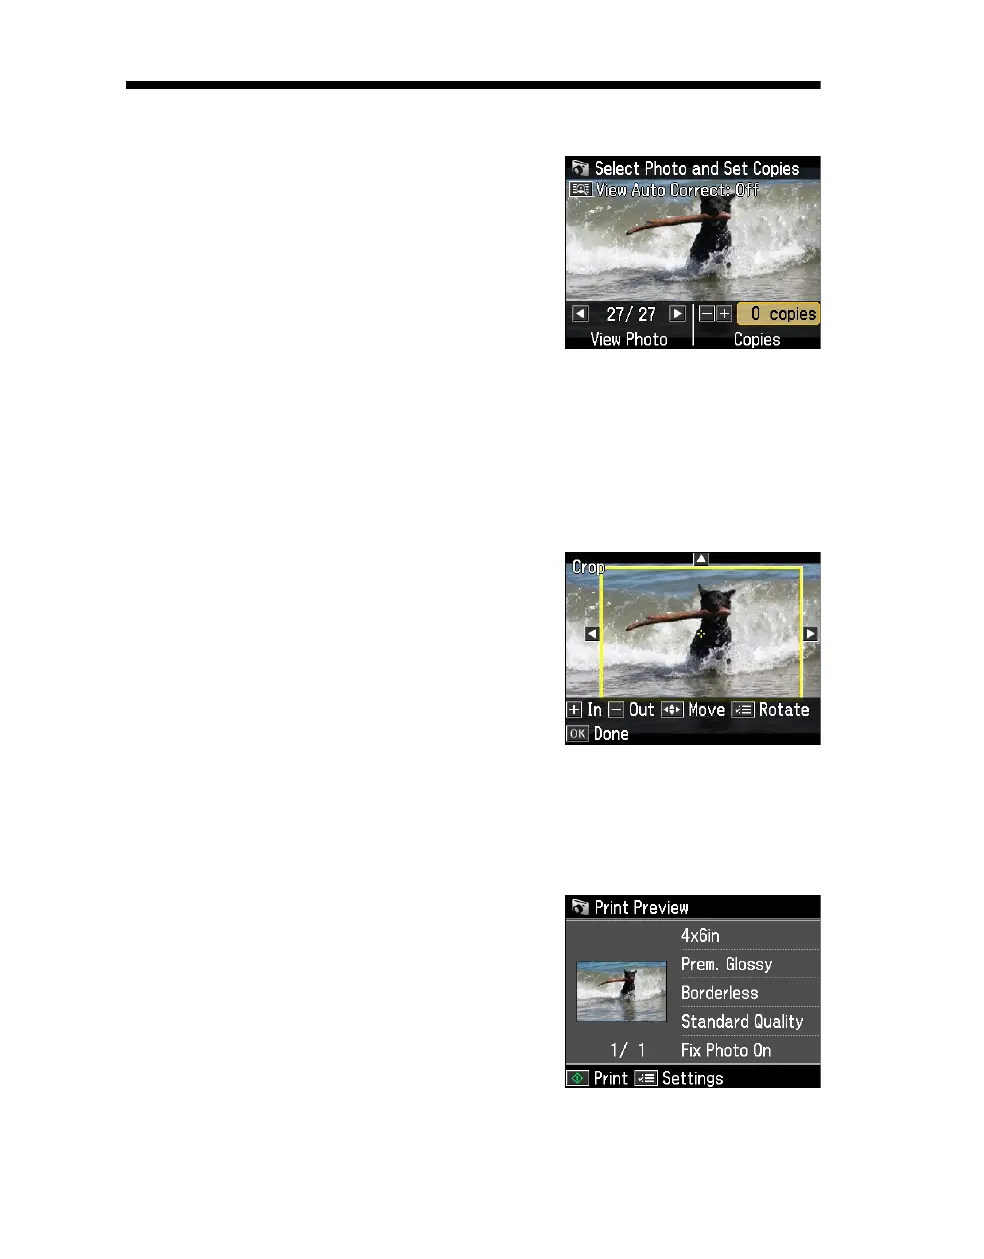
6. To crop the photo, press the
Display/Crop
button.
■ To resize the image area, press + or –.
■ To move the image area, use the arrow
buttons.
■ To rotate the image area, press x Menu.
■ To check the zoomed image, press OK.
When you finish cropping your photo, press
OK.
7. Press
l or r to view other photos, select the number of copies, and crop, if
desired.
8. When you’re done selecting photos, press
OK. You see the Print Preview screen:
9. To change any of the print settings displayed
on the screen, press x
Menu, select Print
Settings
, press OK, and select your settings.

 Loading...