99
Cleaning and Transporting Your Scanner
See these sections if you need to clean or transport your scanner.
Cleaning Your Scanner
Cleaning Inside Your Scanner
Checking the Scanner Roller Counter
Replacing the Scanner Rollers
Transporting Your Scanner
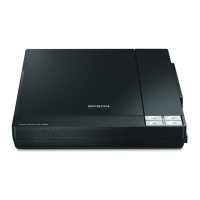
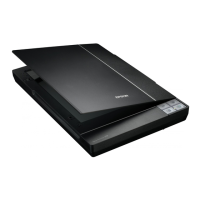
Cleaning Your Scanner
To keep your product working at its best, you should clean it several times a year.
Caution: Do not use a hard brush, alcohol, or paint thinner to clean the product or you may damage it.
Do not use oil or other lubricants inside the product or let water get inside it. Do not open the product's
outer case.
1. Turn off the scanner and unplug the AC adapter.
2. Disconnect any connected cables.
3. Clean the outer case with a soft, dry cloth. Do not use liquid or chemical cleansers.
Note: If the outer case still requires additional cleaning, use a slightly damp cloth to wipe the outer
case. Then wipe the case with a soft, dry cloth.
4. Clean the LCD screen with a soft, dry cloth.
Parent topic: Cleaning and Transporting Your Scanner
Cleaning Inside Your Scanner
Clean your scanner regularly to make sure that no dust builds up on the glass scanning surfaces. Dust
can cause spots or lines in your scanned images.
Caution: Do not use a hard brush, alcohol, or paint thinner to clean the product or you may damage it.
Do not use oil or other lubricants inside the product or let water get inside it.
1. Turn off the scanner and unplug the AC adapter.