43
5. Press the Esc button when you are finished.
After correction, your image is slightly smaller.
Parent topic: Image Shape
Related references
Projector Feature Settings - Display Menu
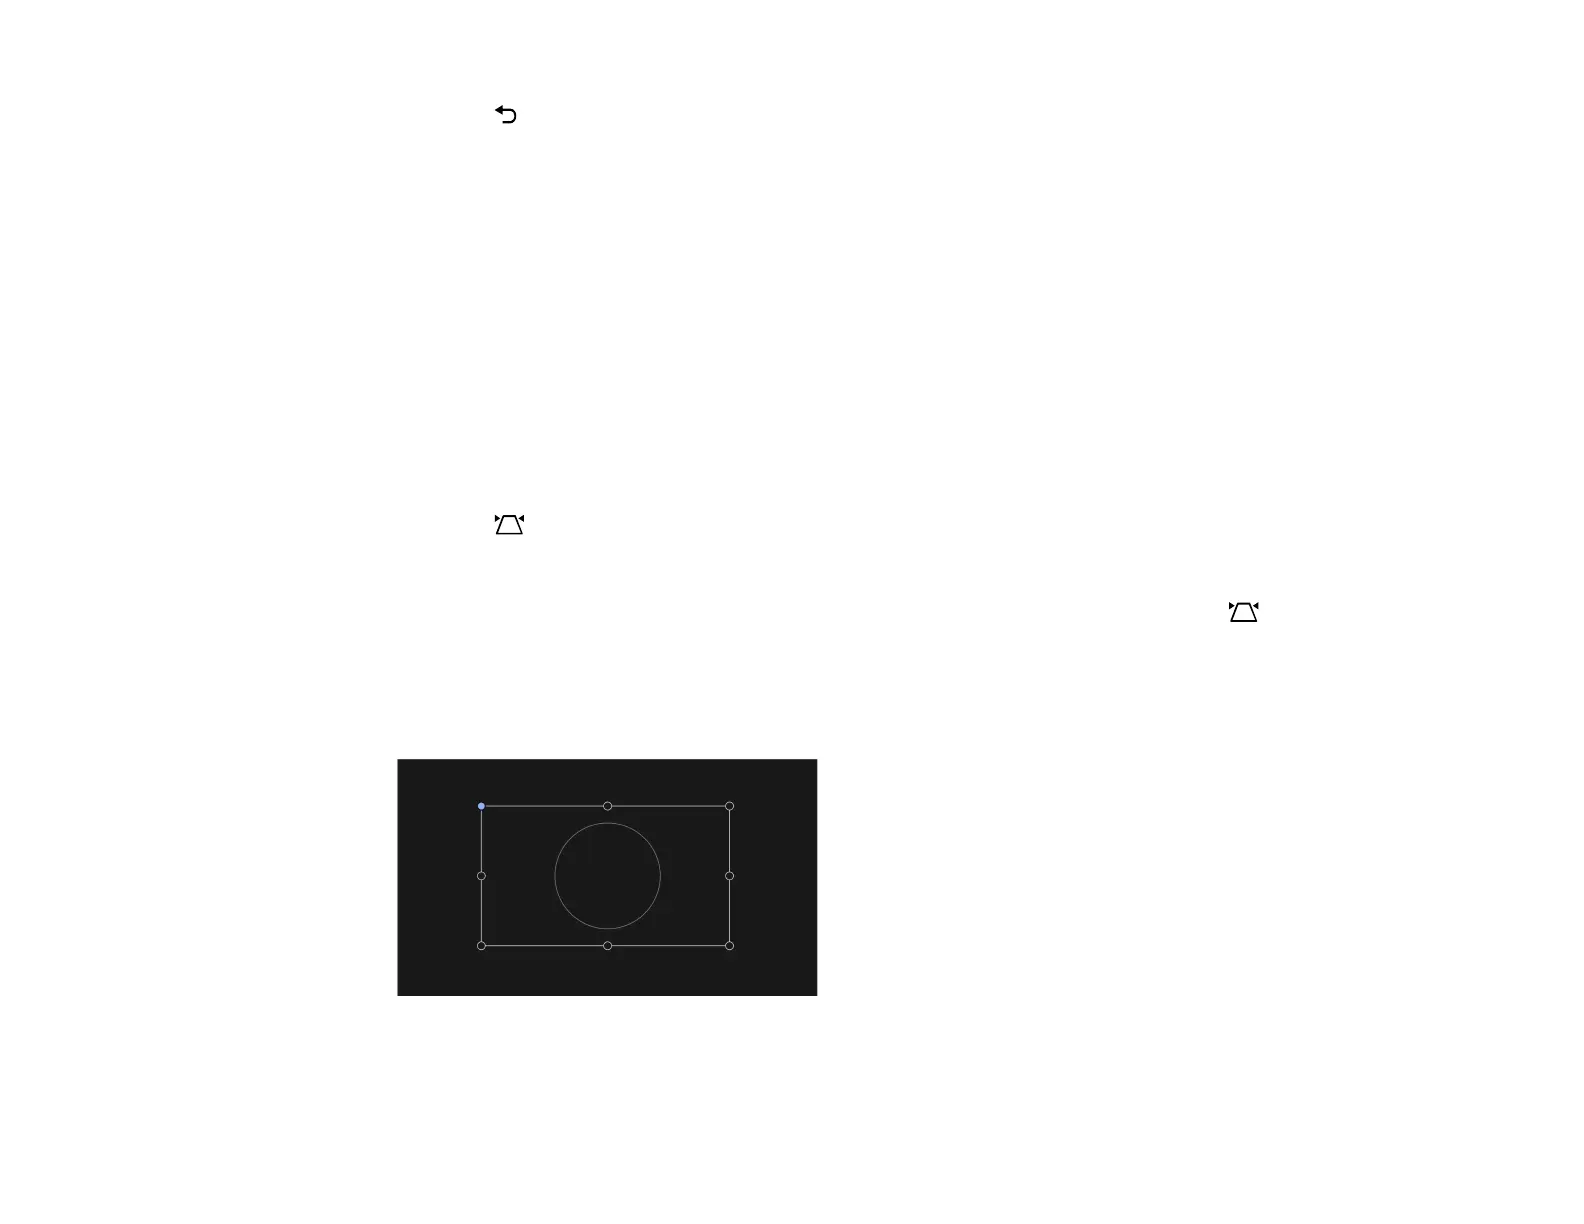
Correcting Image Shape with Corner Adjustment
You can use the projector's Corner Adjustment feature to correct the shape and size of an image that is
unevenly rectangular on all sides.
Note: To provide the best possible image quality, adjust the projector's position to correct the image
shape. If this isn't possible, use the Corner Adjustment feature to correct the image shape.
1. Turn on the projector and display an image.
2. Press the Auto Keystone button on the remote control.
The projector runs through the automatic keystone correction sequence.
Note: The projector will always run automatic keystone correction when you press the Auto
Keystone button, even if the Auto Keystone setting is turned off.
3. Select the Corner Adjustment setting.
You see the Corner Adjustment screen: