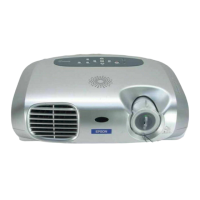
28
Fitting the Projector Plate to the Ceiling Plate
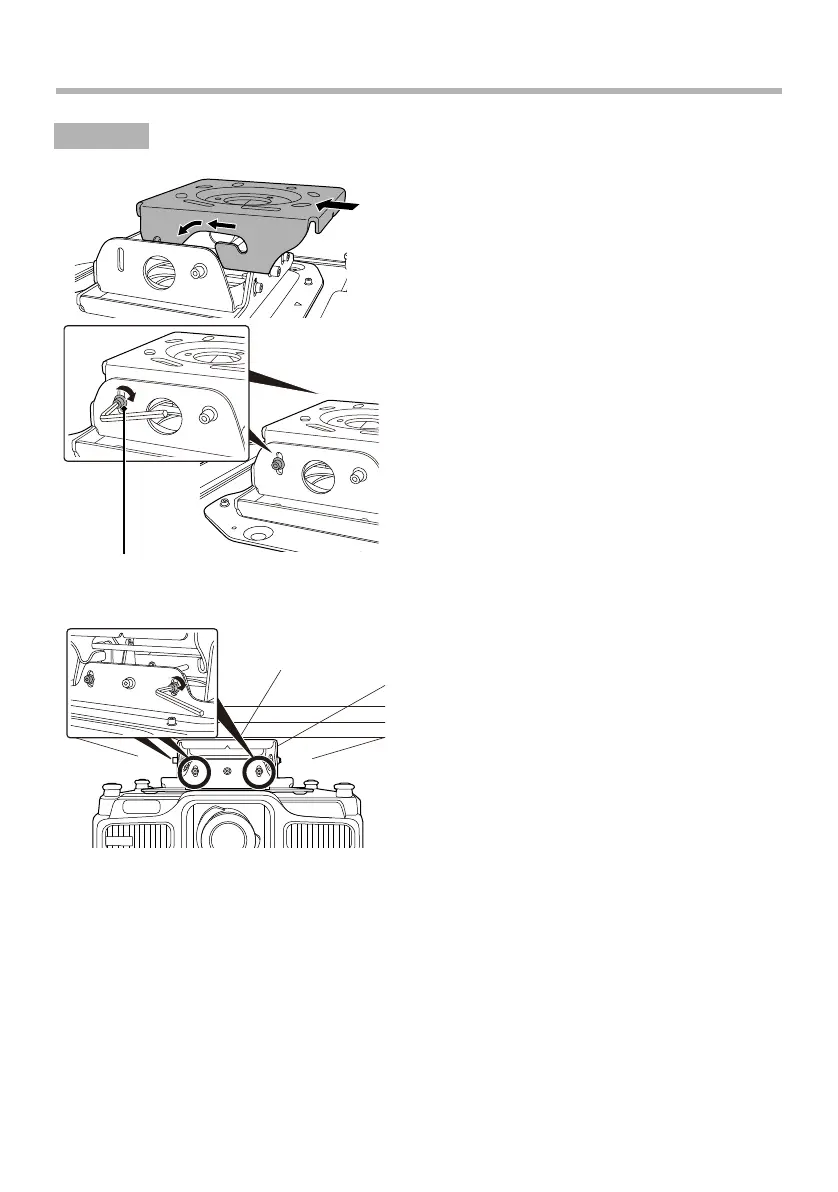
A
Put the shaft of the projector plate into the
grooves of the ceiling plate and place it
securely in the horseshoe-shaped points.
Do not release your hands from the projector
until mounting is complete.
B Put the screws for the vertical angle
adjustment points that were removed when
removing the ceiling plate from the projector
plate in the screw holes.
Secure the two screws in the angle adjustment
points as shown in the left illustration, using the
supplied M8 hexagon wrench to fix the projector.
For details on adjusting the angle of the
projector, see the next section "Adjusting the
Installation Position".
C Secure the four screws for the horizontal roll
adjustment points as shown in the left
illustration, using the supplied M8 hexagon
wrench to fix the projector.
For details on adjusting the angle of the
projector, see the next section "Adjusting the
Installation Position".
Procedure
Secure the screws at the height of
these marks so that the projector is set
up almost horizontally.
 Loading...