If no images are projected, change the
input signal.
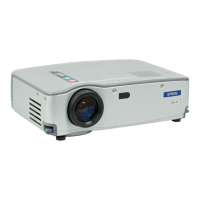
Remove the lens cover.
Insert the projector's power cable into
the projector.
Insert the power cable into an earthed
electrical outlet.
The Power indicator will light orange.
Turn on the power for the signal input
source.
For video equipment, press [Play] to start
playback.
Press to turn on the projector's
power.
The Power indicator will flash green, and
projection will then start (warm-up in
progress).
1
2
3
4
5
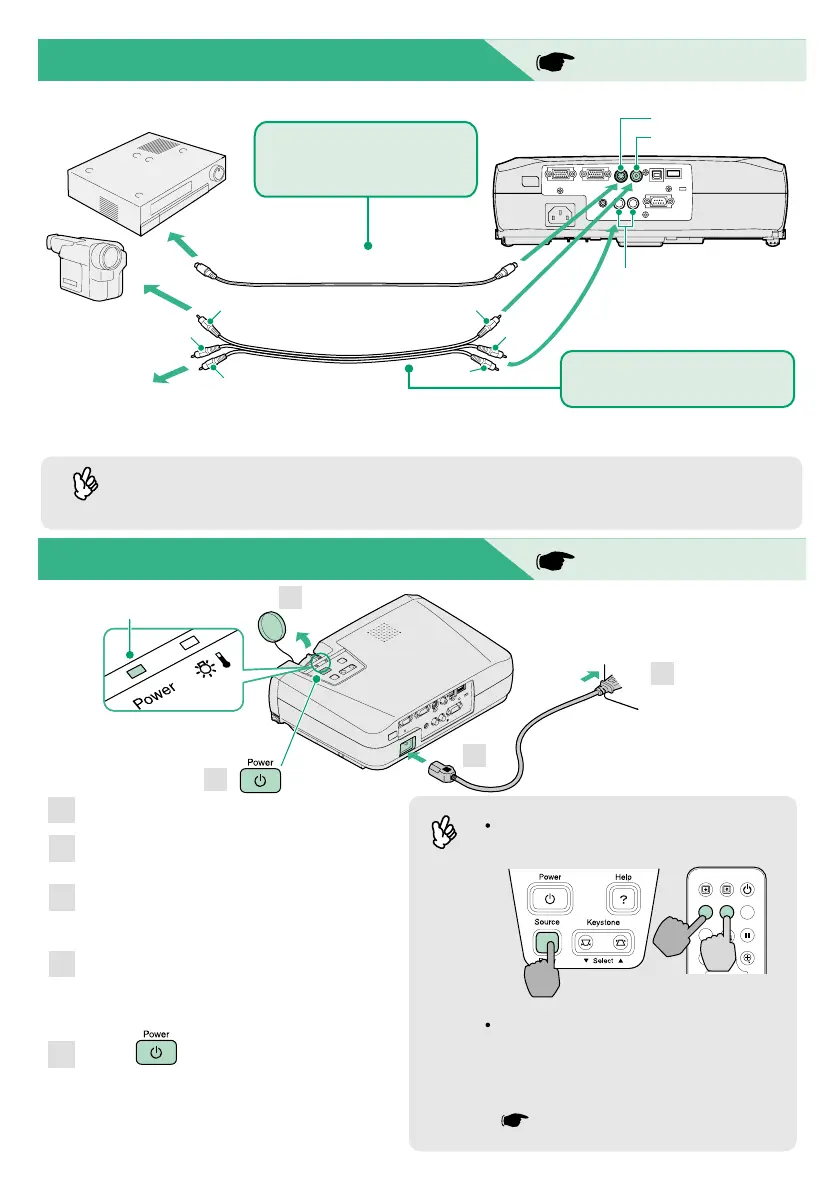
Turn off the power for both the projector and the video source before connecting them.
Connecting to a Video Source
User's Guide
"Connecting to a Video Source"
Preparation before Projecting
User's Guide
"Turning On the Projector"
If connecting a component video source (such as a DVD player), you can use the optional
component video cable to connect the source to the Computer/Component Video port at the
rear of the projector.
Tip
Tip
* To output sound from the video equipment through the projector's built-in speaker, connect the video
equipment and the projector with the accessory A/V cable (white/red).
Power indicator
A/V cable
(accessory)
yellow
red
red
white
white
yellow
S-Video cable (commercially-available)
Video port (yellow)
S-Video port
Audio 2 port
To S-Video
output port
To video
output port
When connecting to a video
source with a video output port
When connecting to a video
source with an S-Video
output port
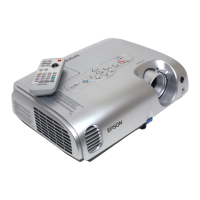
Projector Remote control
If connecting to a computer with a built-in
monitor, or to a laptop computer, you
may need to change the output
destination using the buttons or setting
menus.
User's Guide "Turning On the Power and
Projecting Images"
1
2
3
5
Menu
A/V Mute
E-Zoom
Freeze
S-Video/Video
Page upPage down
Power
Color Mode
Computer
To audio
output port