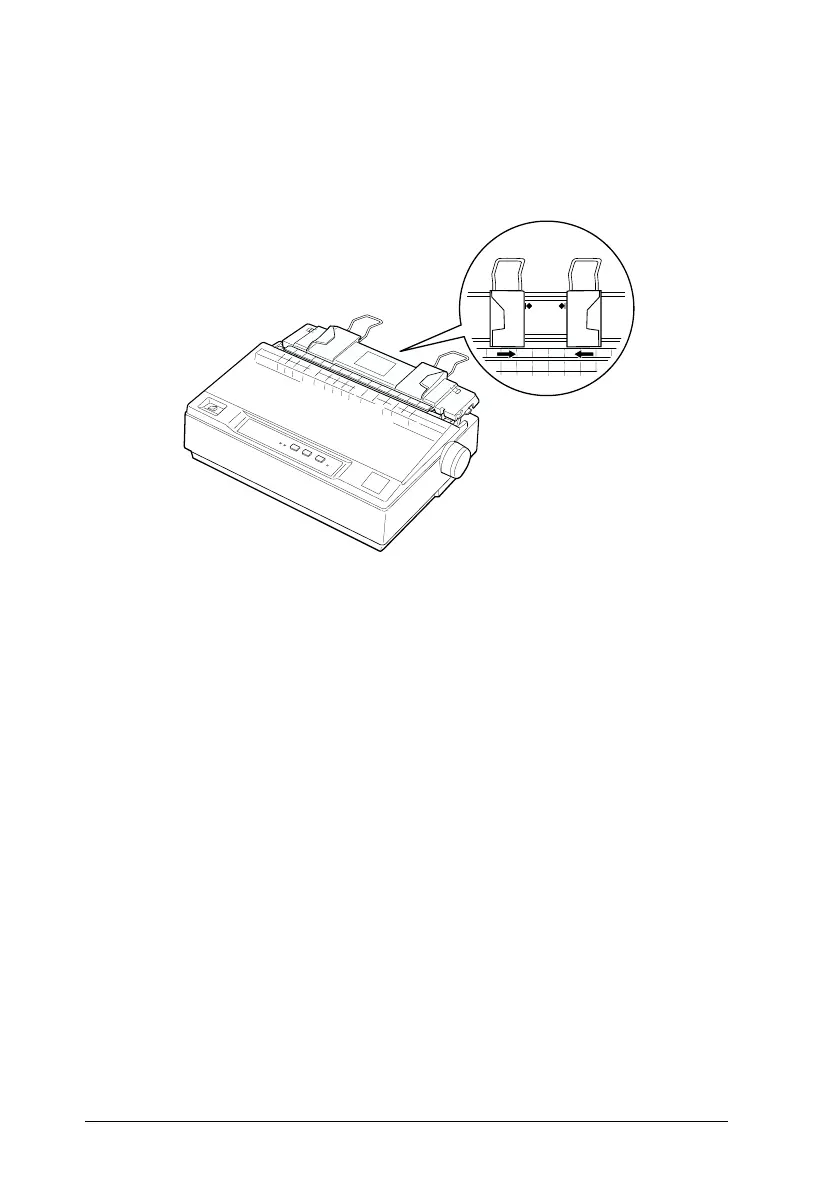
6. Slide the left edge guide to the center until it stops at the guide
mark. Then slide the right edge guide to the opposite guide
mark.
7. Turn on the printer.
8. Make sure the printer cover is closed. Press the
LF/FF
button to
feed the paper to the loading position. When the printer
receives data, it begins printing automatically.
9. When you finish printing (the printer receives no data for three
seconds) the printer feeds the perforation of the continuous
paper to the edge of the printer cover so that you can tear off
the last sheet. The
PAUSE
light flashes.
Note:
❏ Set the Auto tear off feature in the Printer Setting mode to on.
Otherwise, the printer does not feed the perforation to the edge of the
printer cover.
❏ If the perforation and the edge of the printer cover do not match,
adjust the paper position by following the steps in “Adjusting the
loading position,” while the
PAUSE
light is flashing.
BB2-08a
L
Blueberry REV.F
A5 size Chapter 2
95/05/25
2-10
Using the Printer
 Loading...


