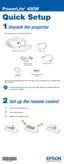
Setting Up the Projector 19
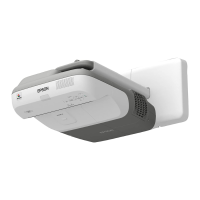
To mount the projector on the wall or attach it to a whiteboard, you’ll
need an optional short-throw wall mounting system. (See page 13 for
ordering information.) You’ll also need to select
Front/Ceiling for the
Projection option in the Extended menu. See page 62 for details.
Other Installations
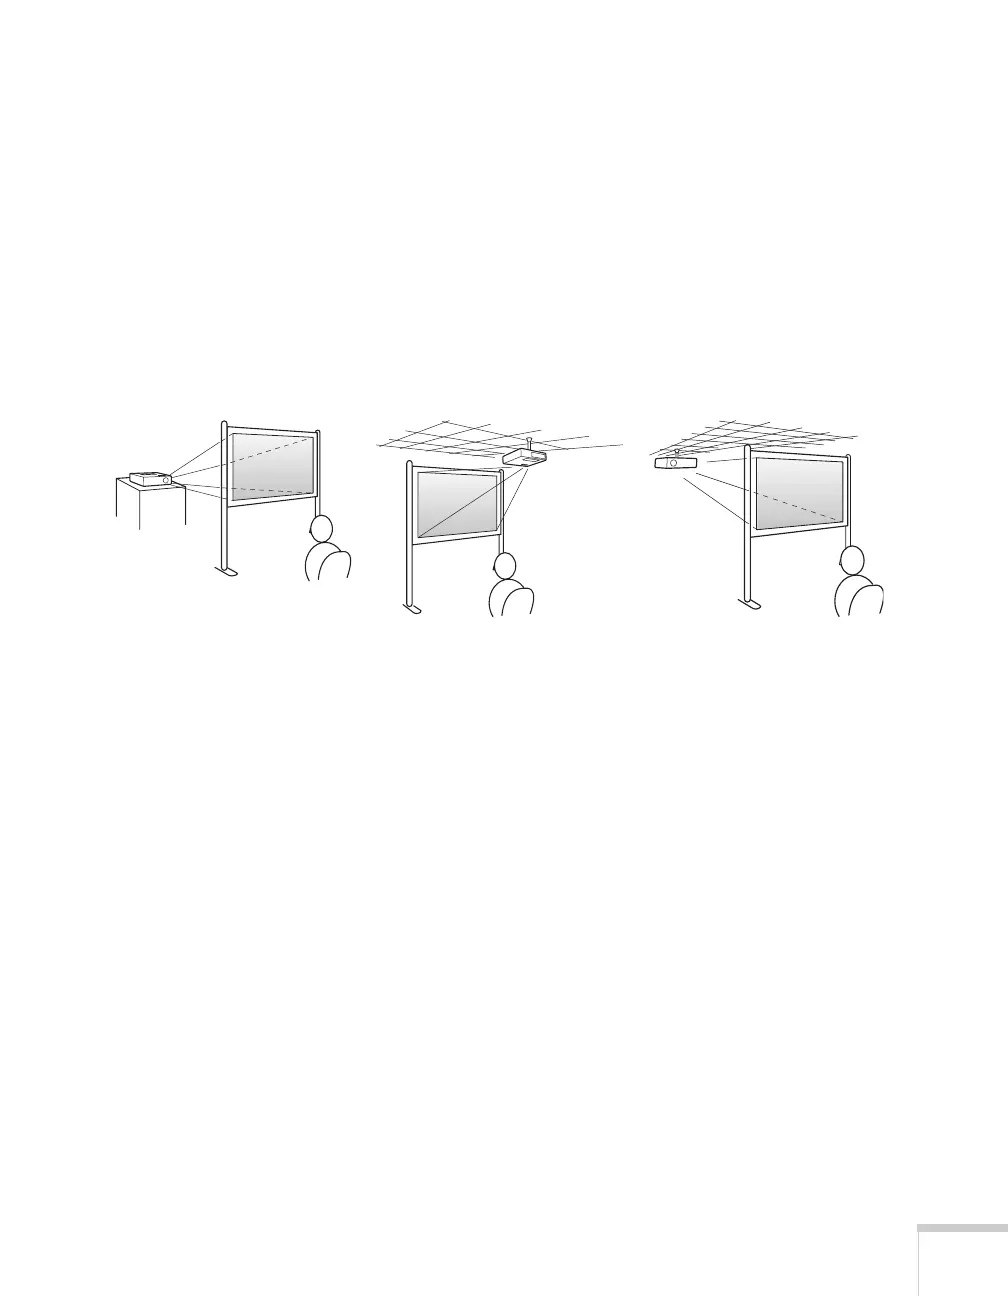
You can also project from behind the screen or from the ceiling, with
the projector mounted upside-down:
To project from the ceiling, you’ll need the optional ceiling mount.
(See page 13 for ordering information.) You’ll also need to select
Front/Ceiling or Rear/Ceiling for the Projection option in the
Extended menu. To project from the rear, select
Rear. See page 62 for
details.
Front/ceiling projectionRear projection (using a
translucent screen)
Rear/ceiling projection (using
a translucent screen)
 Loading...