Projecting 41
You can also change the image size by moving the projector closer to
or farther away from the screen. You can use the
E-Zoom buttons on
the remote control to zoom in on a portion of the image. See page 49
for instructions.
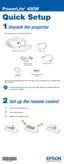
Adjusting the Height of Your Image
If you’re projecting from a table or other flat surface and the image is
too high or low, you can correct it by adjusting the projector’s front
and/or rear feet.
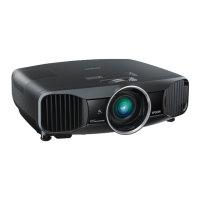
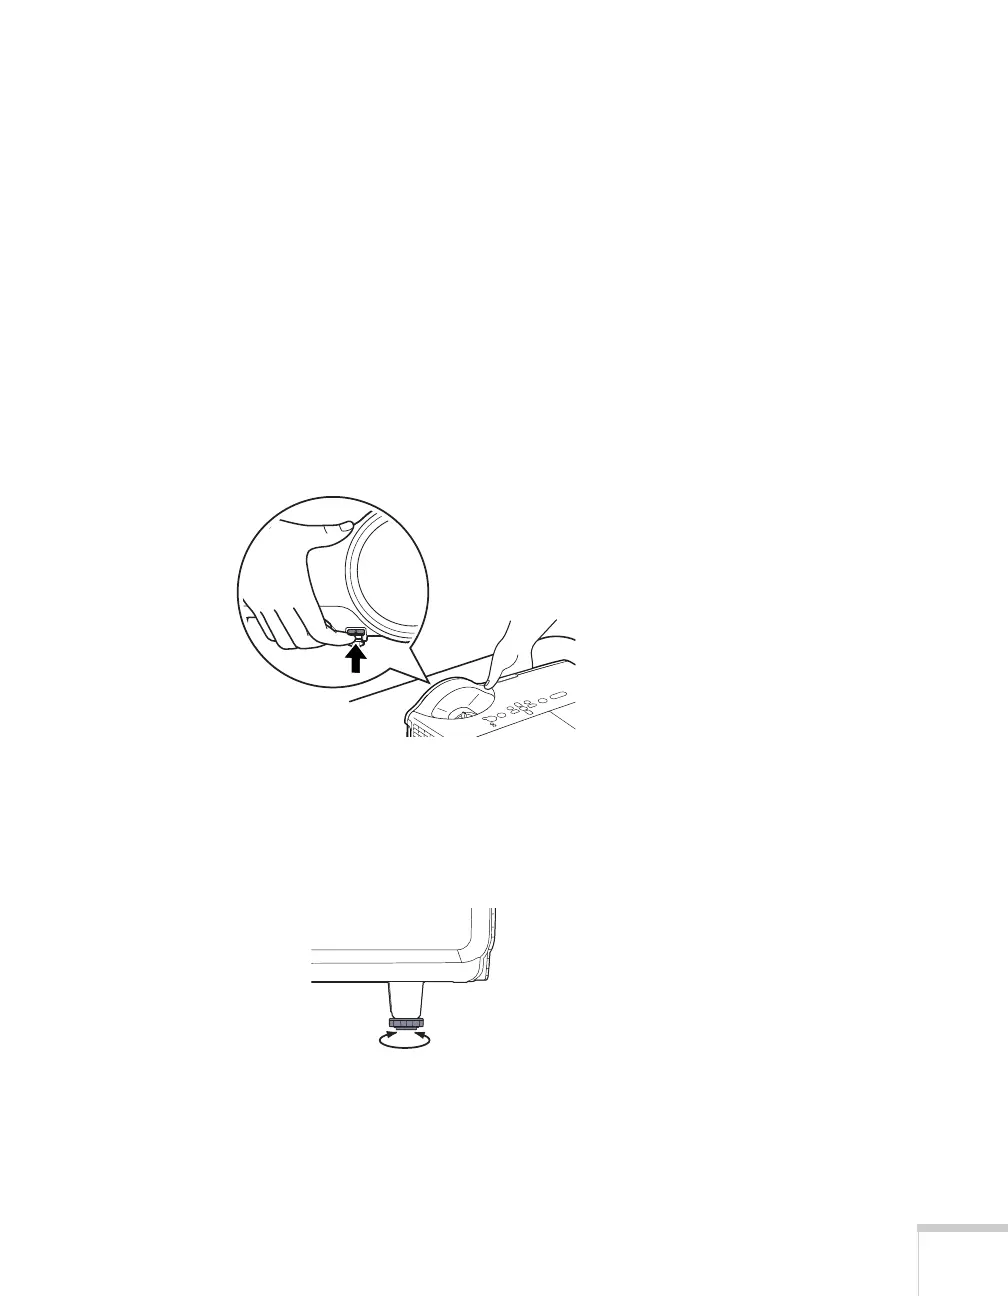
1. To adjust the front foot, stand behind the projector. Press up on
the blue foot release lever and lift the front of the projector to
extend the front adjustable foot.
2. Once the image is positioned where you want, release the lever to
lock the foot in position.
3. To adjust the rear feet, rotate the feet to extend or retract them to
the desired height.
If the projected image isn’t rectangular, follow the instructions in the
next section.