B
In the Anti-Drying Cap is at the end of its
service life. screen, press Replace Parts.
When the message is not displayed, press in the
order of
(menu) - Maintenance - Replace
Maintenance Parts - Anti-Drying Cap.
C
Check the message, and then press Start.
The platen and print head move to the
maintenance position.
Note:
The buzzer sounds 10 minutes after the print head
is moved (default setting).
Check the message on the screen, press OK, and
then continue working. After 10 more minutes
have passed, the buzzer sounds again.
D
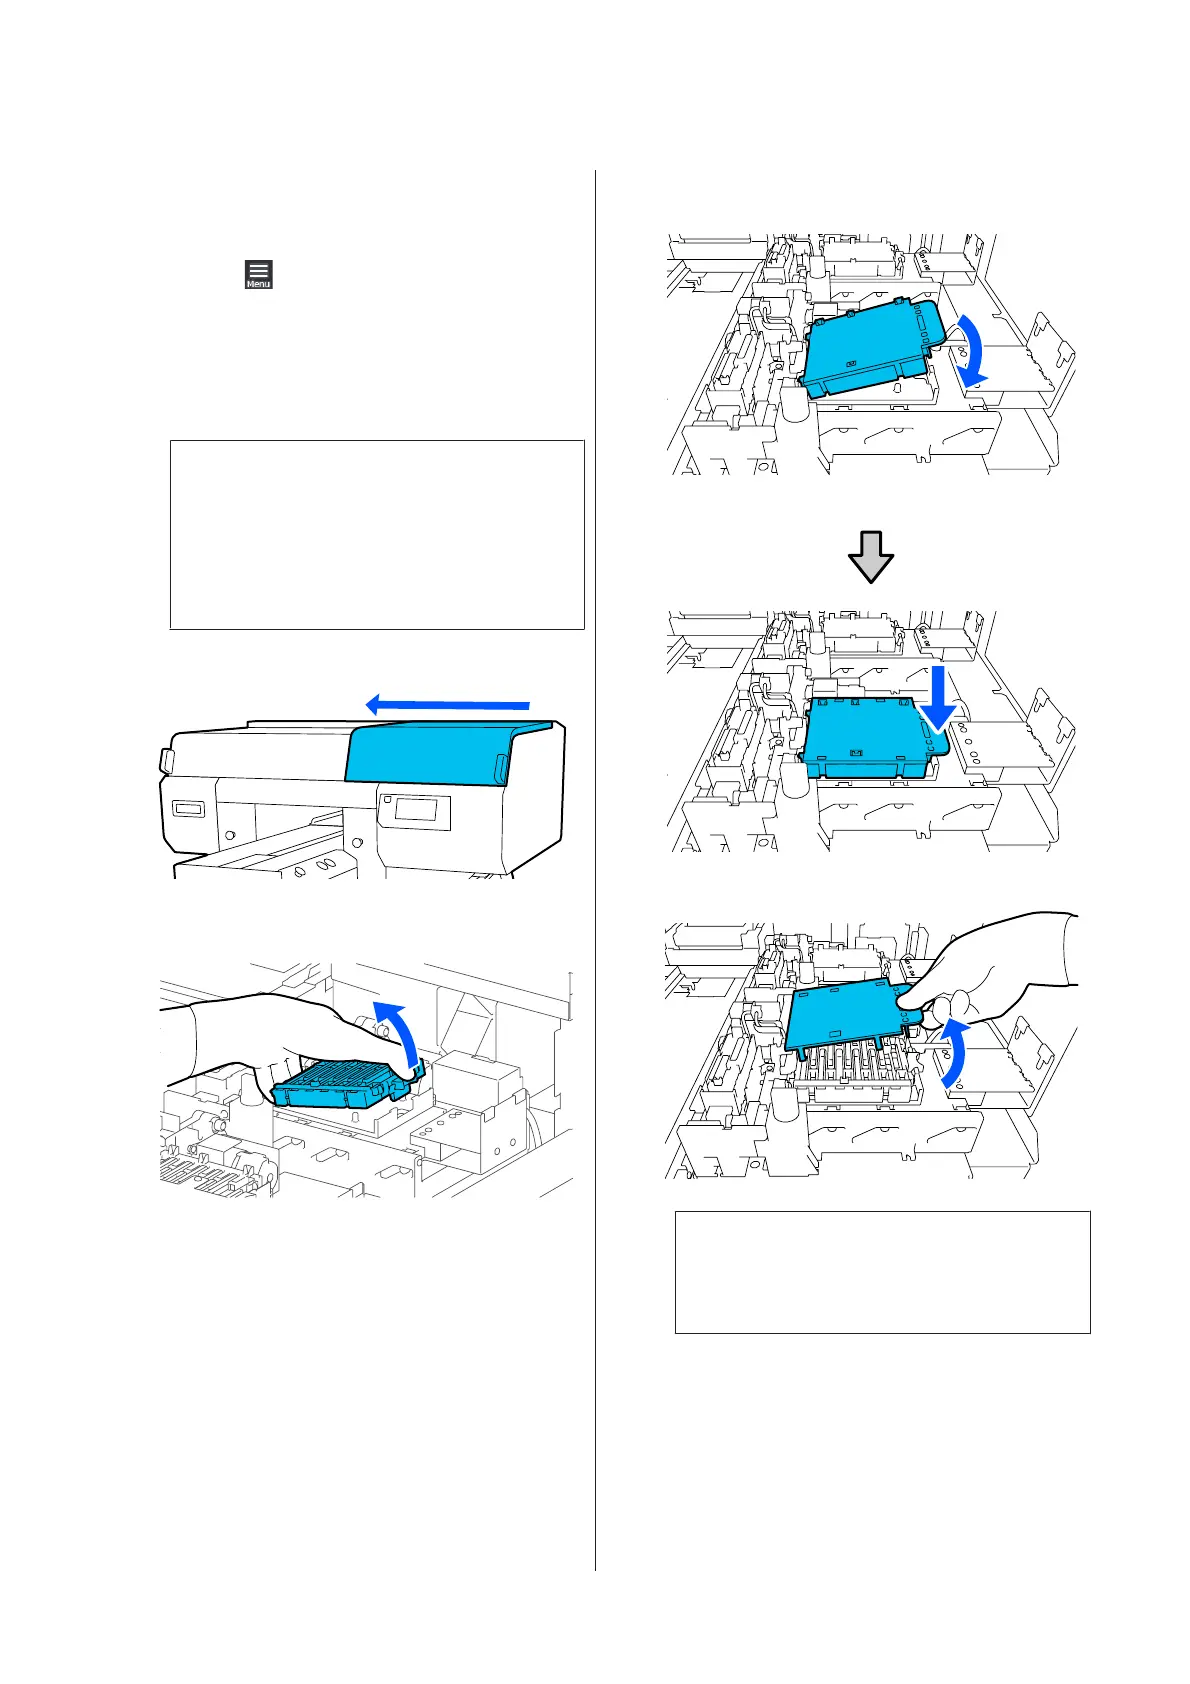
Open the right side of the Printer Cover.
E
Press on the indents of the hooks to remove the
Anti-Drying Caps.
Remove both the back (for white) and the front
(for colors).
F
Place the removed Anti-Drying Caps in the
packaging that contained the new ones.
G
Install the new Anti-Drying Caps, and press on
them until you hear a click.
H
Remove the cover.
c
Important:
If you use the printer while the cover is
attached, the print head could be damaged.
SC-F3000 Series User's Guide
Maintenance
97
 Loading...


